Body
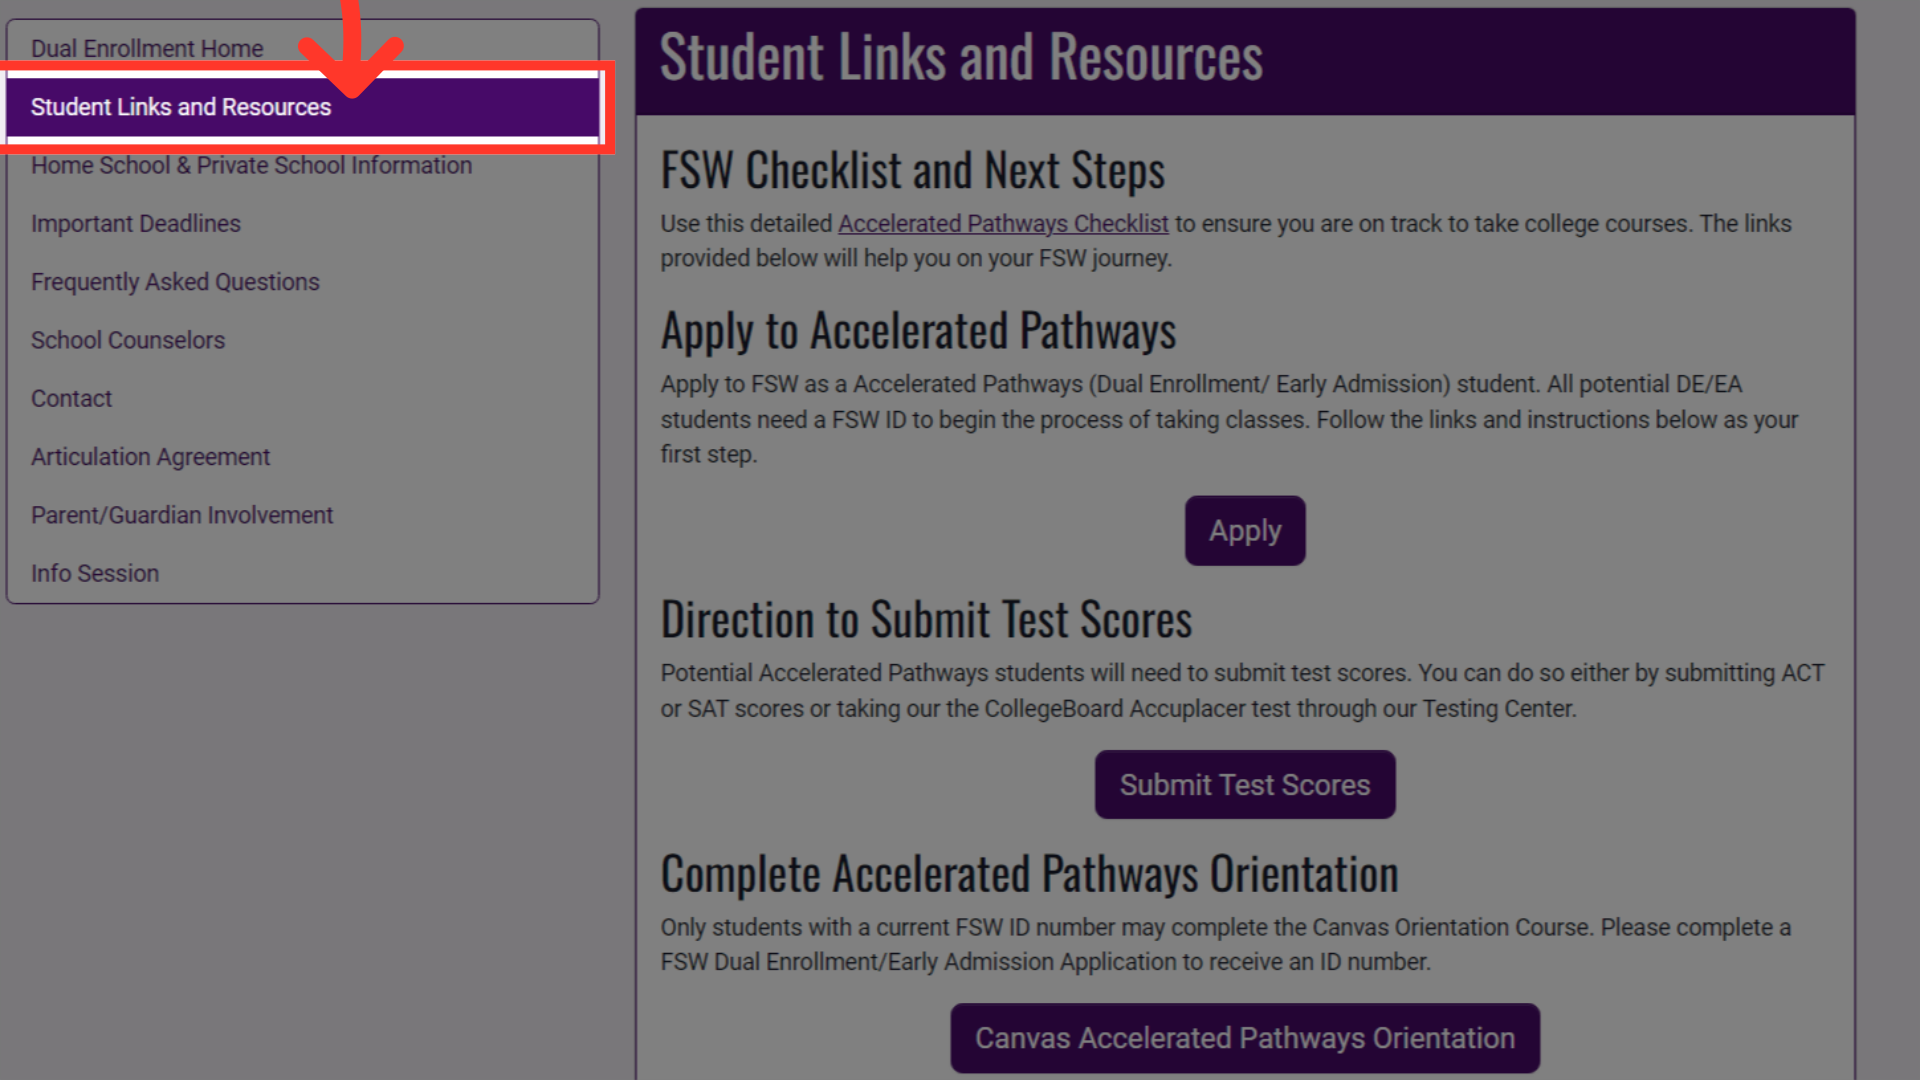
This guide will walk you through the process of submitting a Dual Enrollment Registration Form using Florida SouthWestern State College's online e-form.1. www.fsw.edu/dualenrollment
You can find the form within the "Student Links and Resources" page at ww.fsw.edu/dualenrollment
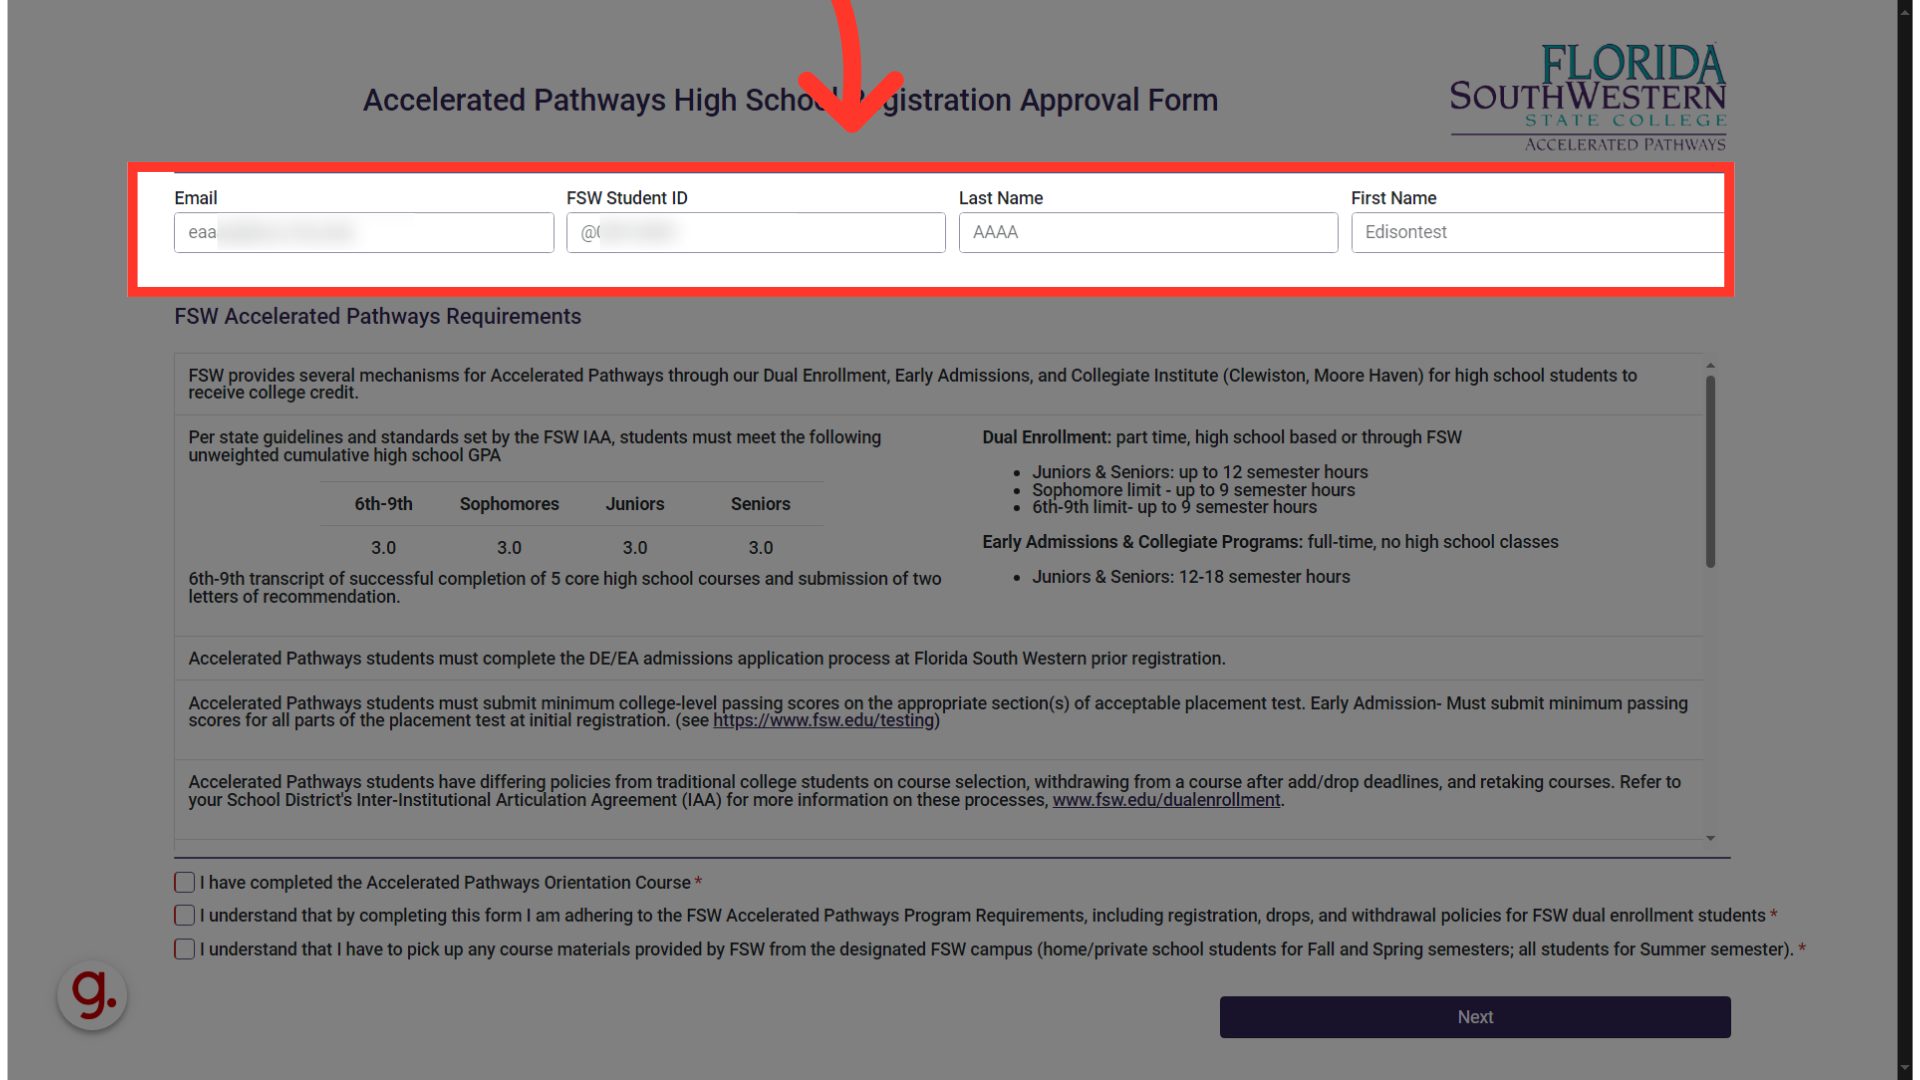
2. Verify your information is displayed correctly.
After logging in with your FSW Student Account, you should verify your information is correctly displayed.
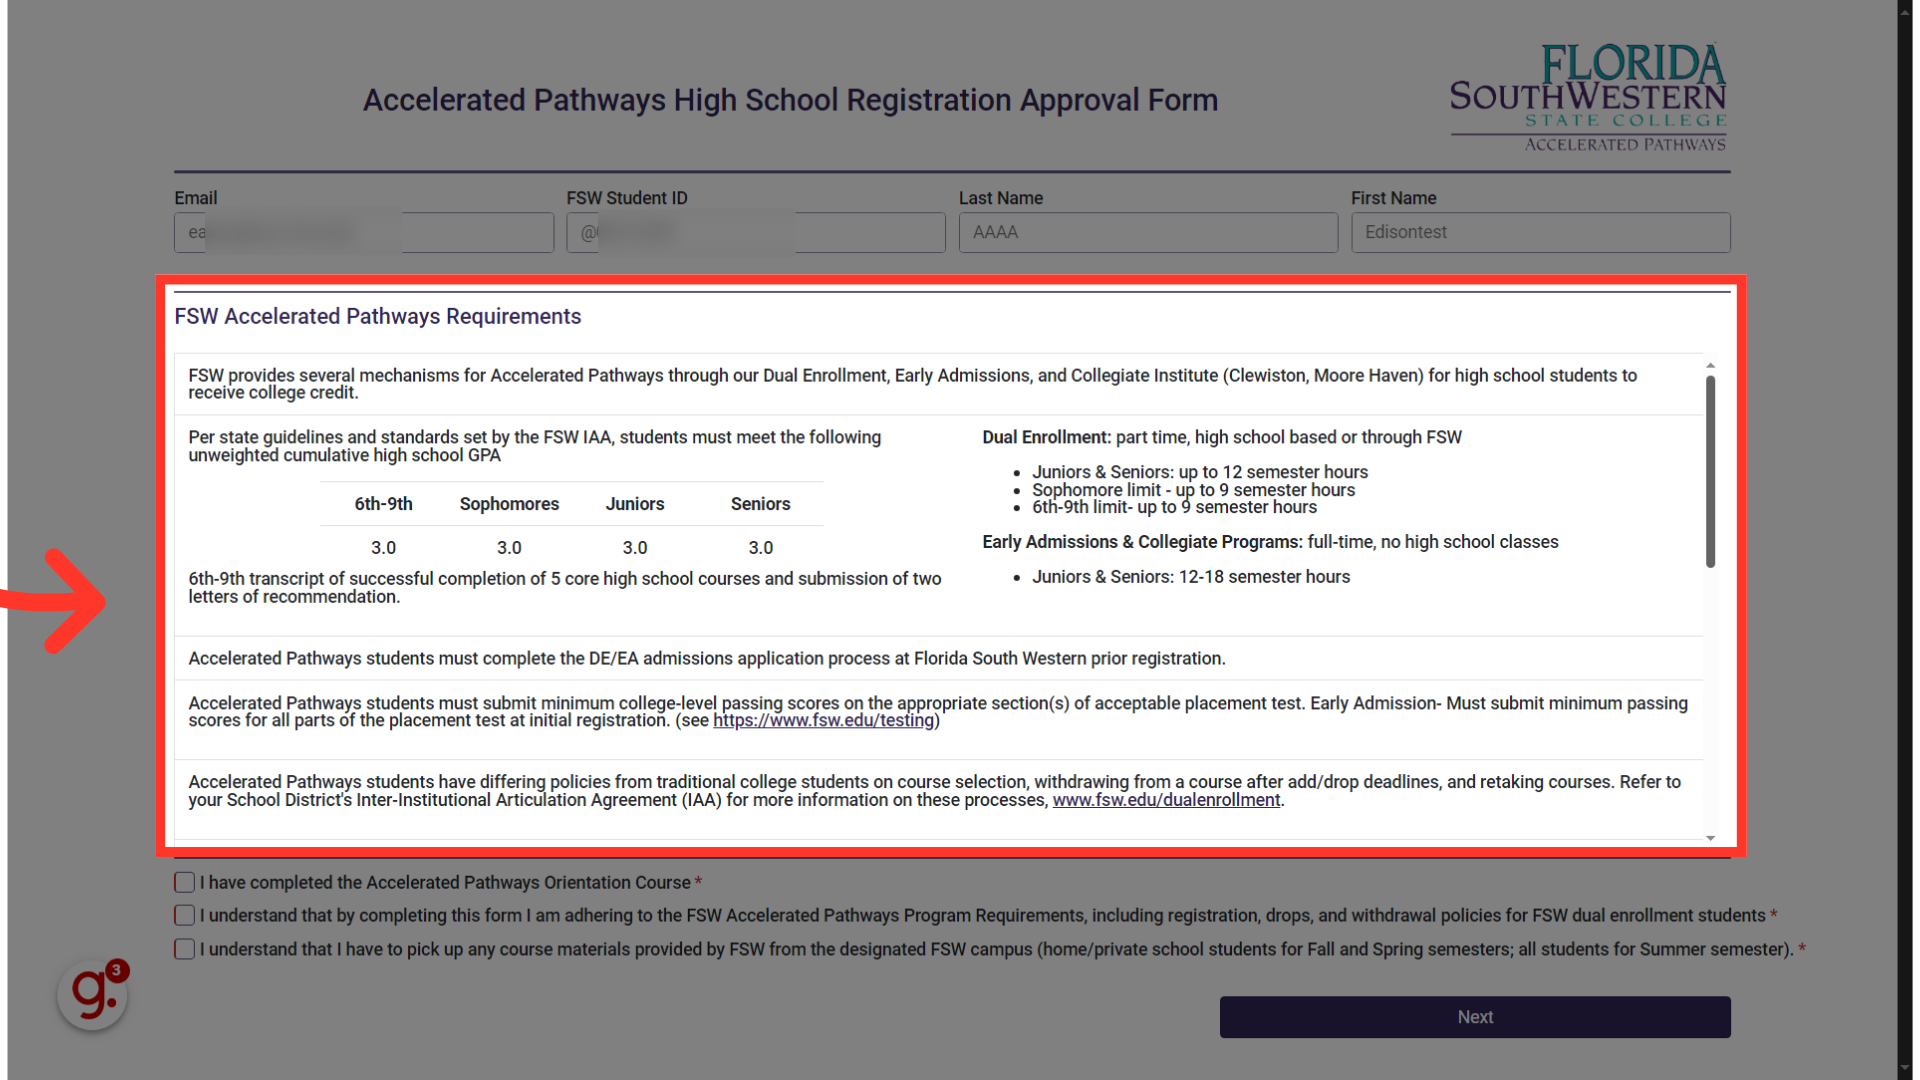
3. Take a moment to review the Guidelines and Standards
The requirements are listed in the body of the form. Here, you can review the guidelines and standards.
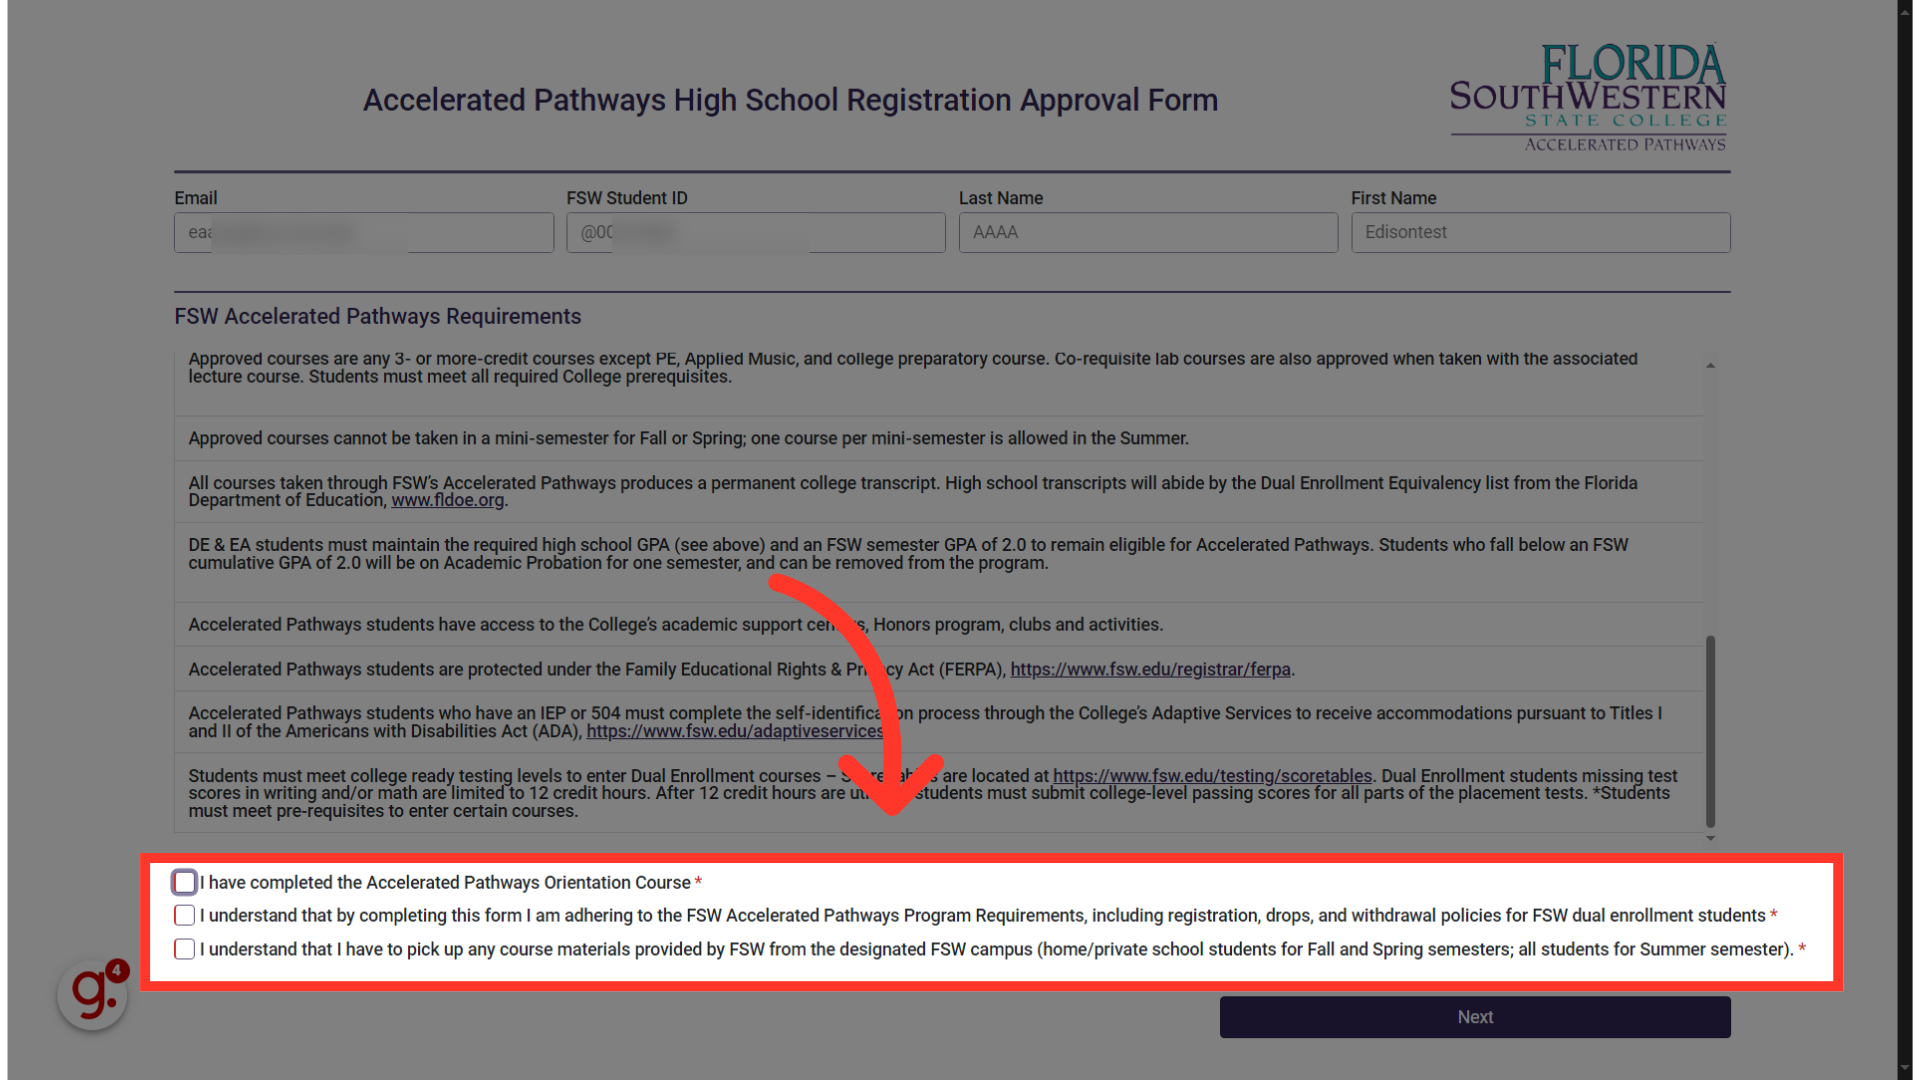
4. Review and confirm the statements to proceed.
To proceed, you must confirm and agree to the following statements by clicking on the empty boxes. A checkmark will populate once confirmed.
5. Click "Next" to proceed
Advance to the next step by selecting "Next.
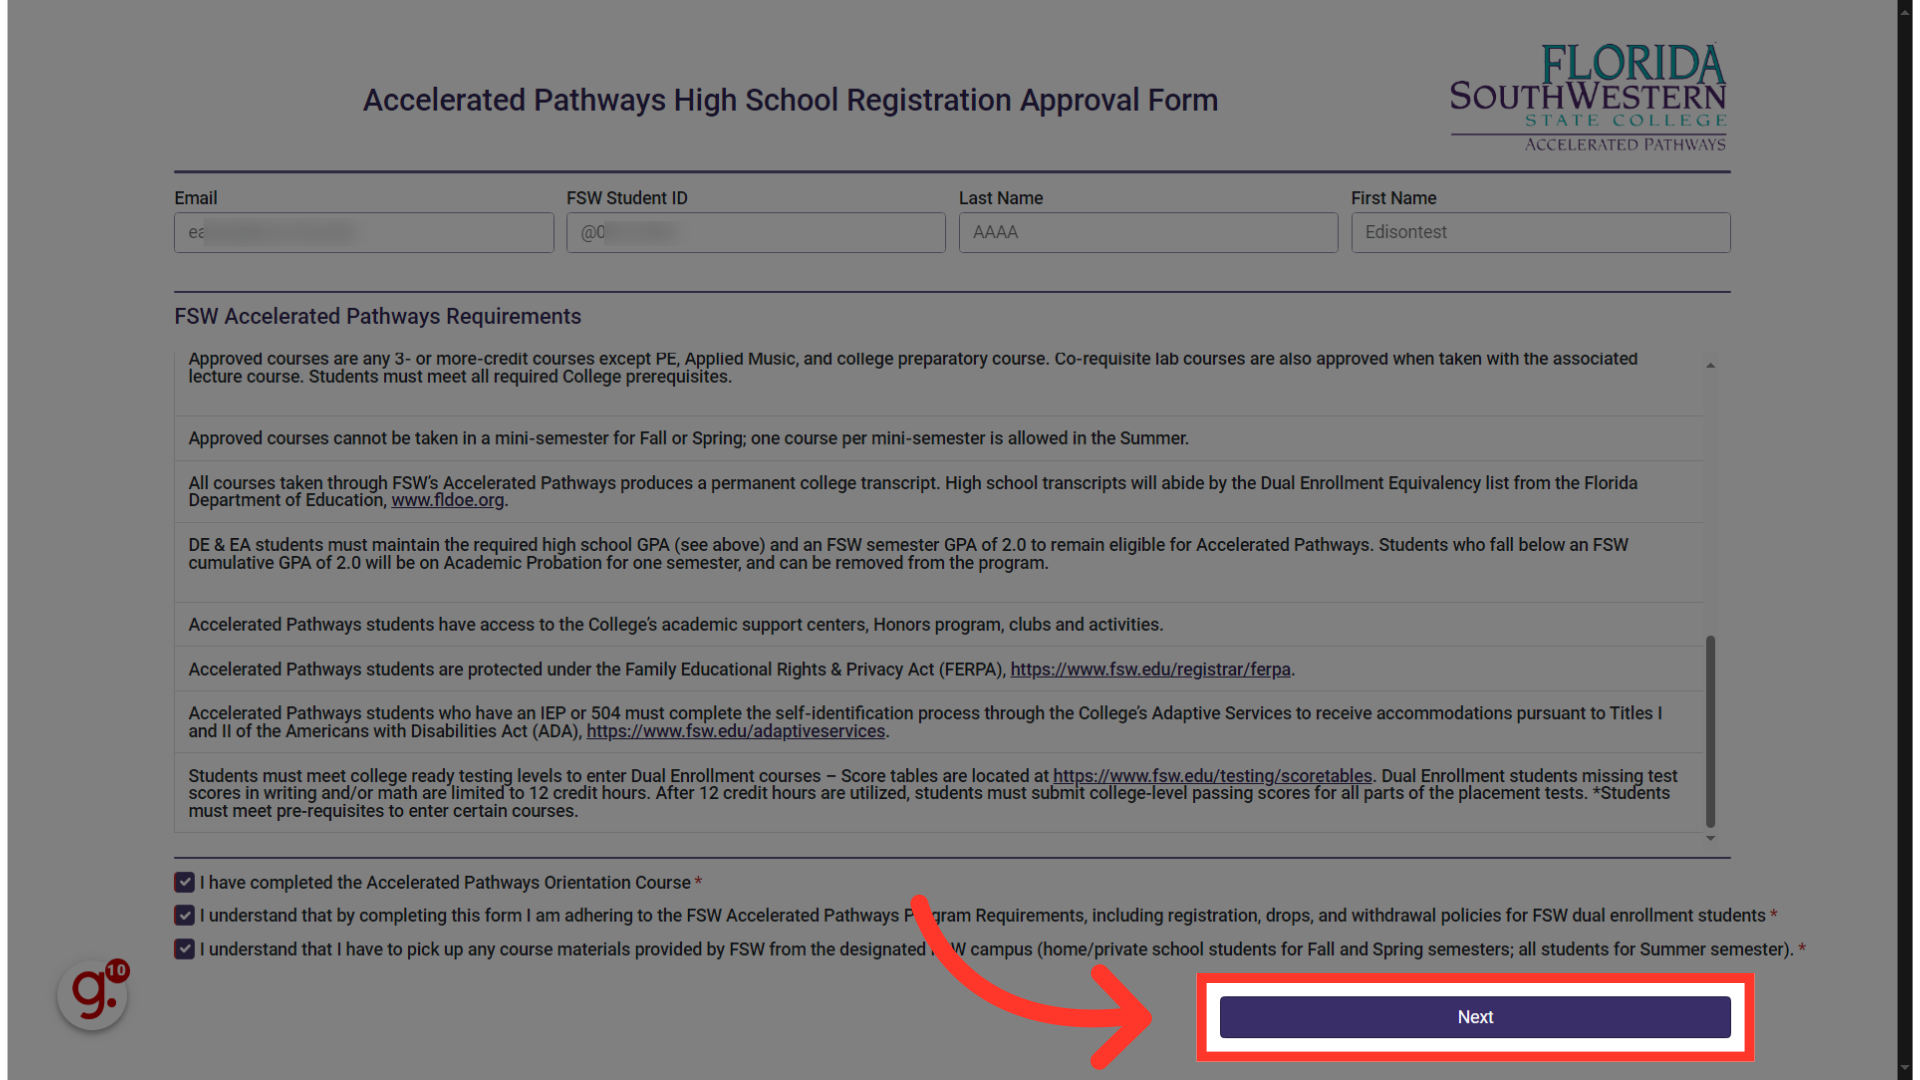
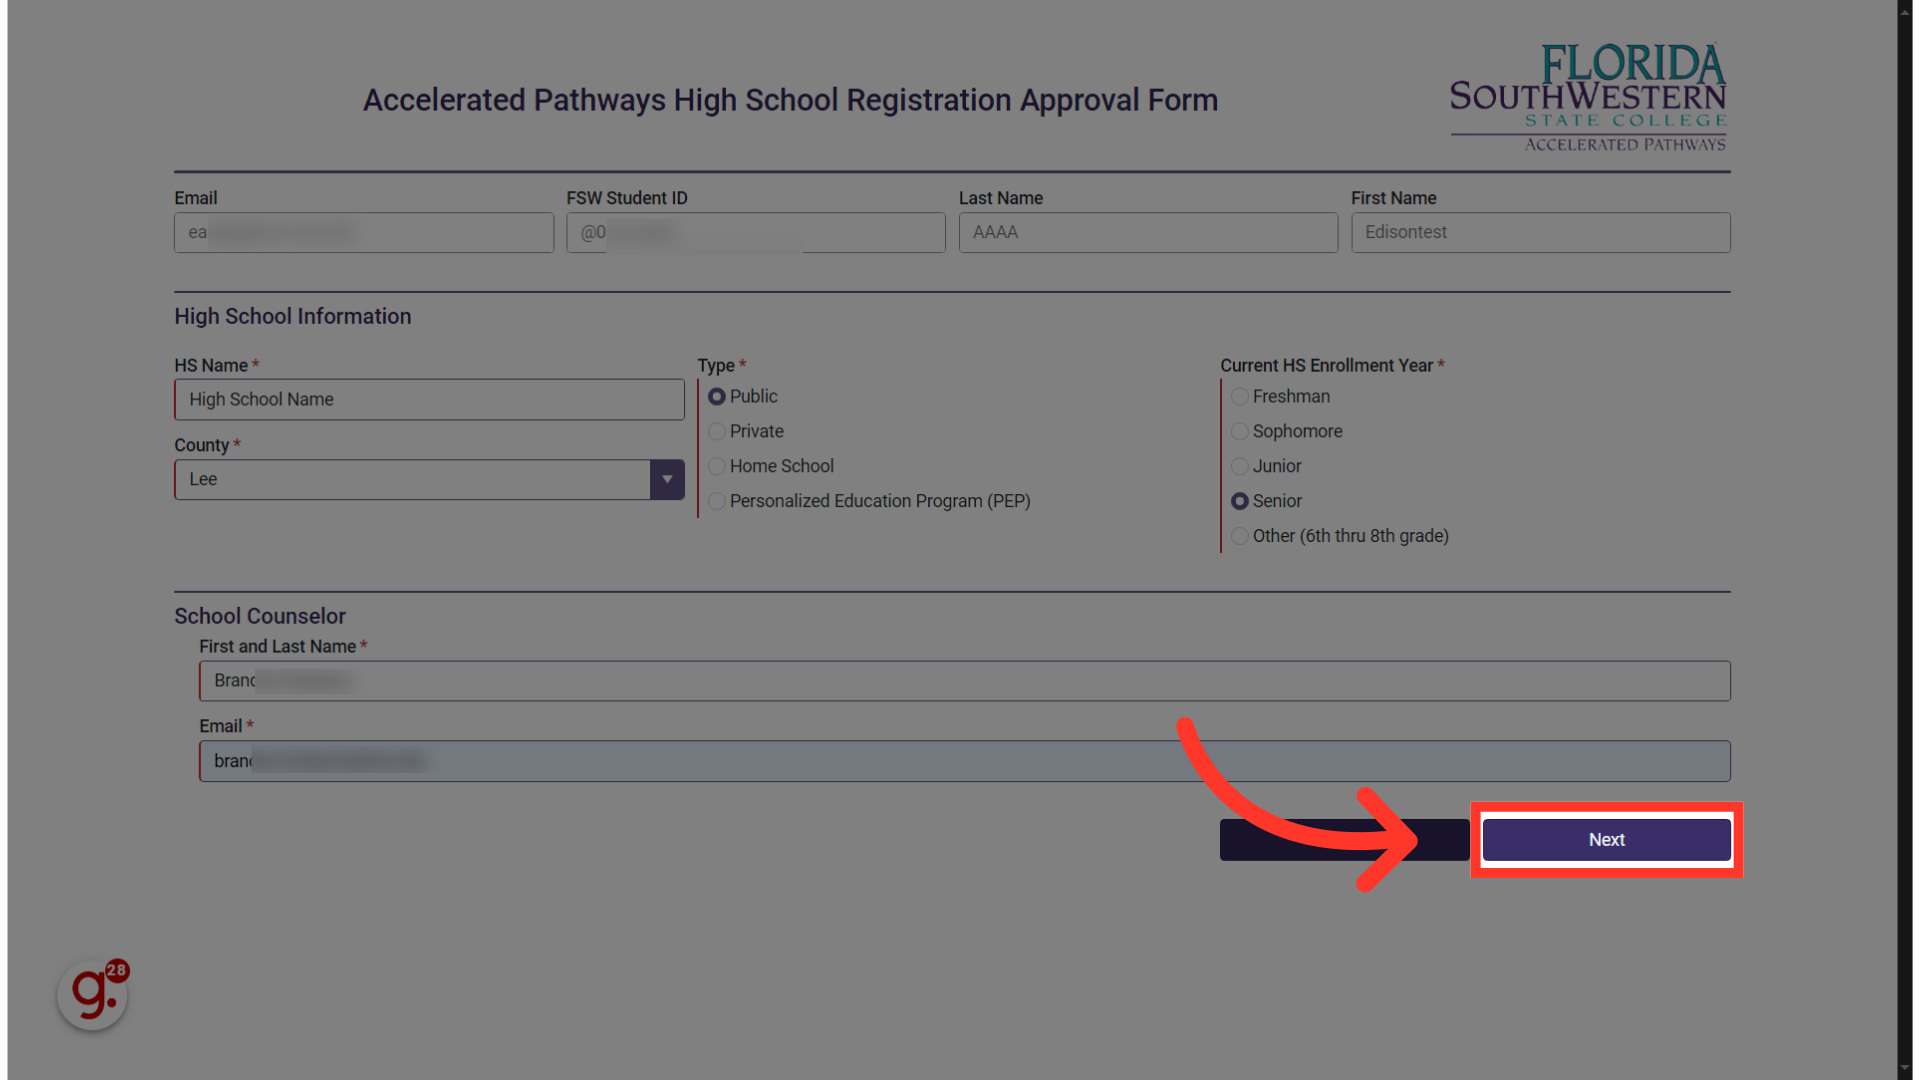
6. Click in each field and complete your high school information
Enter your high school name, county, type of High School, and your Current Enrollment Year in the designated fields.
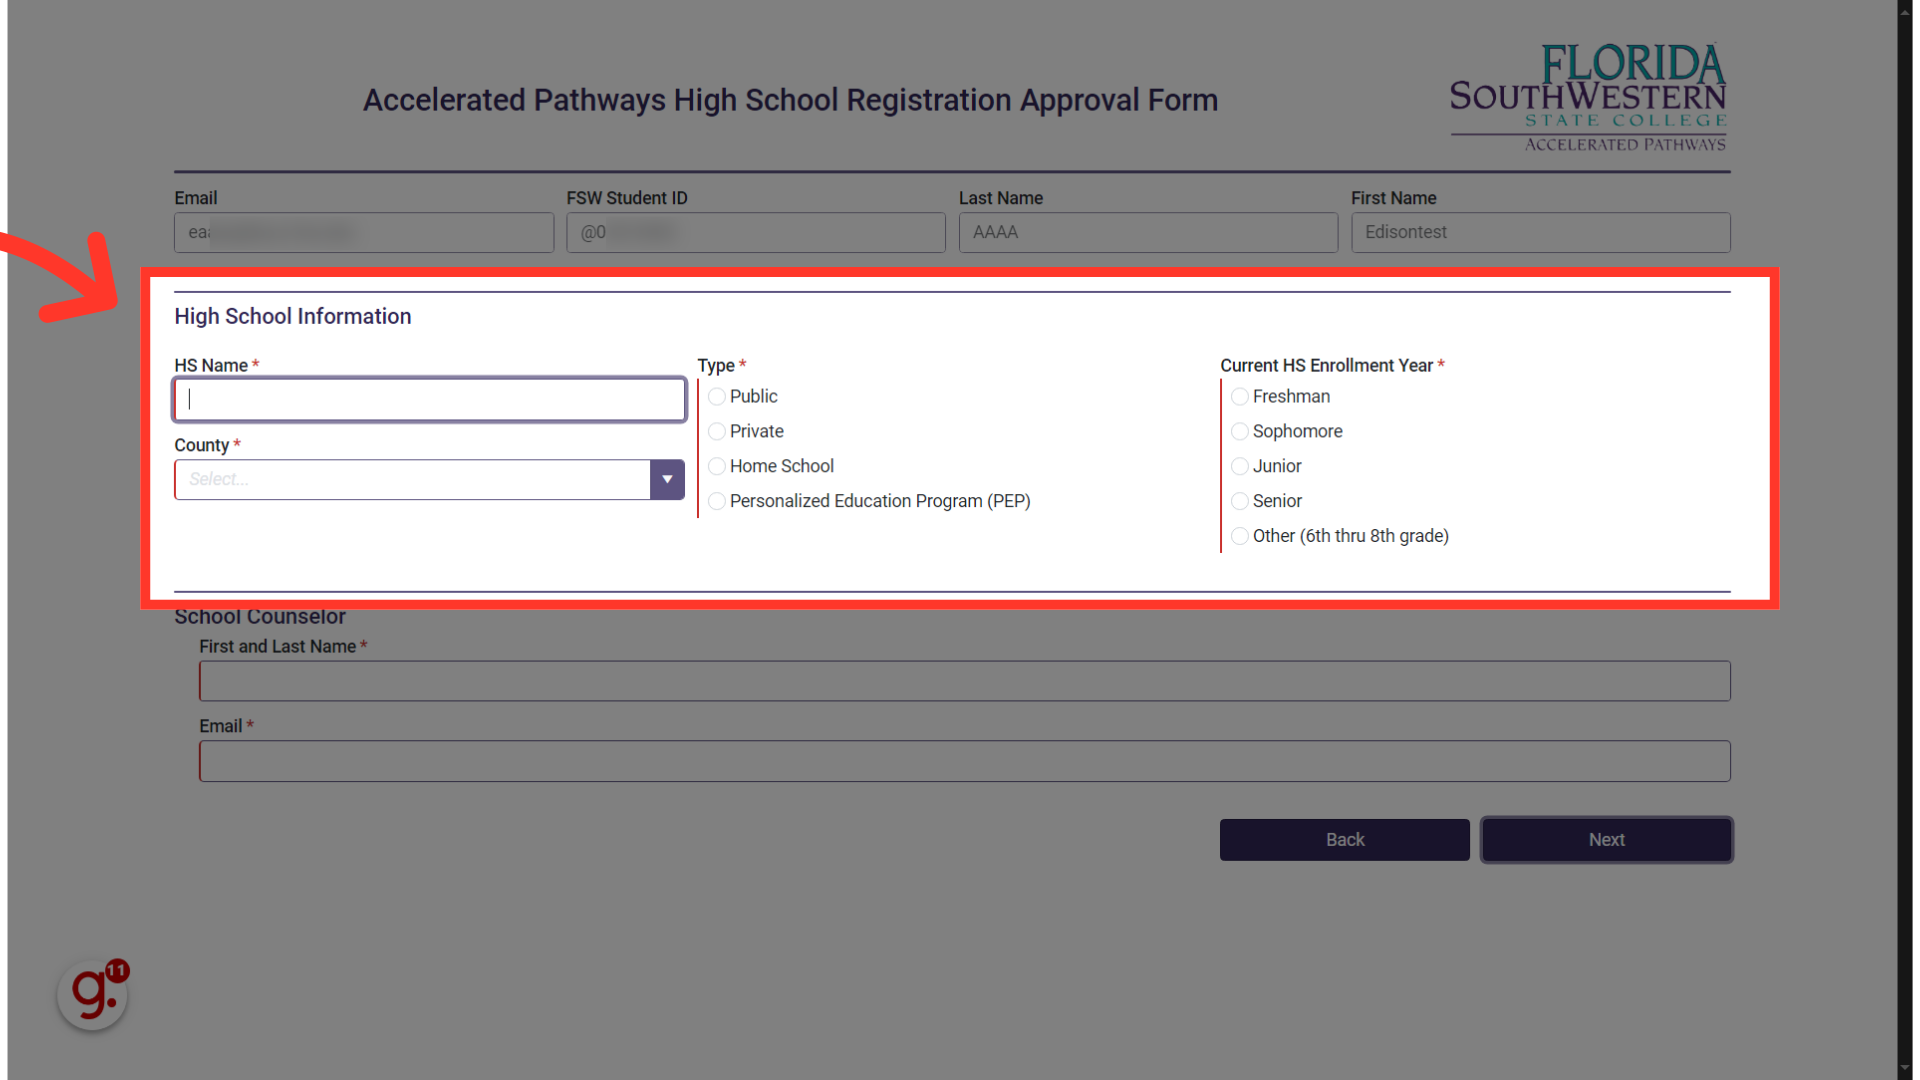
7. Provide your High School Counselor's Full Name
Please provide the full name of your high school counselor. This information is essential for us to process your request successfully.
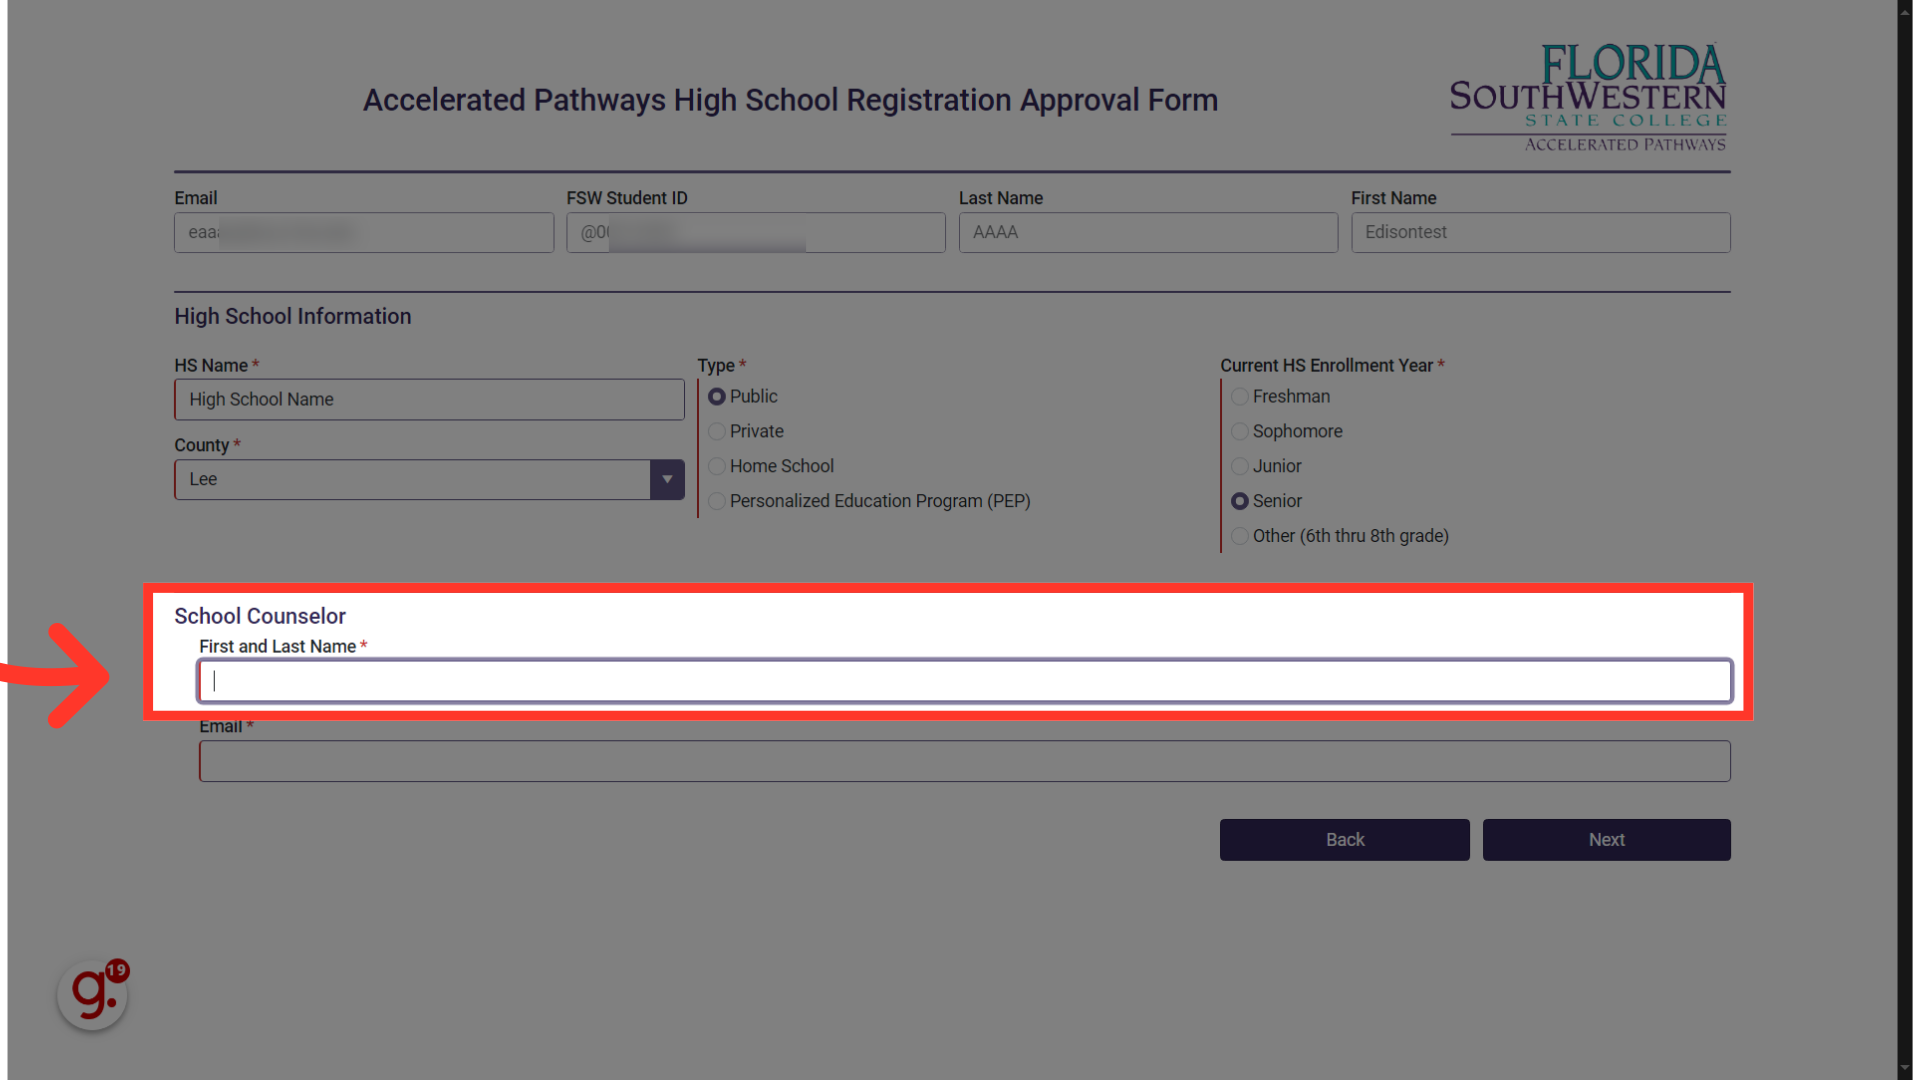
8. Provide your High School Representative's email address
To ensure a smooth process, please pay close attention when entering the email address of your high school contact. Providing a valid email is essential; if the email address is incorrect, we won't be able to complete your request. To avoid any unnecessary delays, take a moment to double-check the email before submitting.
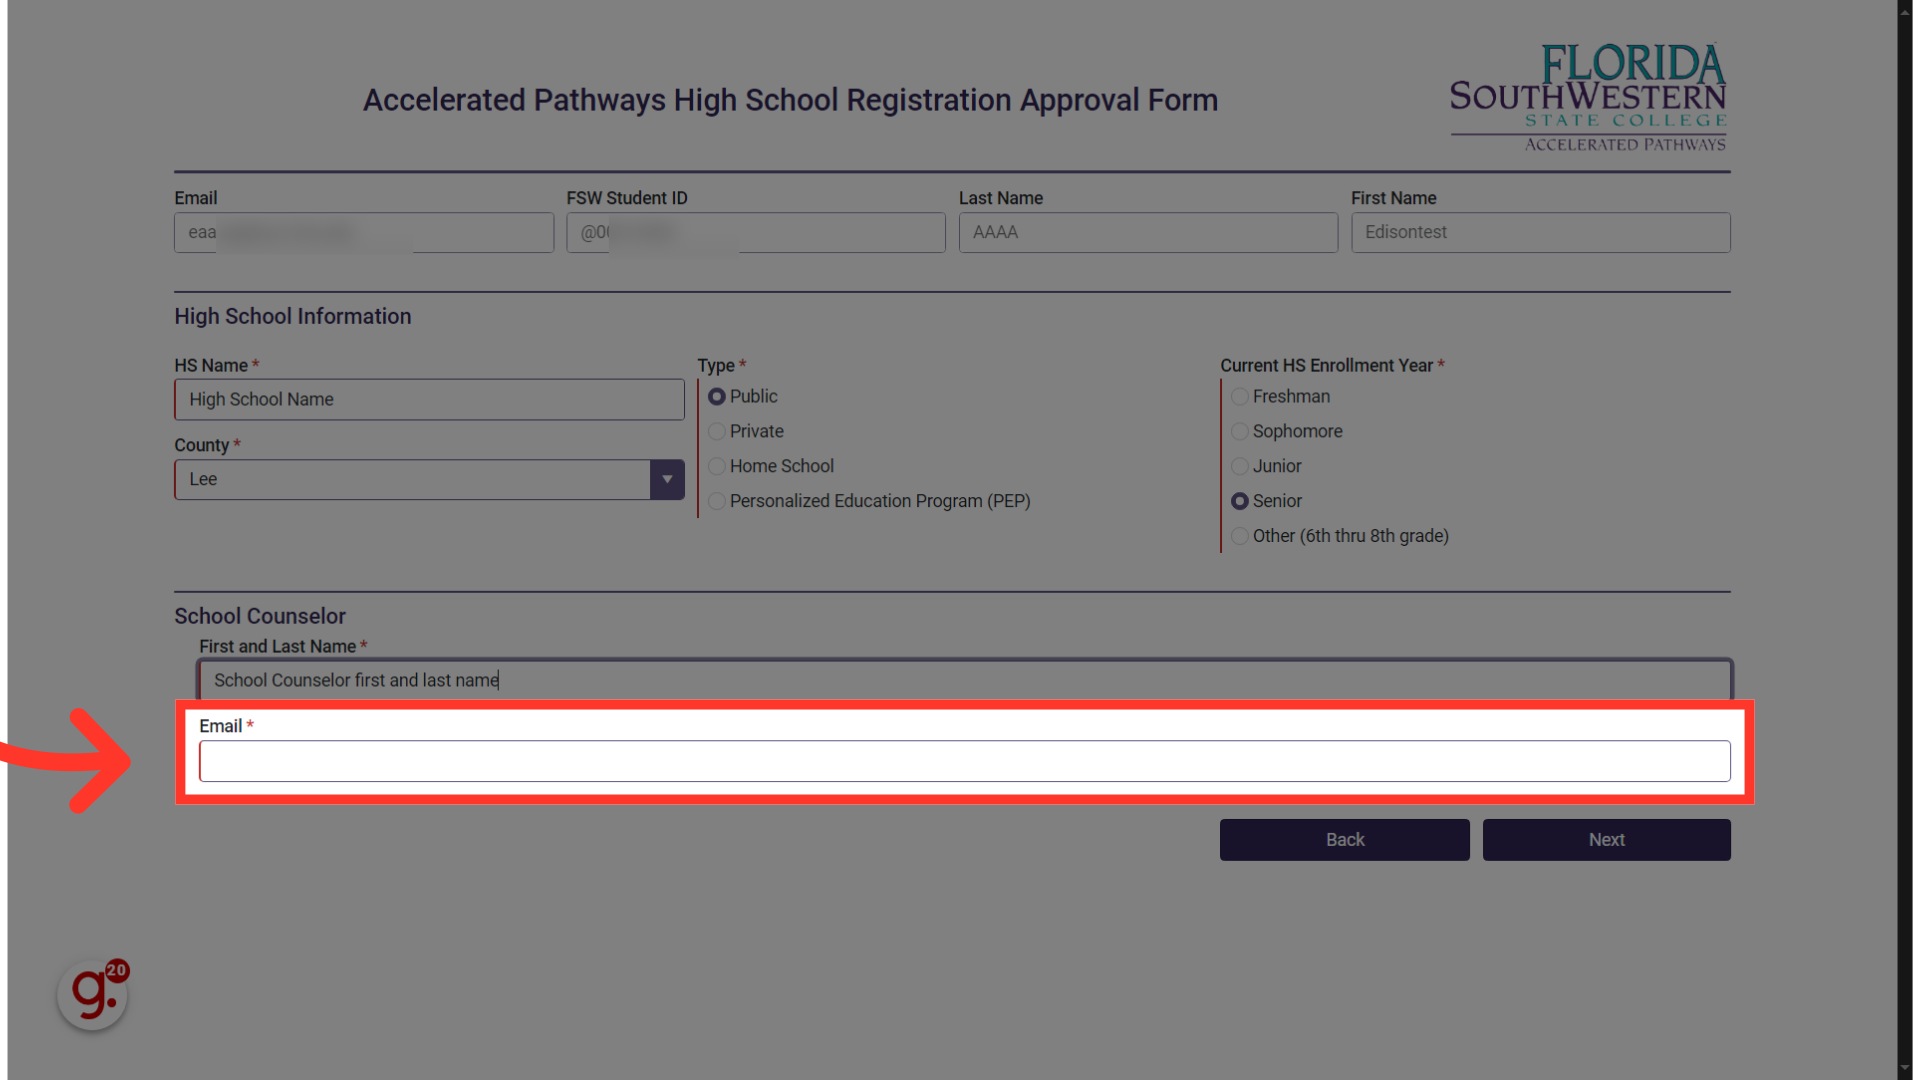
9. Click "Next"
Once you have provided the required information, click next.
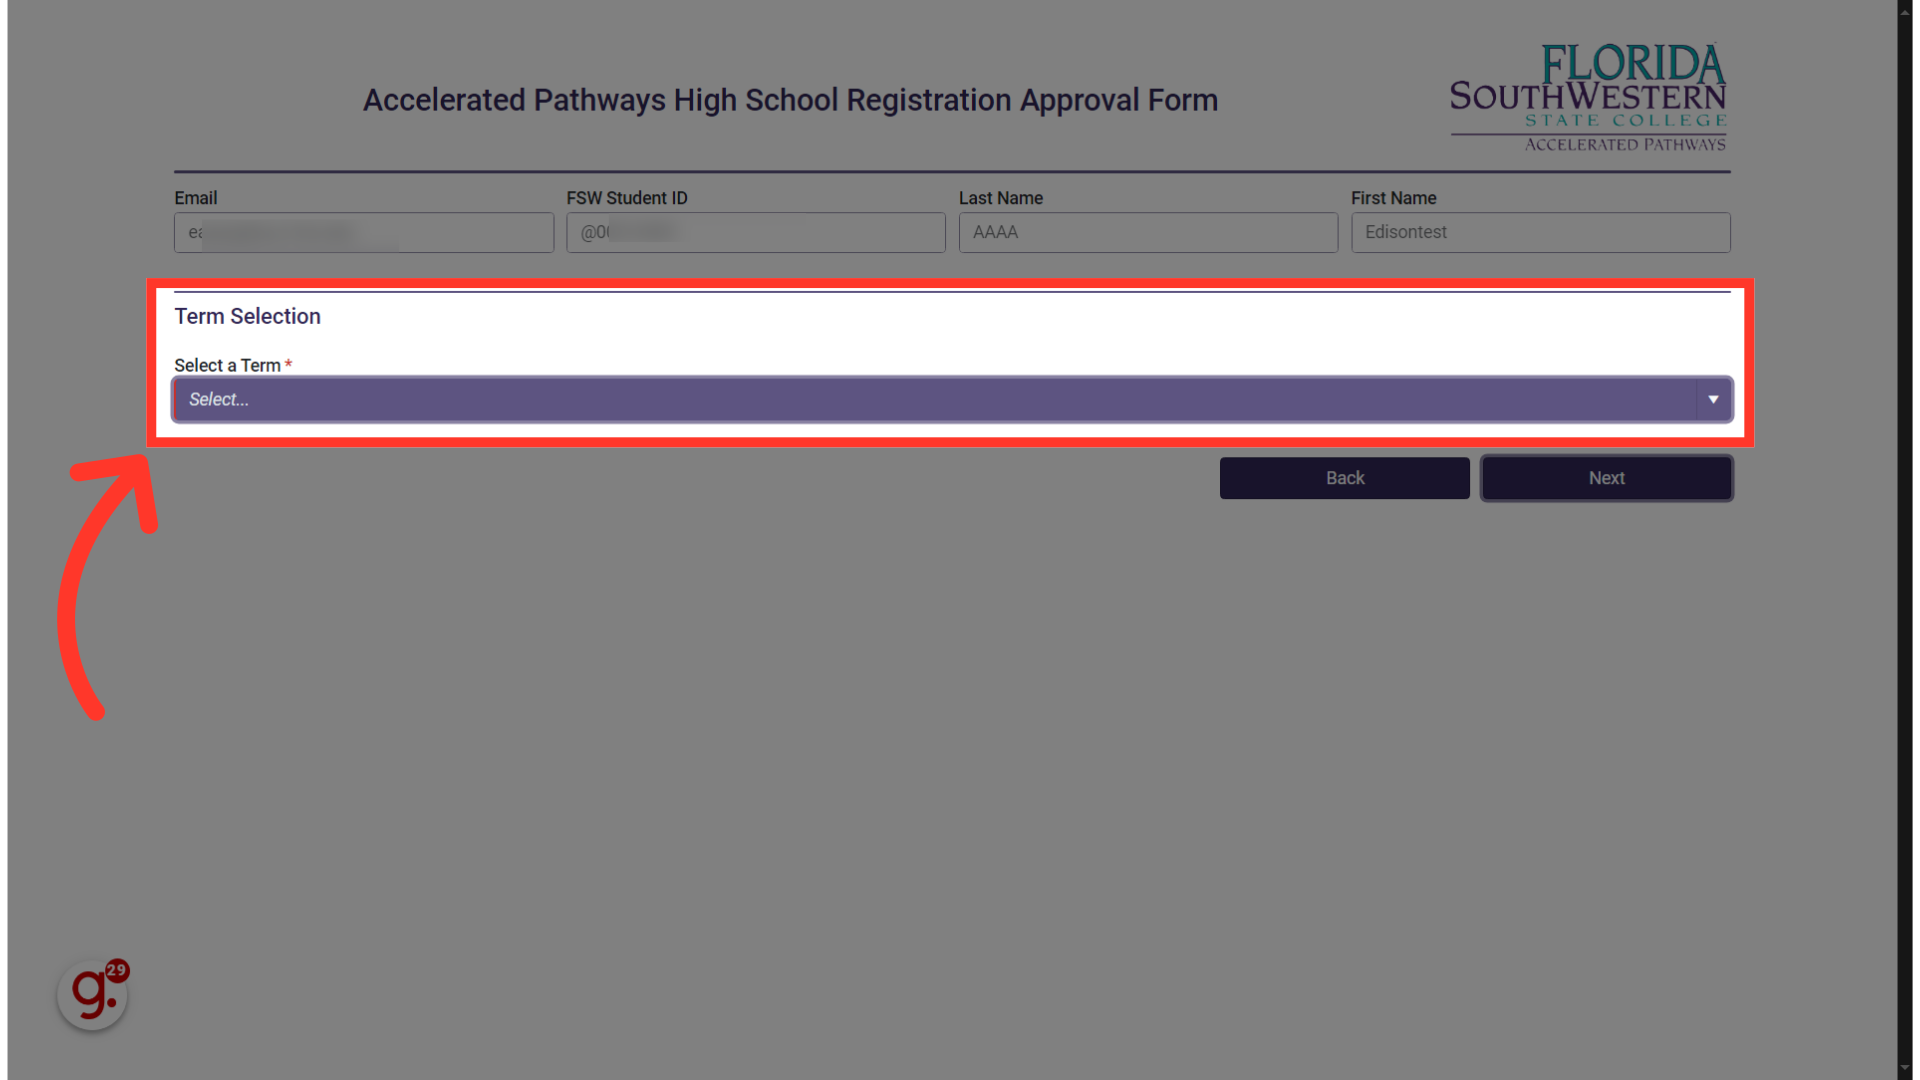
10. Click "Select..."
In this next step, we'll choose a term. Start by clicking on the Select a Term drop-down box to view the available options.
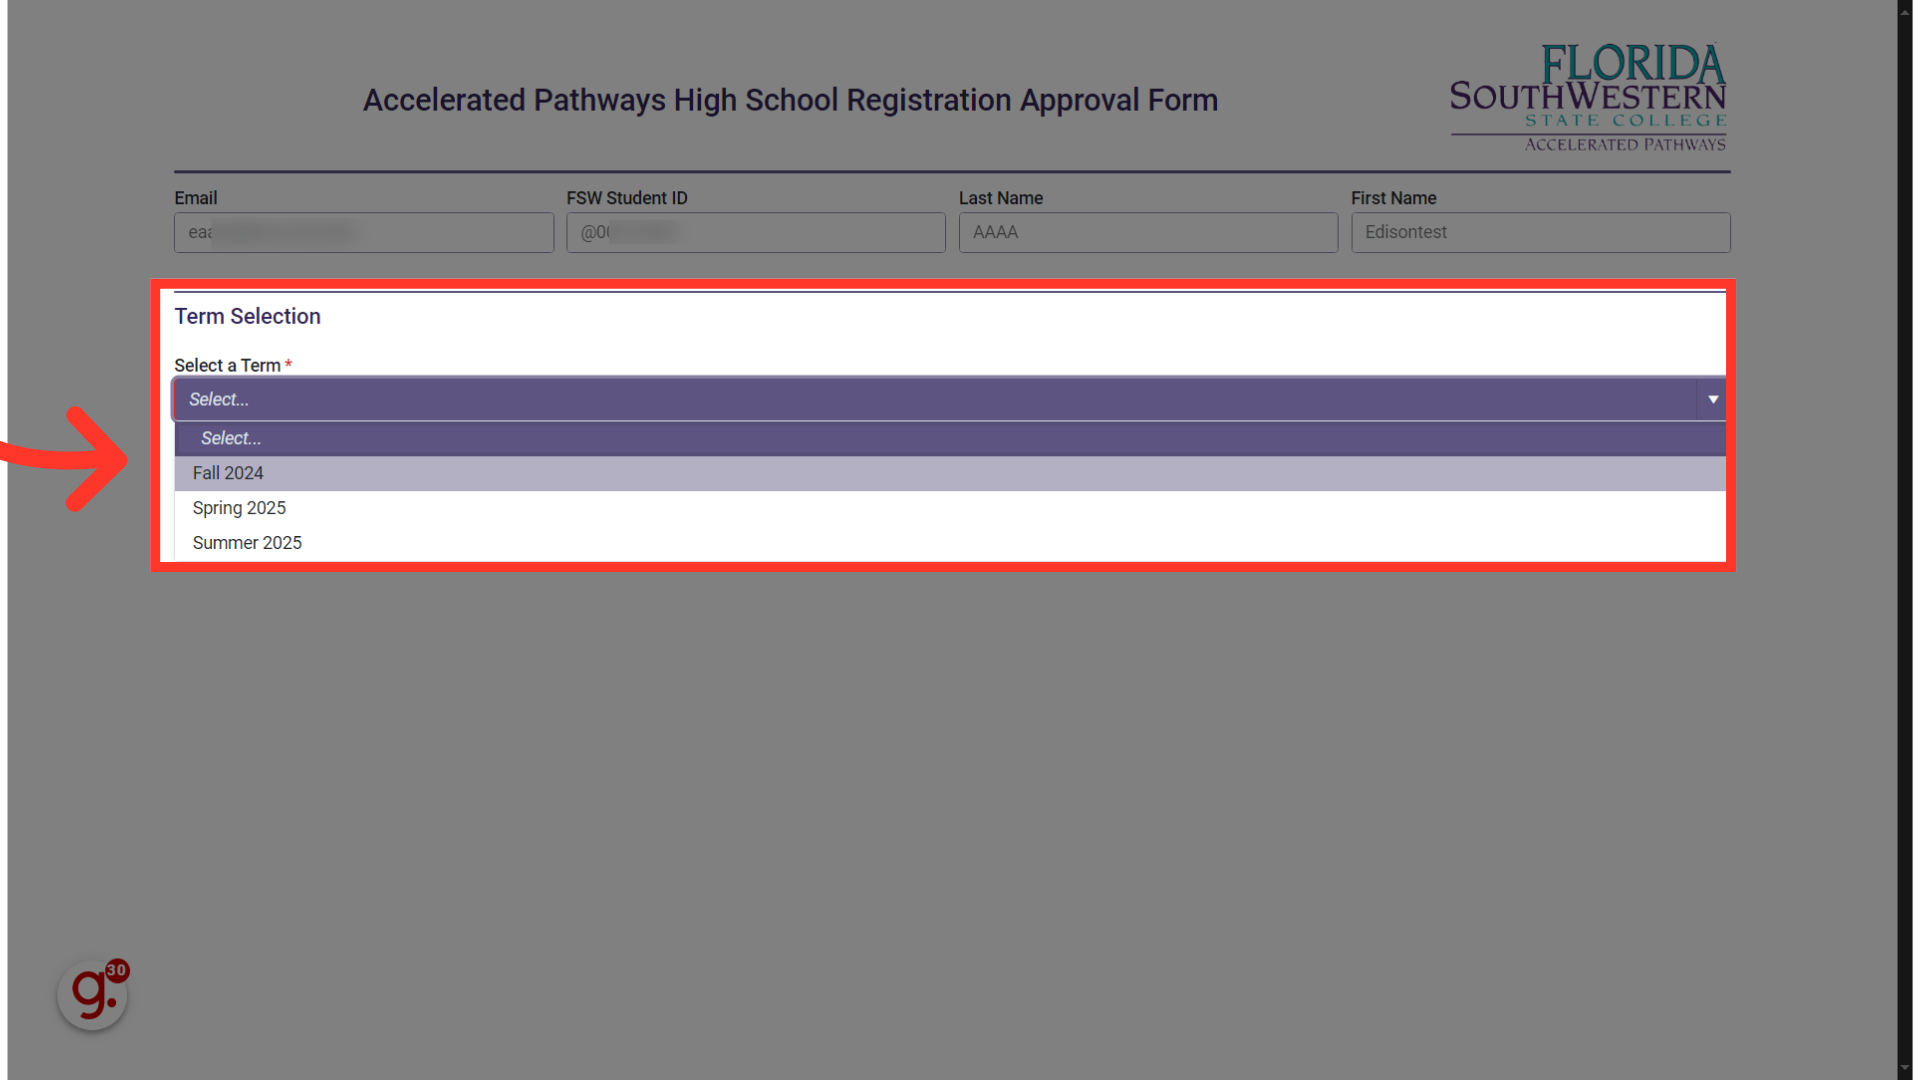
11. Select the term you are enrolling for
Please select the term for which you wish to register. In this video, we're demonstrating the process using the Fall 2024 term, but make sure to choose the option that's relevant to you.
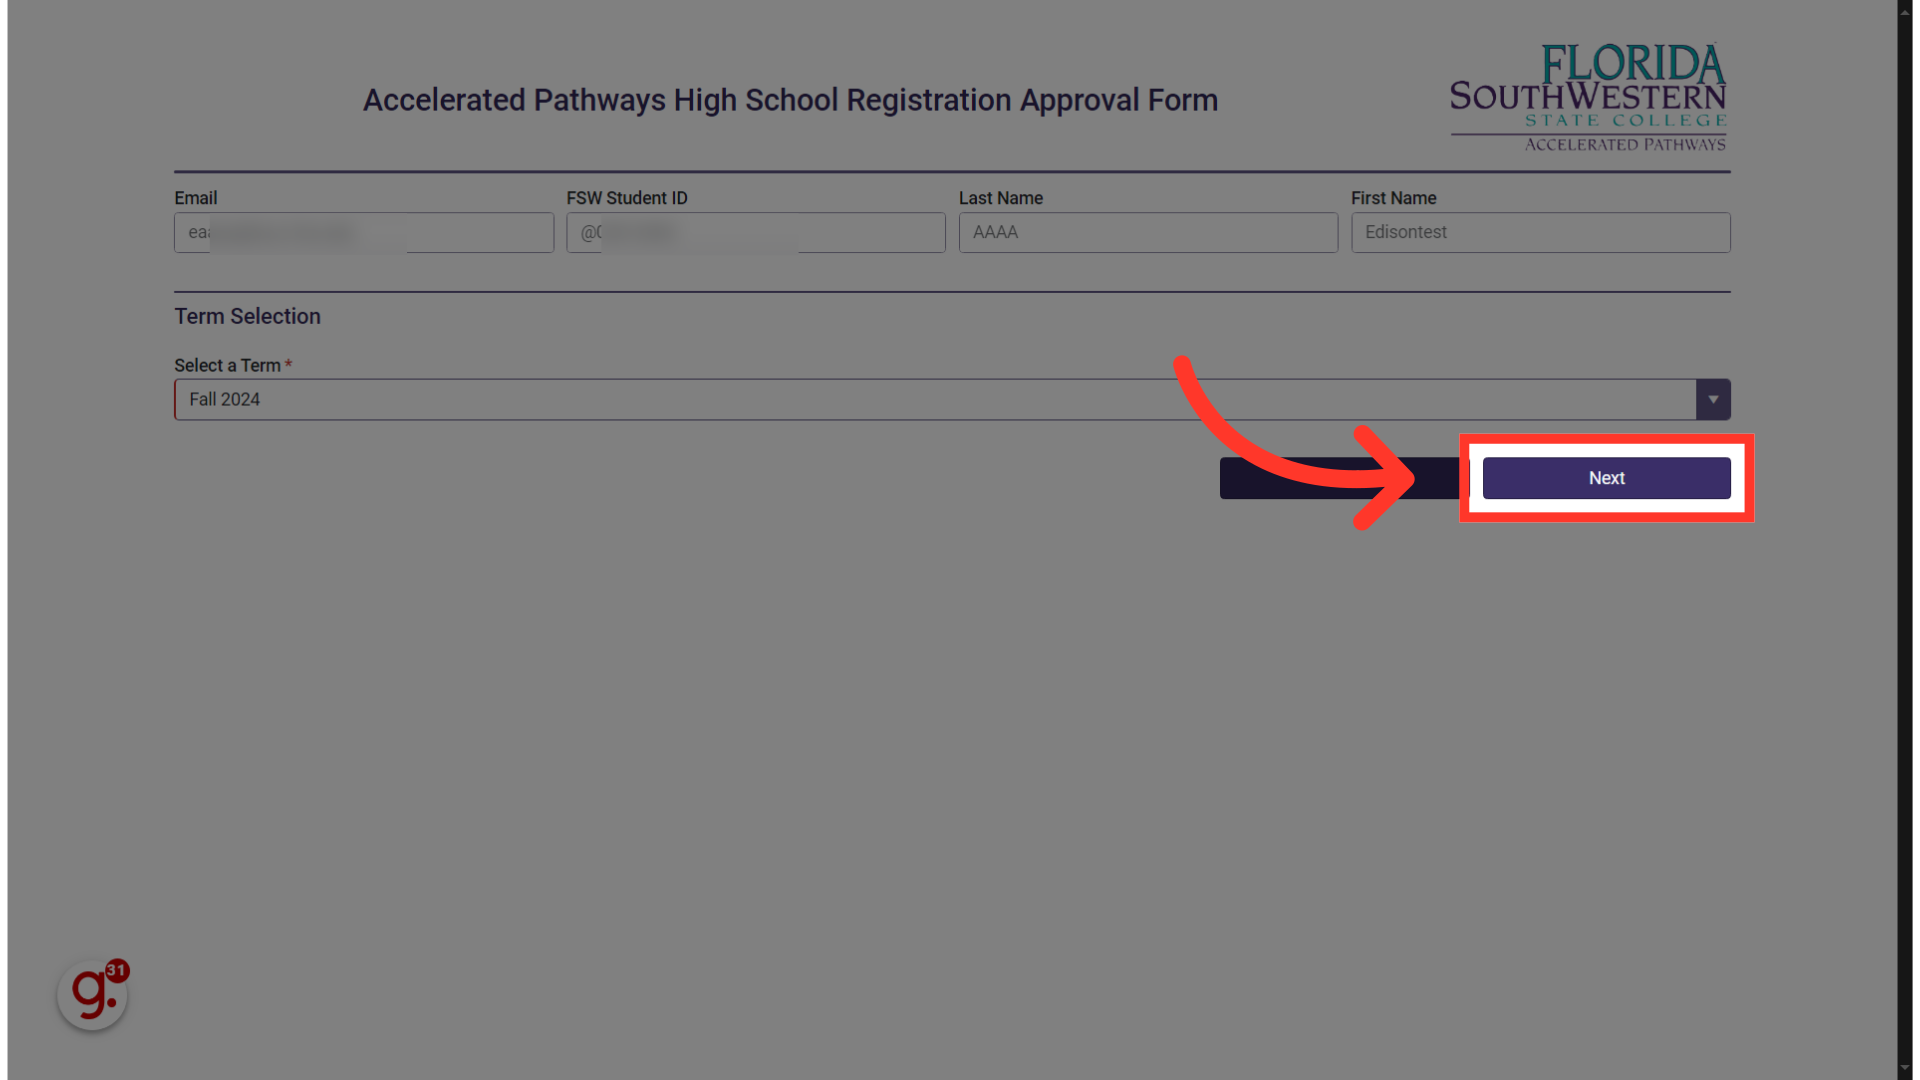
12. Click "Next"
After selecting the term you want to register for, proceed by selecting "Next.
13. To drop courses, click this slider.
In this section, we'll cover how to drop your currently enrolled courses. If you need to drop a course, follow this step. If you don't wish to drop any courses, simply click 'Next.' If you do want to drop a course, enable the option by clicking on the slider.
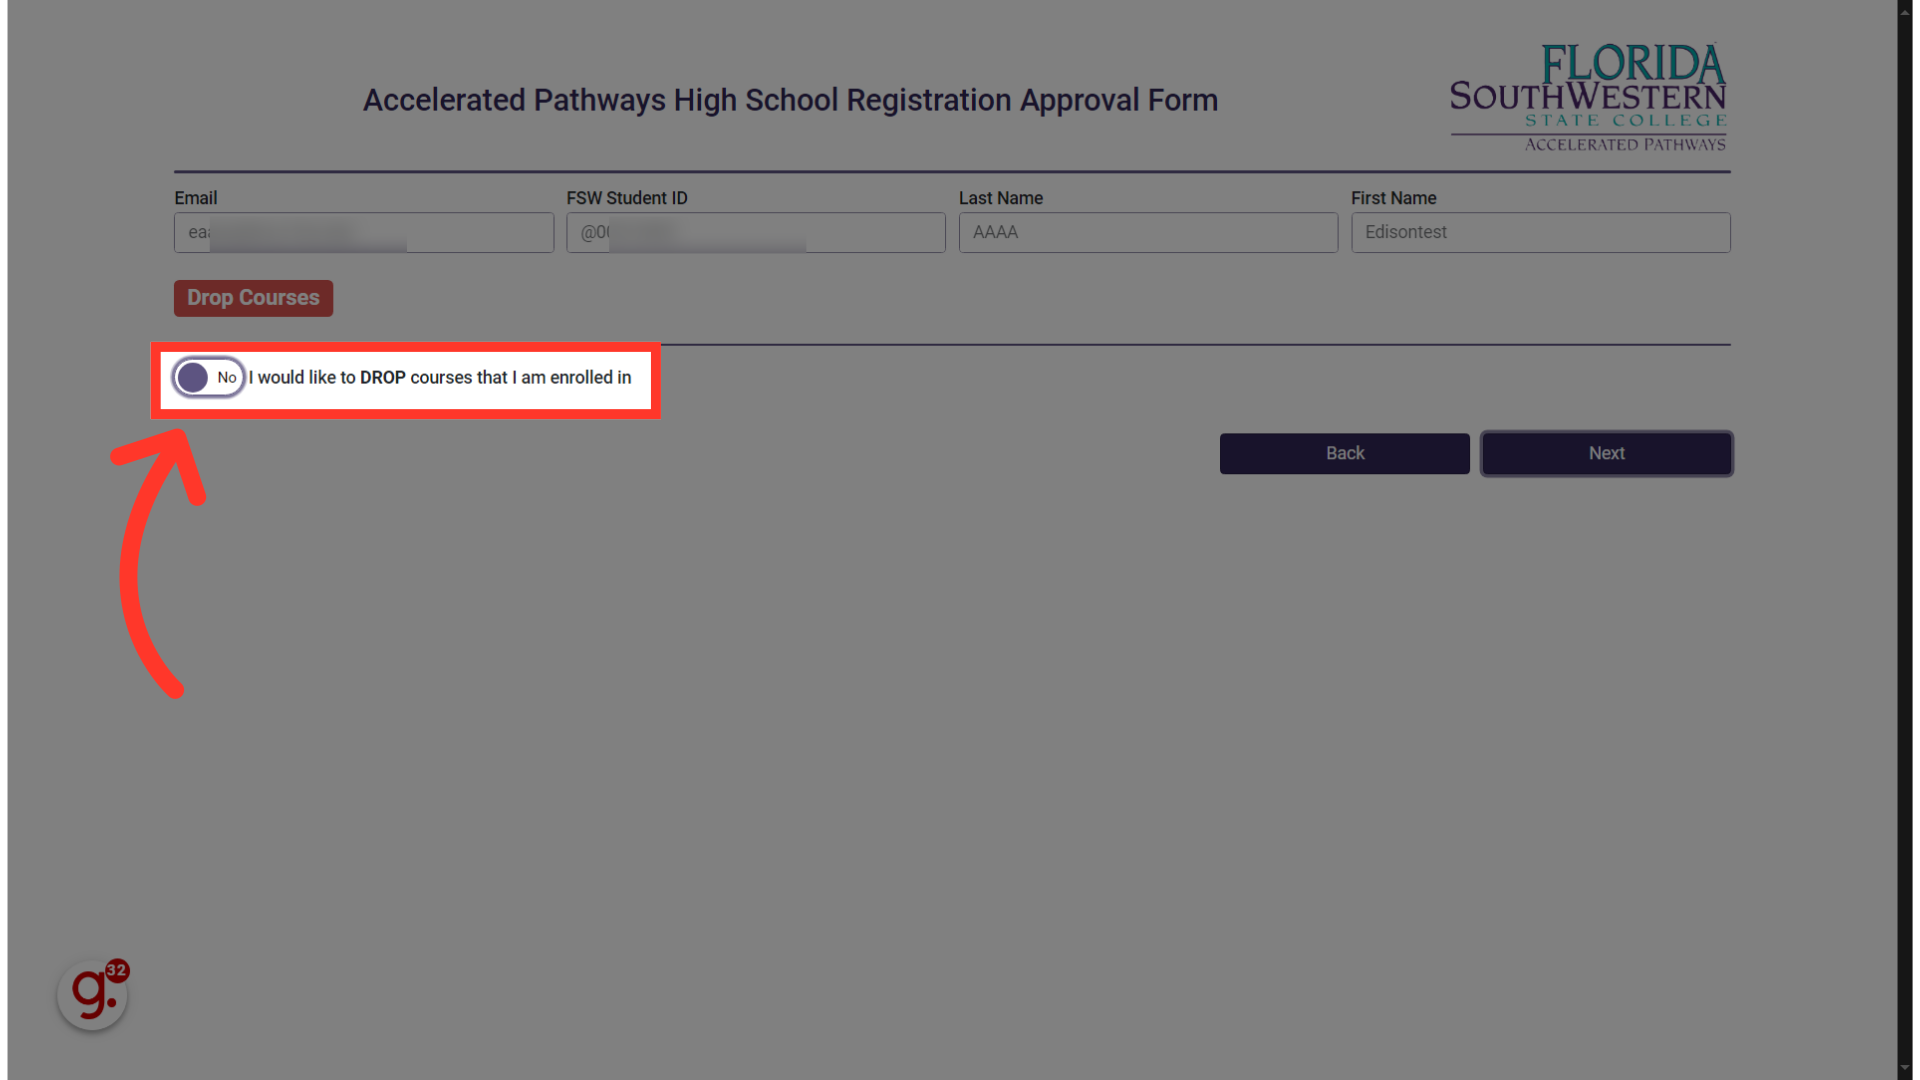
14. Review instructions
You can always find instructions here on how to add CRNs and validate your selections. Please note, you can drop a maximum of five courses.
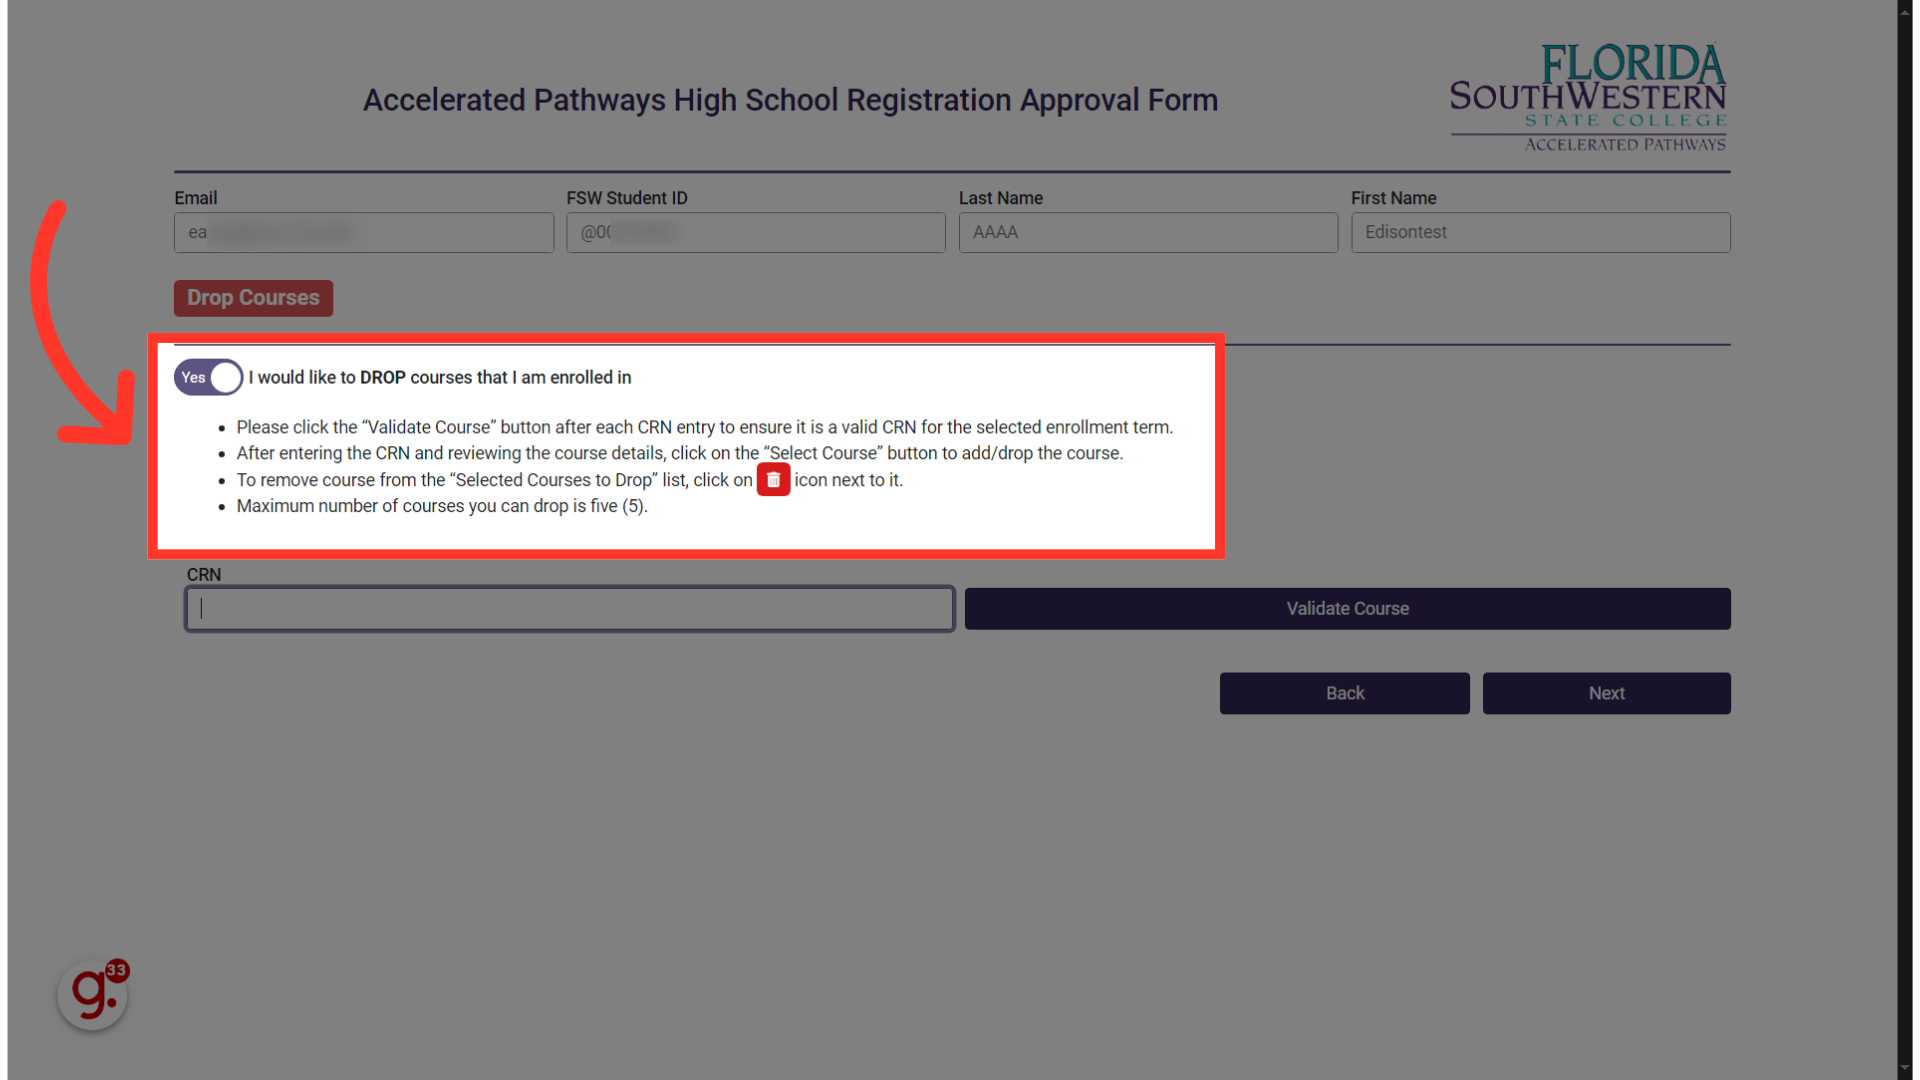
15. Click "CRN" and enter your unique course number
A CRN, or Course Reference Number, is a unique code for each class. You can find it on your FSW Portal Schedule. Enter the CRN into the text box here to proceed.
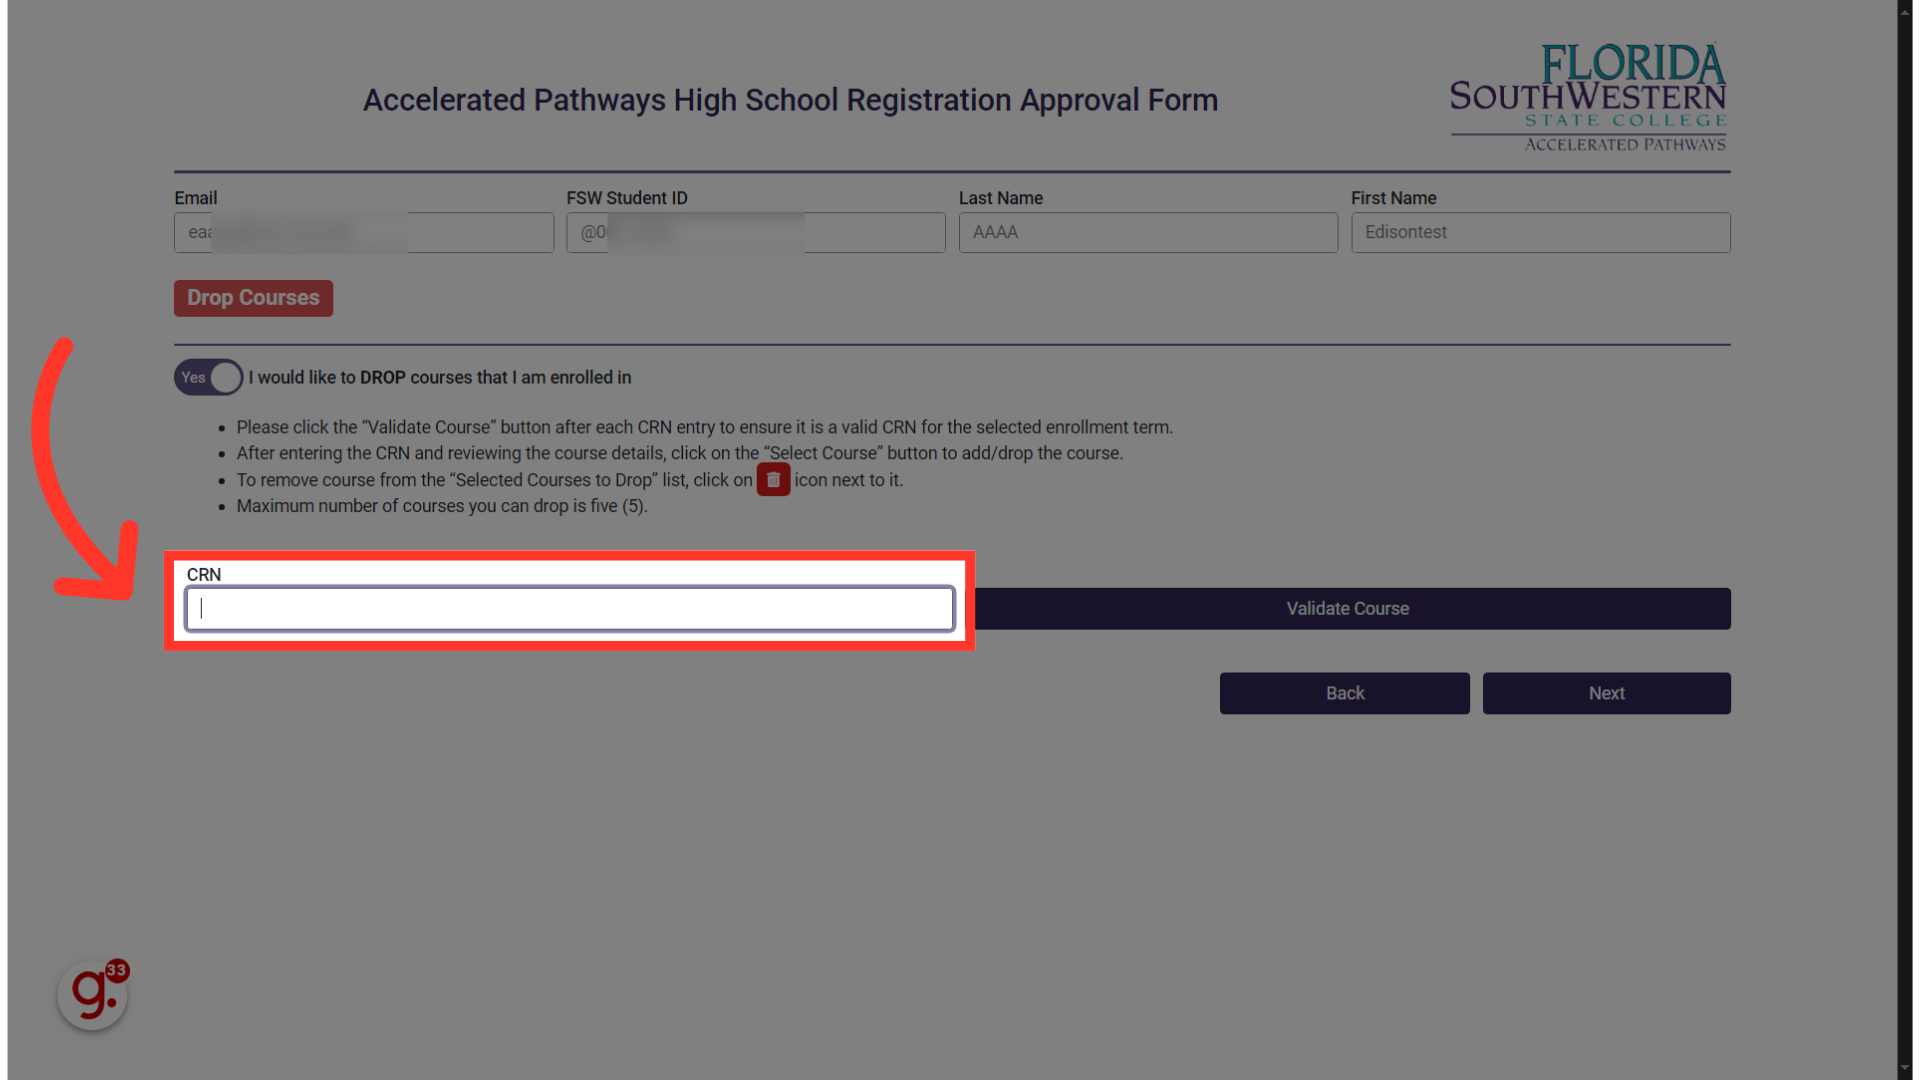
16. Add CRNs to drop
We're using a sample CRN here, but you’ll need to use the one found on your schedule through the Portal.
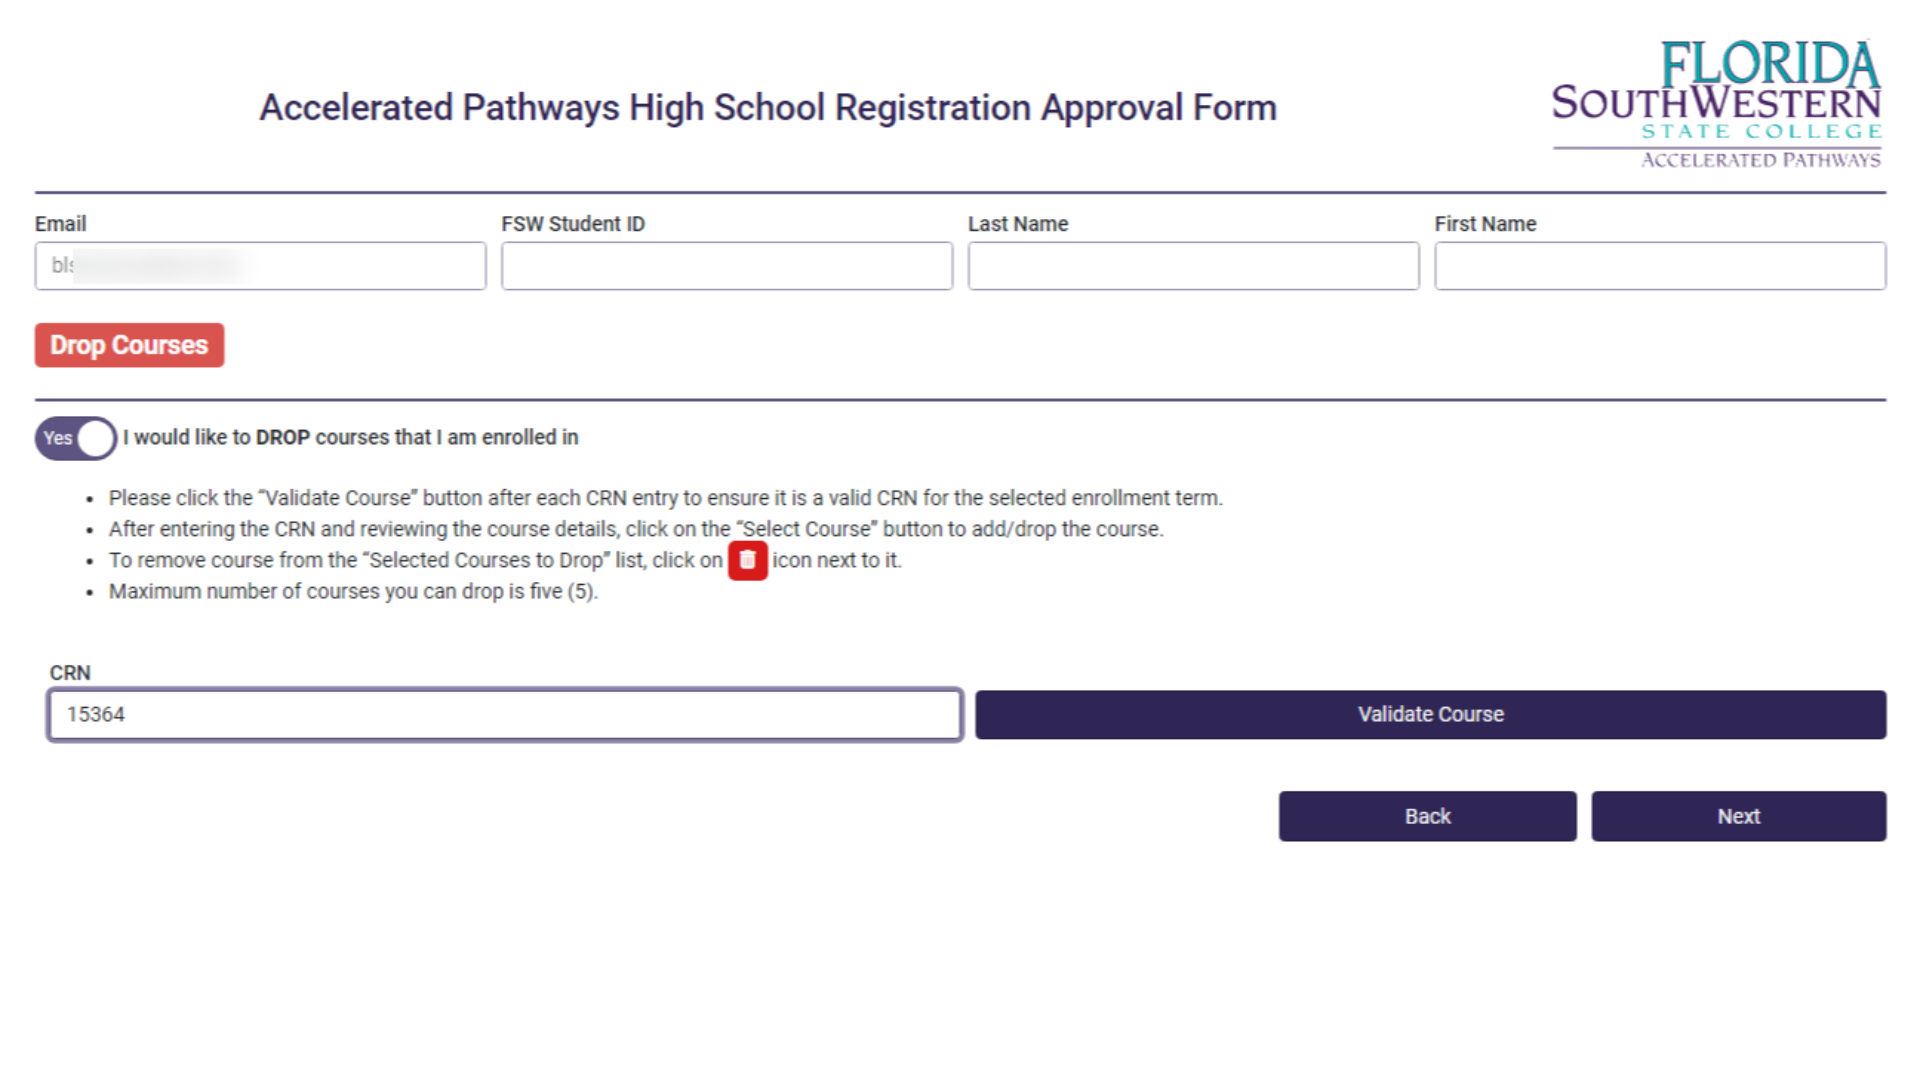
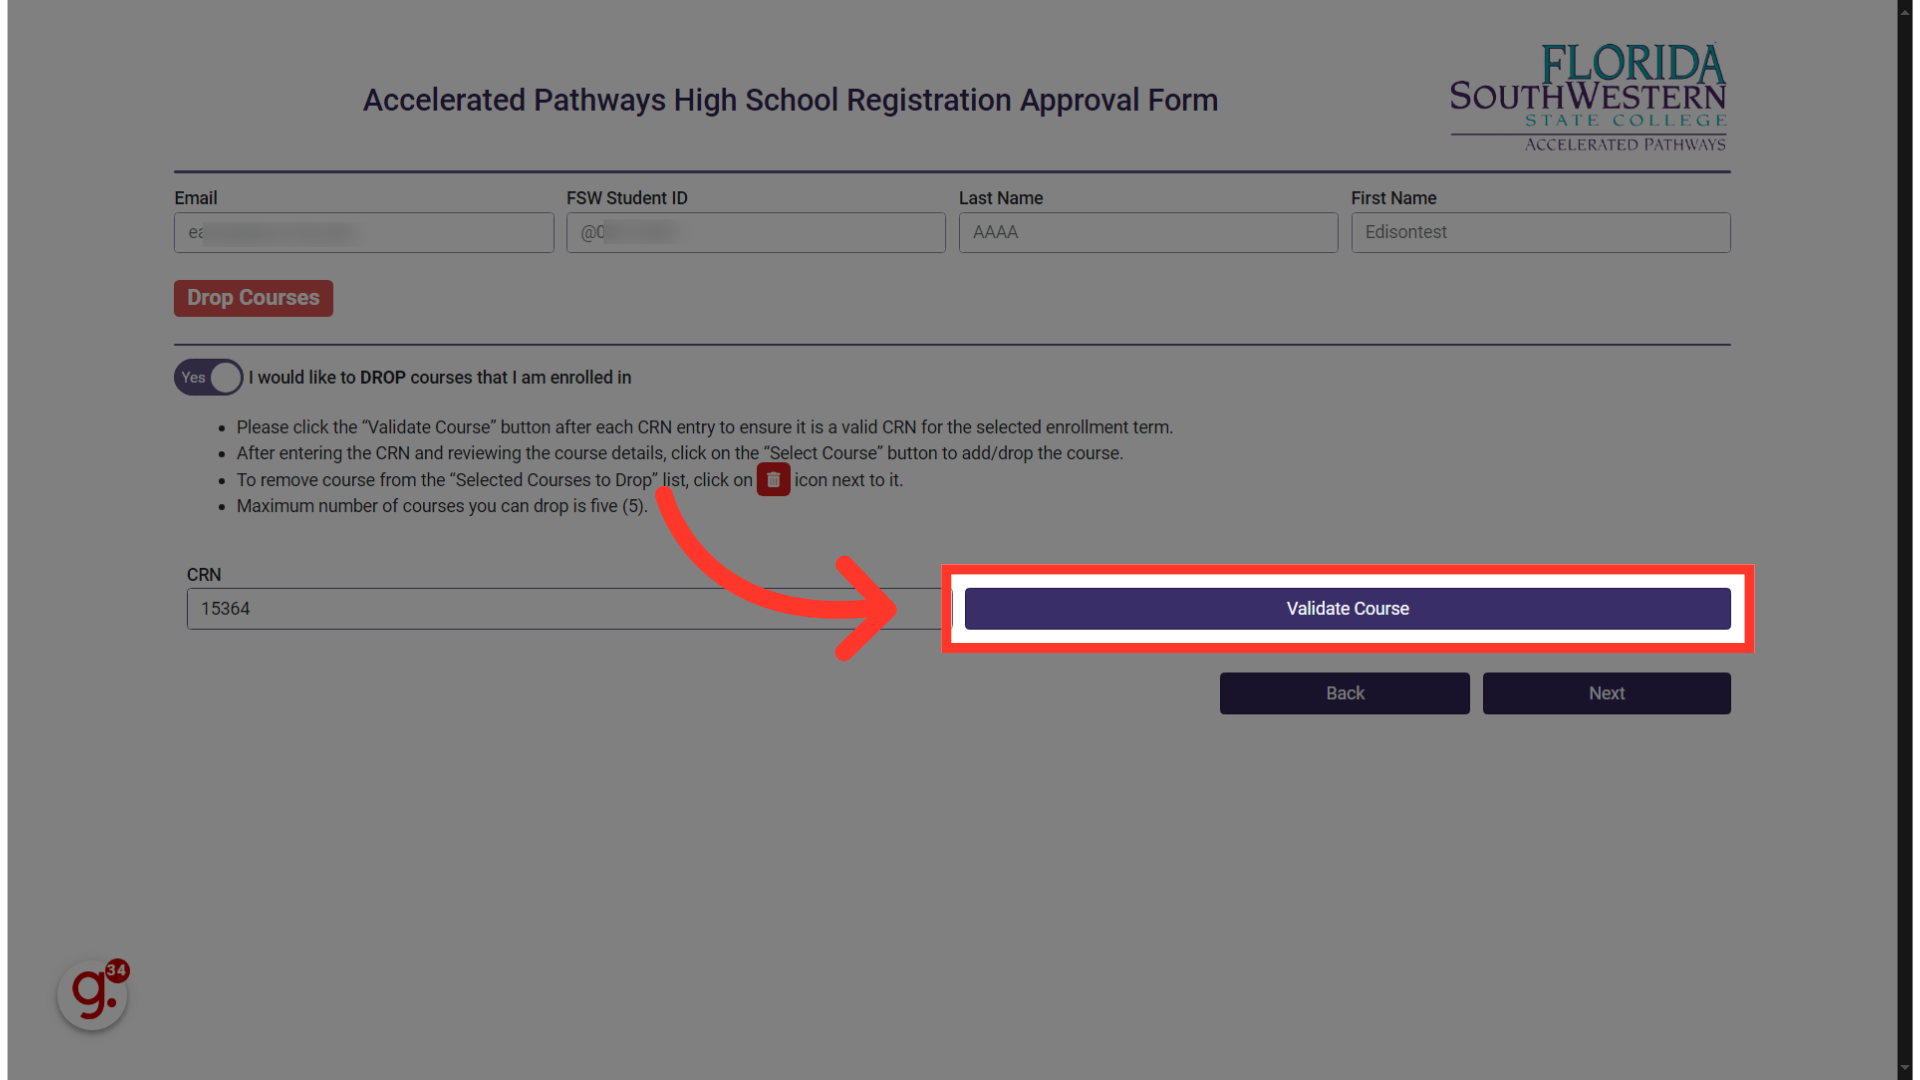
17. Click "Validate Course"
Validate the course by clicking on the button labeled, Validate Course.
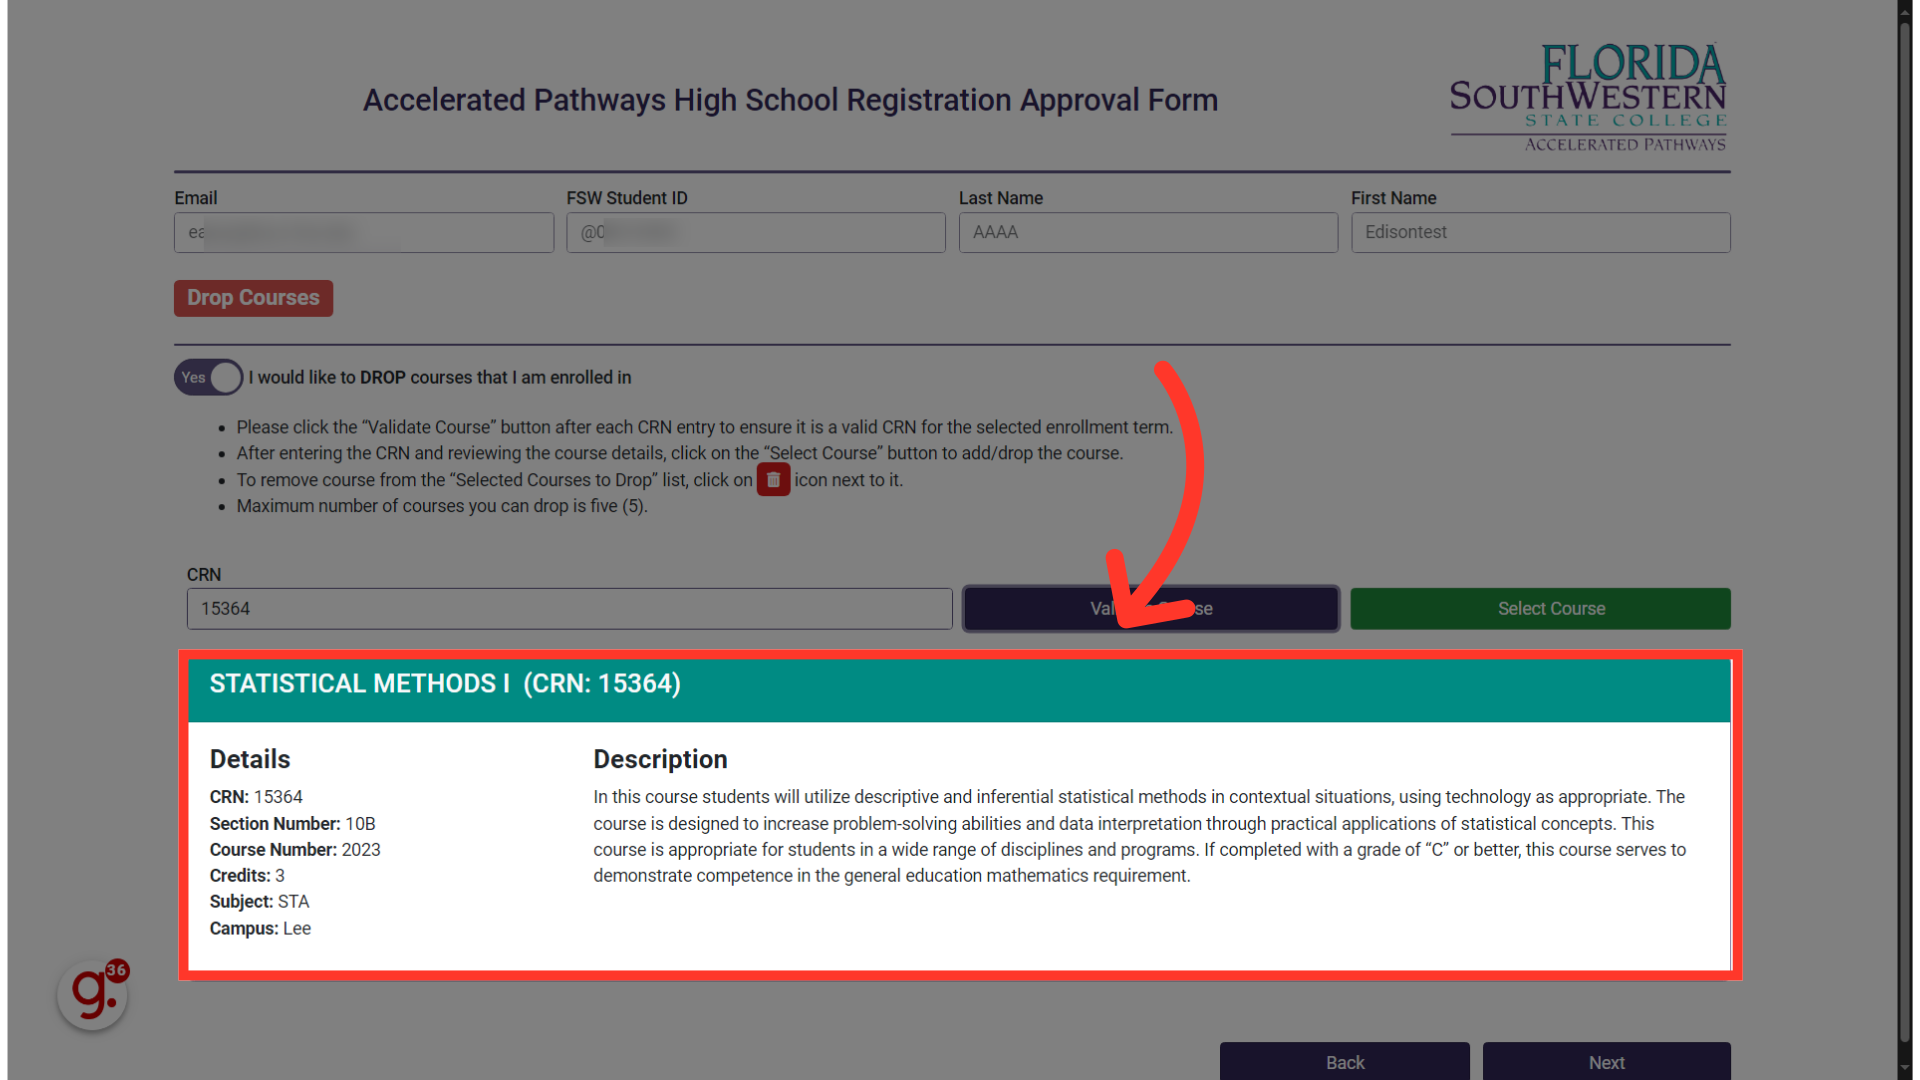
18. Verify the result
If a CRN is found, you'll see something like this displayed below. At this step, it's important to make sure this is the correct course you want to drop. You can review the course details and description to confirm.
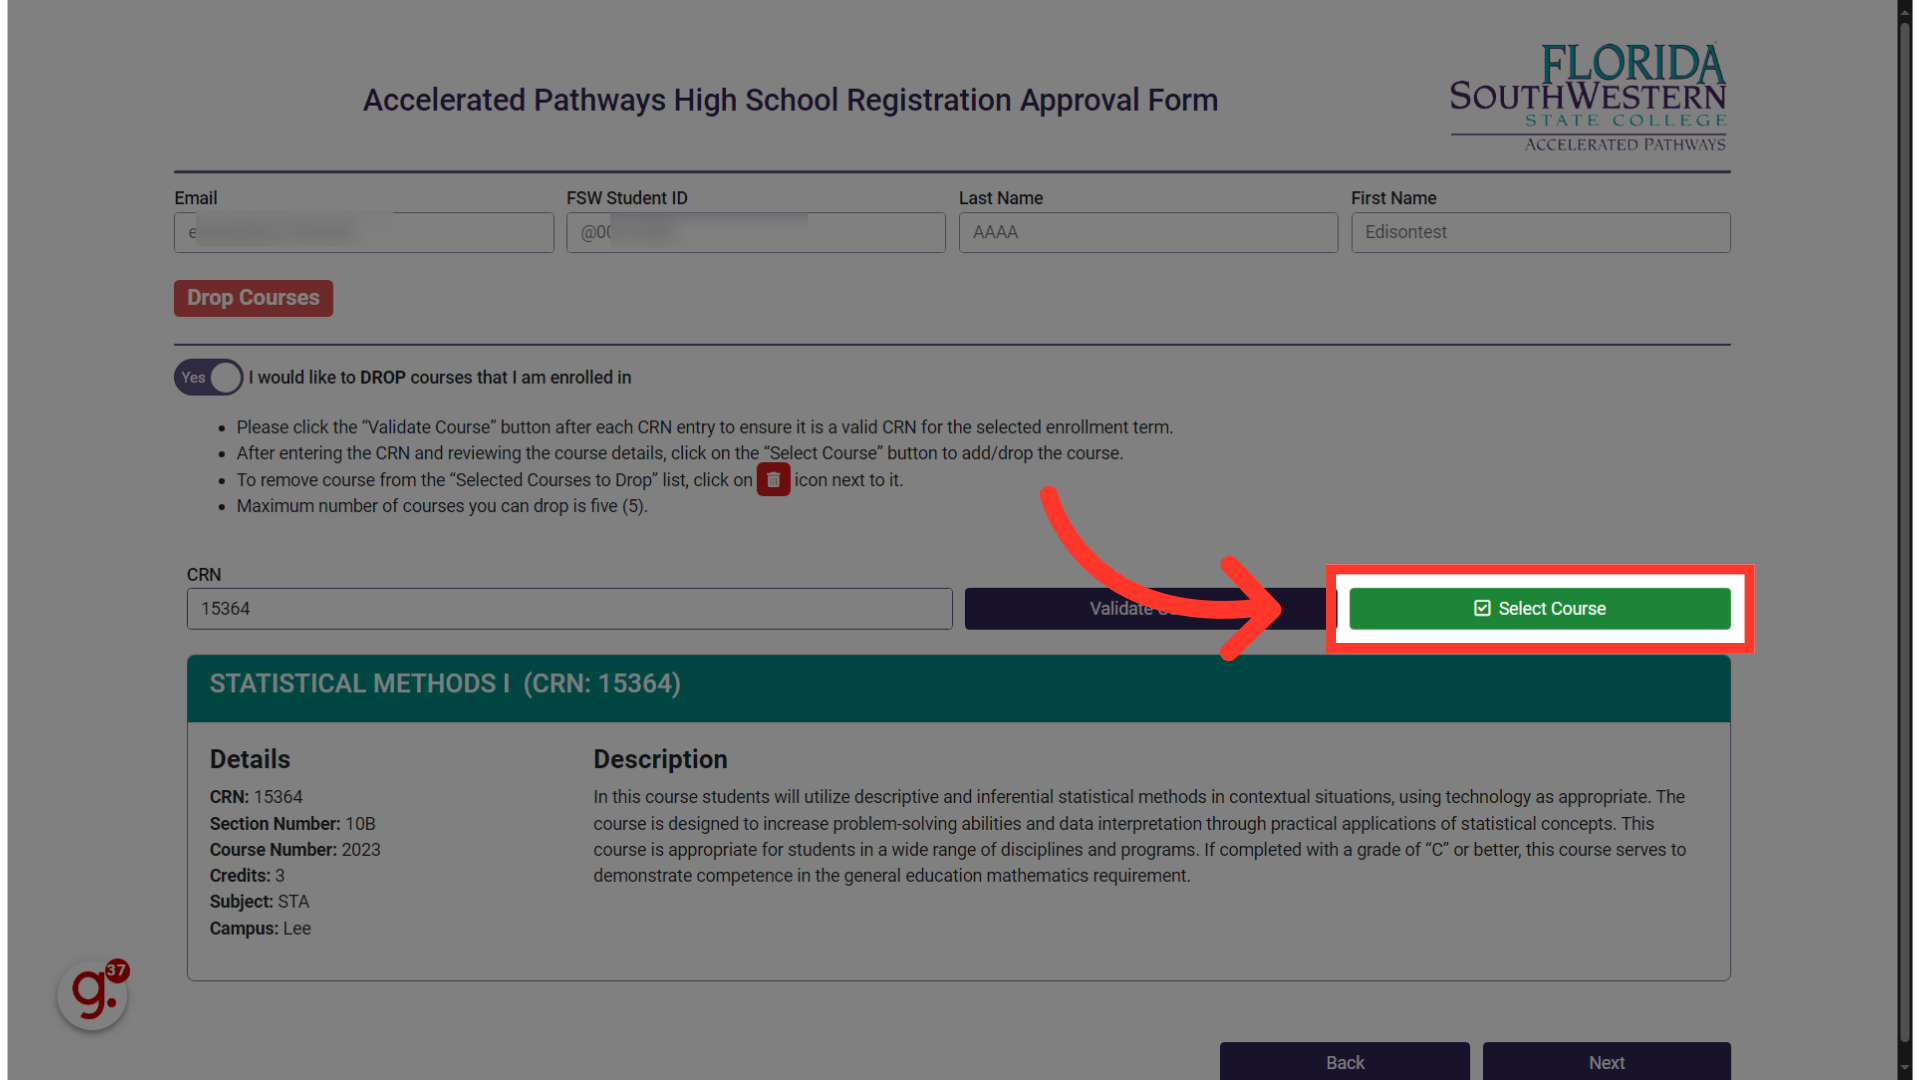
19. Click "Select Course"
To add this course to your list of classes to drop, simply click the green Select Course button here.
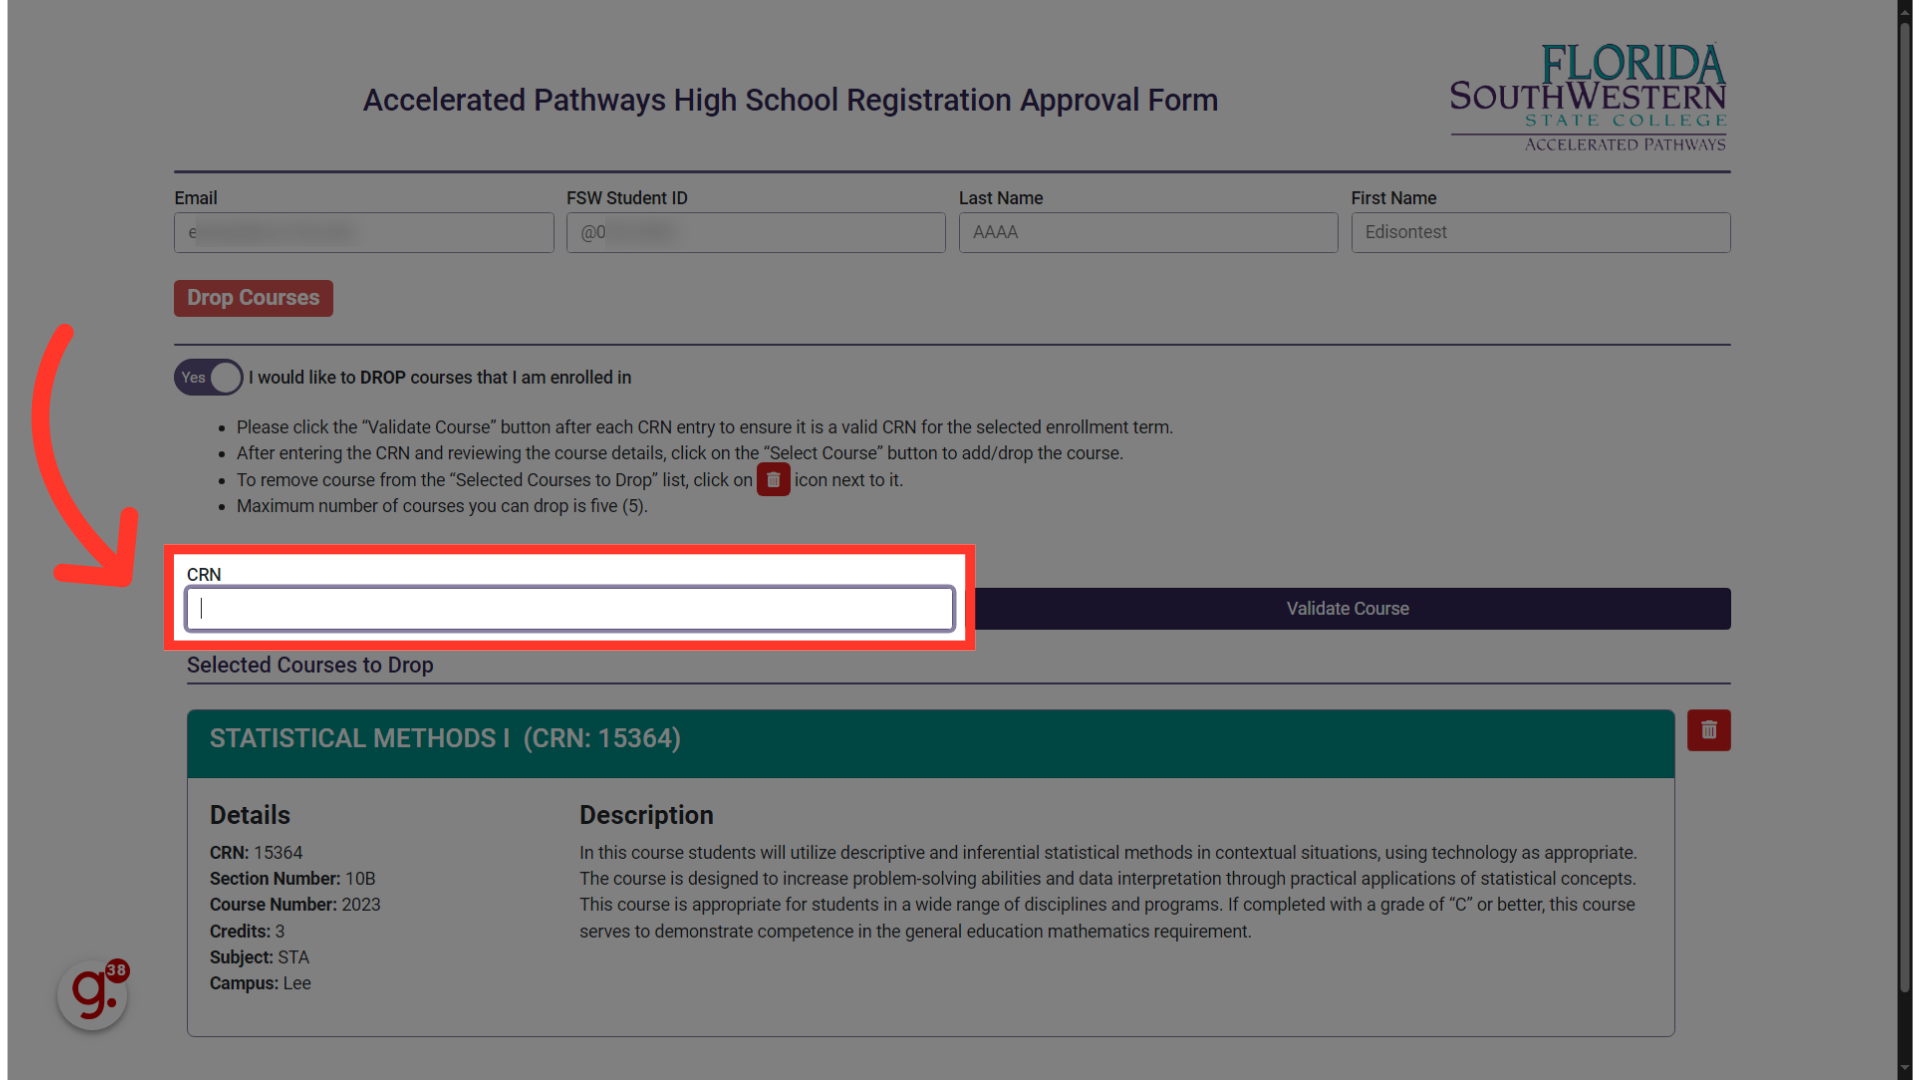
20. If you wish to drop more, classes, repeat process
To drop more classes, repeat the process. You can drop up to a maximum of five courses. Add the CRN of your next class into the text box here.
21. Click "Validate Course"
Verify the course by clicking on "Validate Course
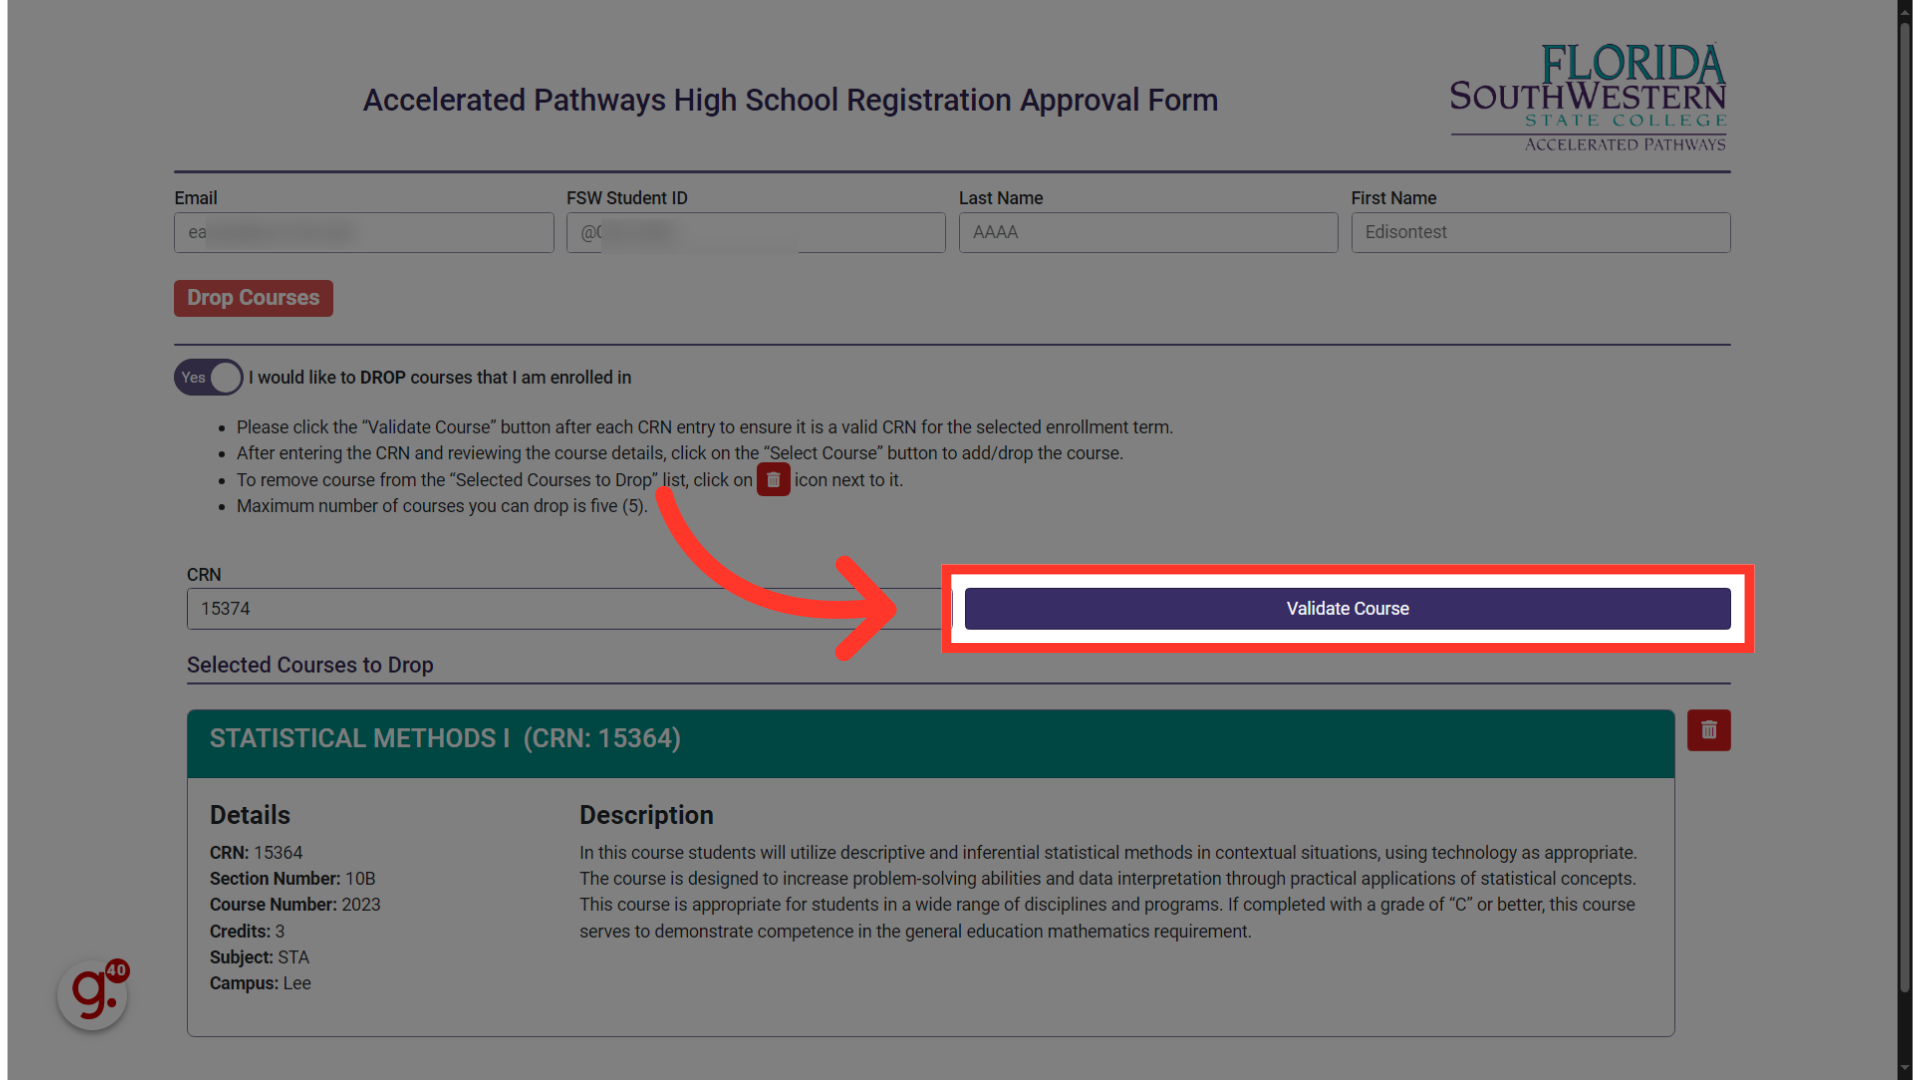
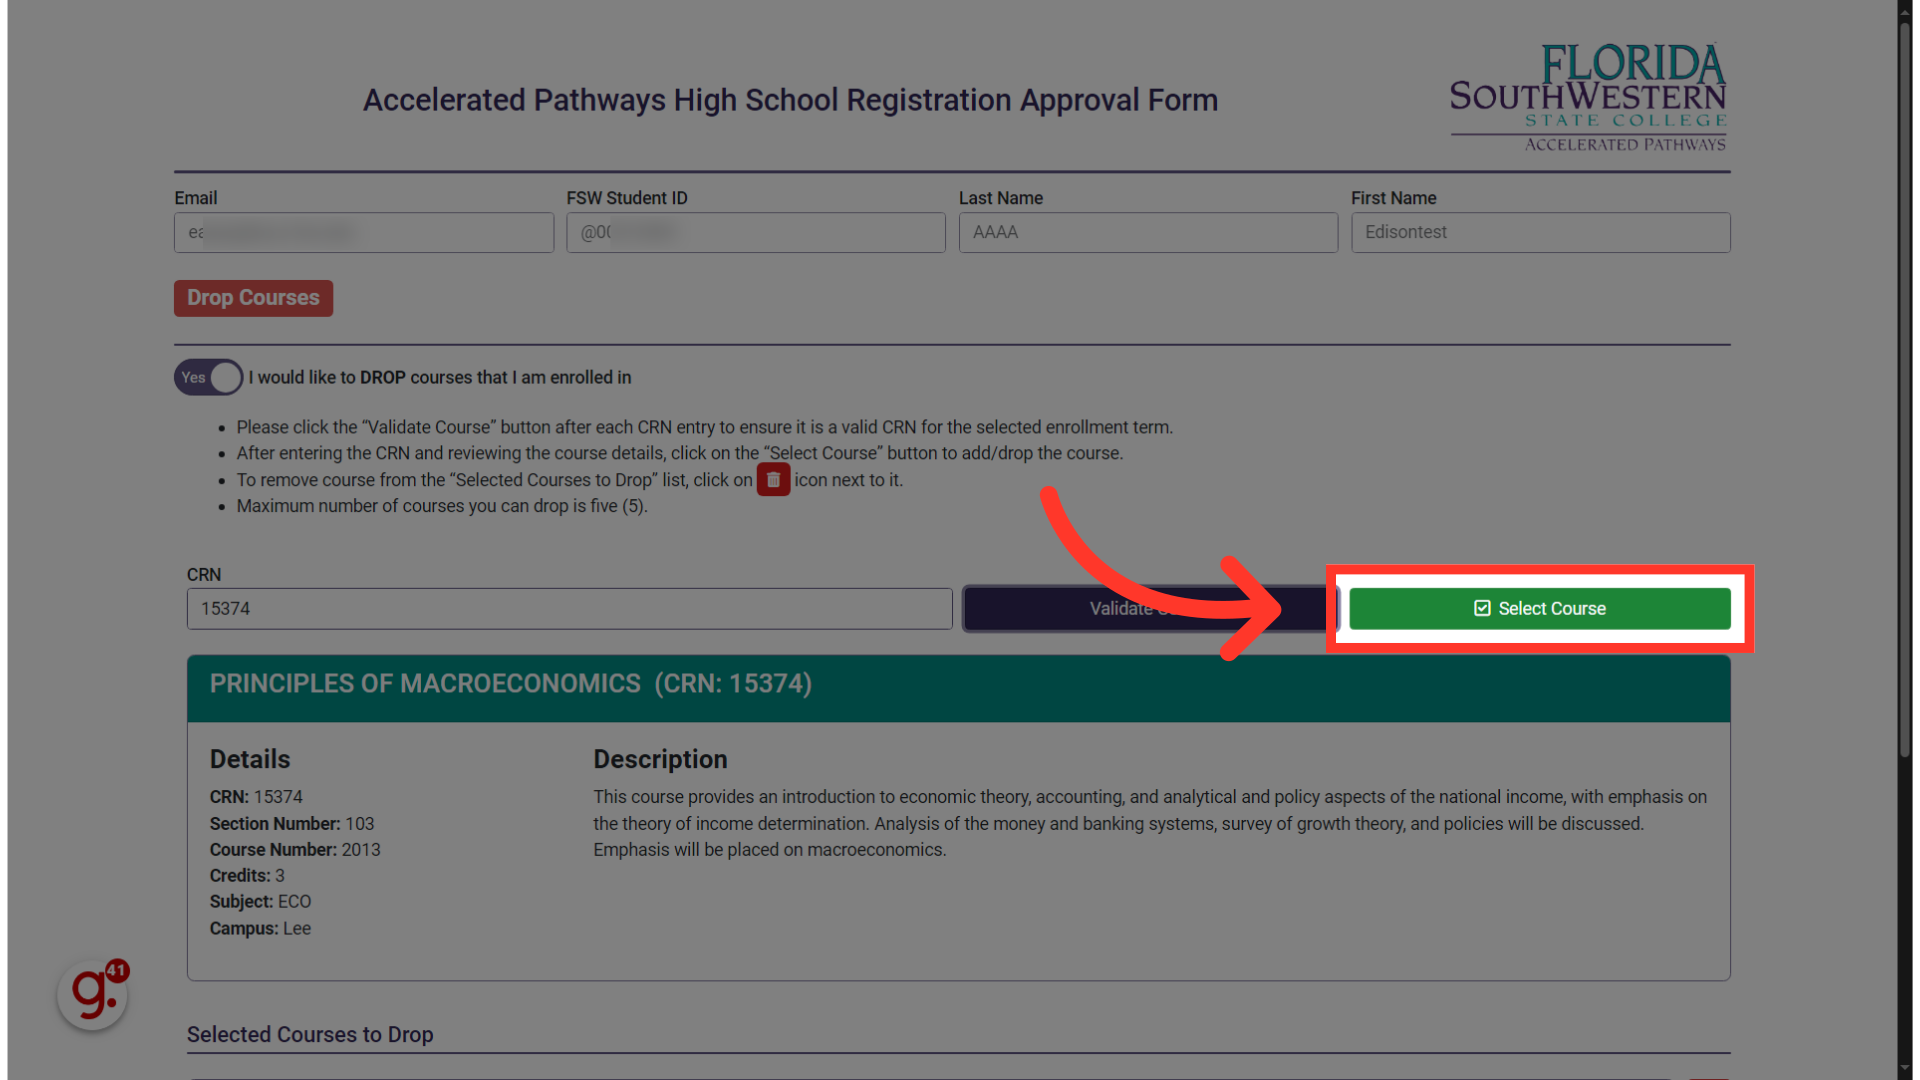
22. Click "Select Course"
Add the course to your list, by clicking on "Select Course.
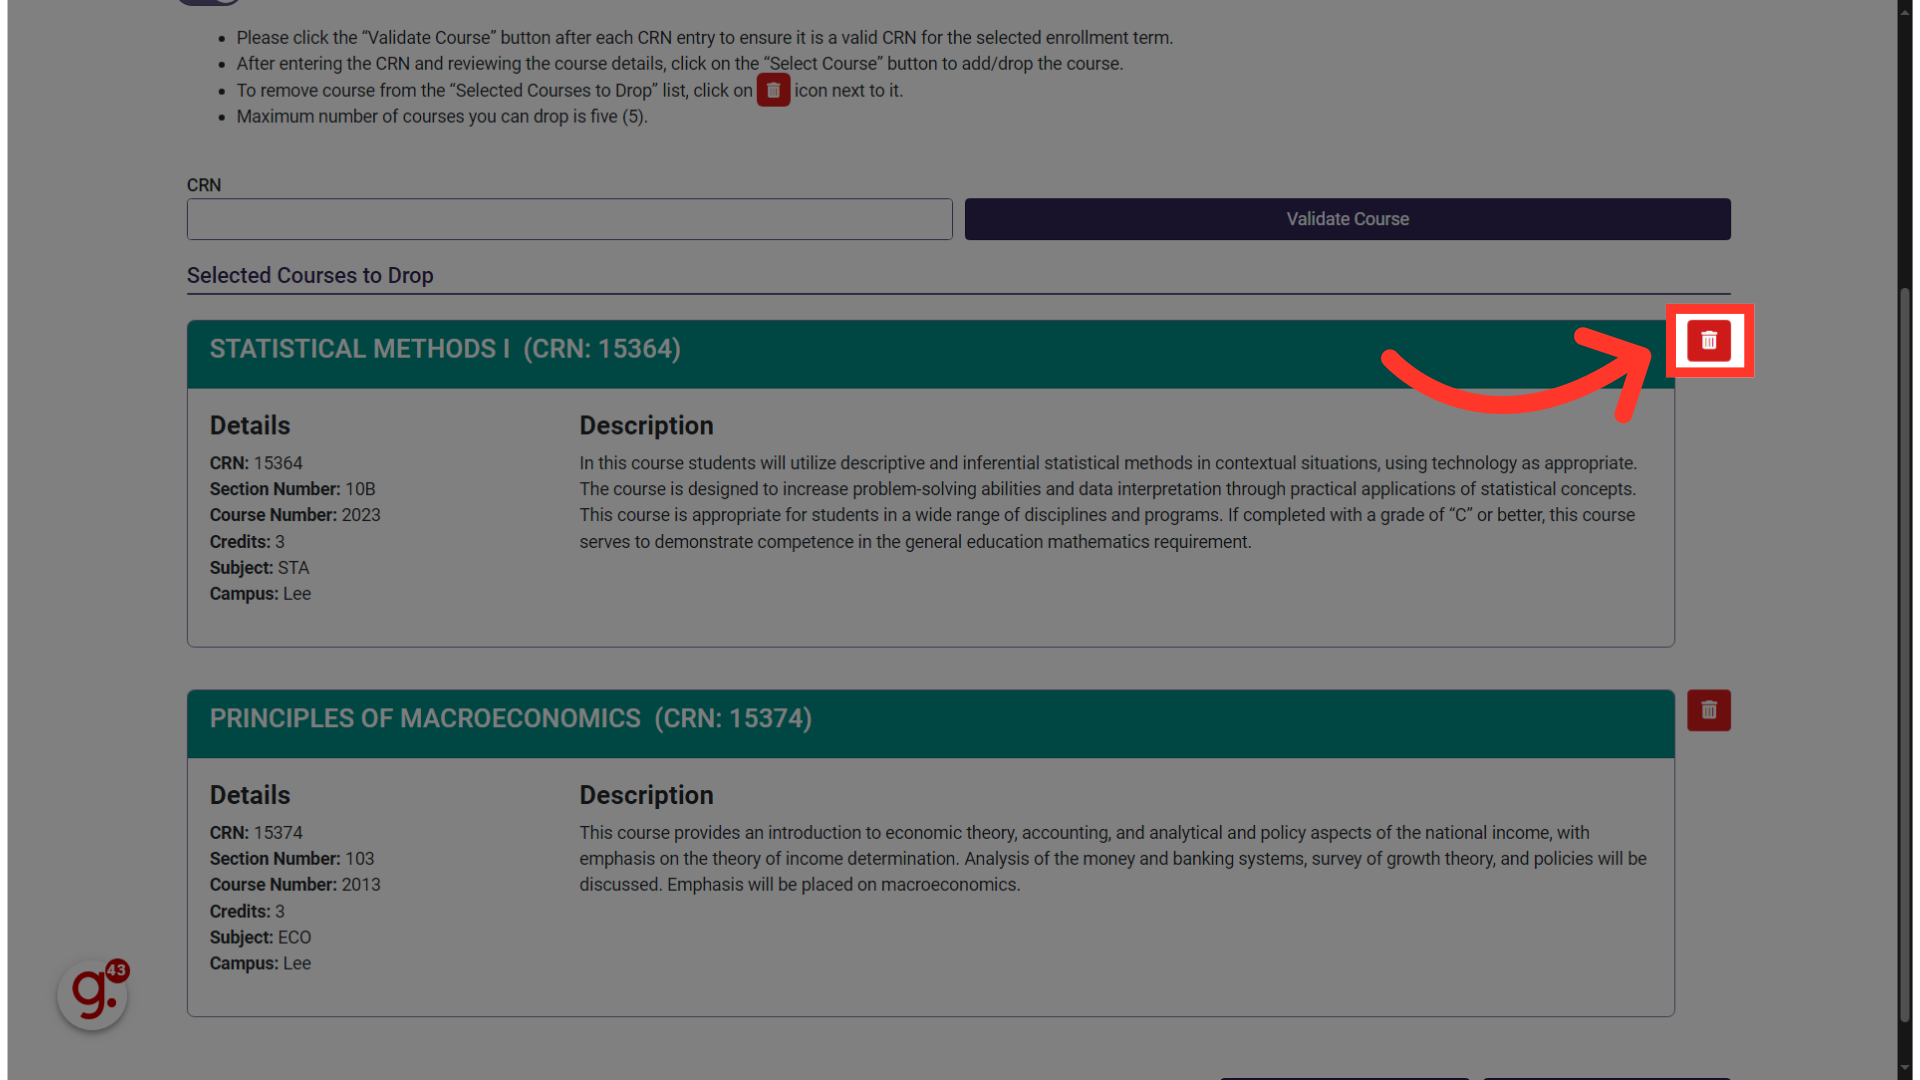
23. Click this icon to remove the course from your list
If you need to remove a course that was added to your Drop list. Locate the red trash icon next to the listed class. Click the trashcan to remove it from your list.
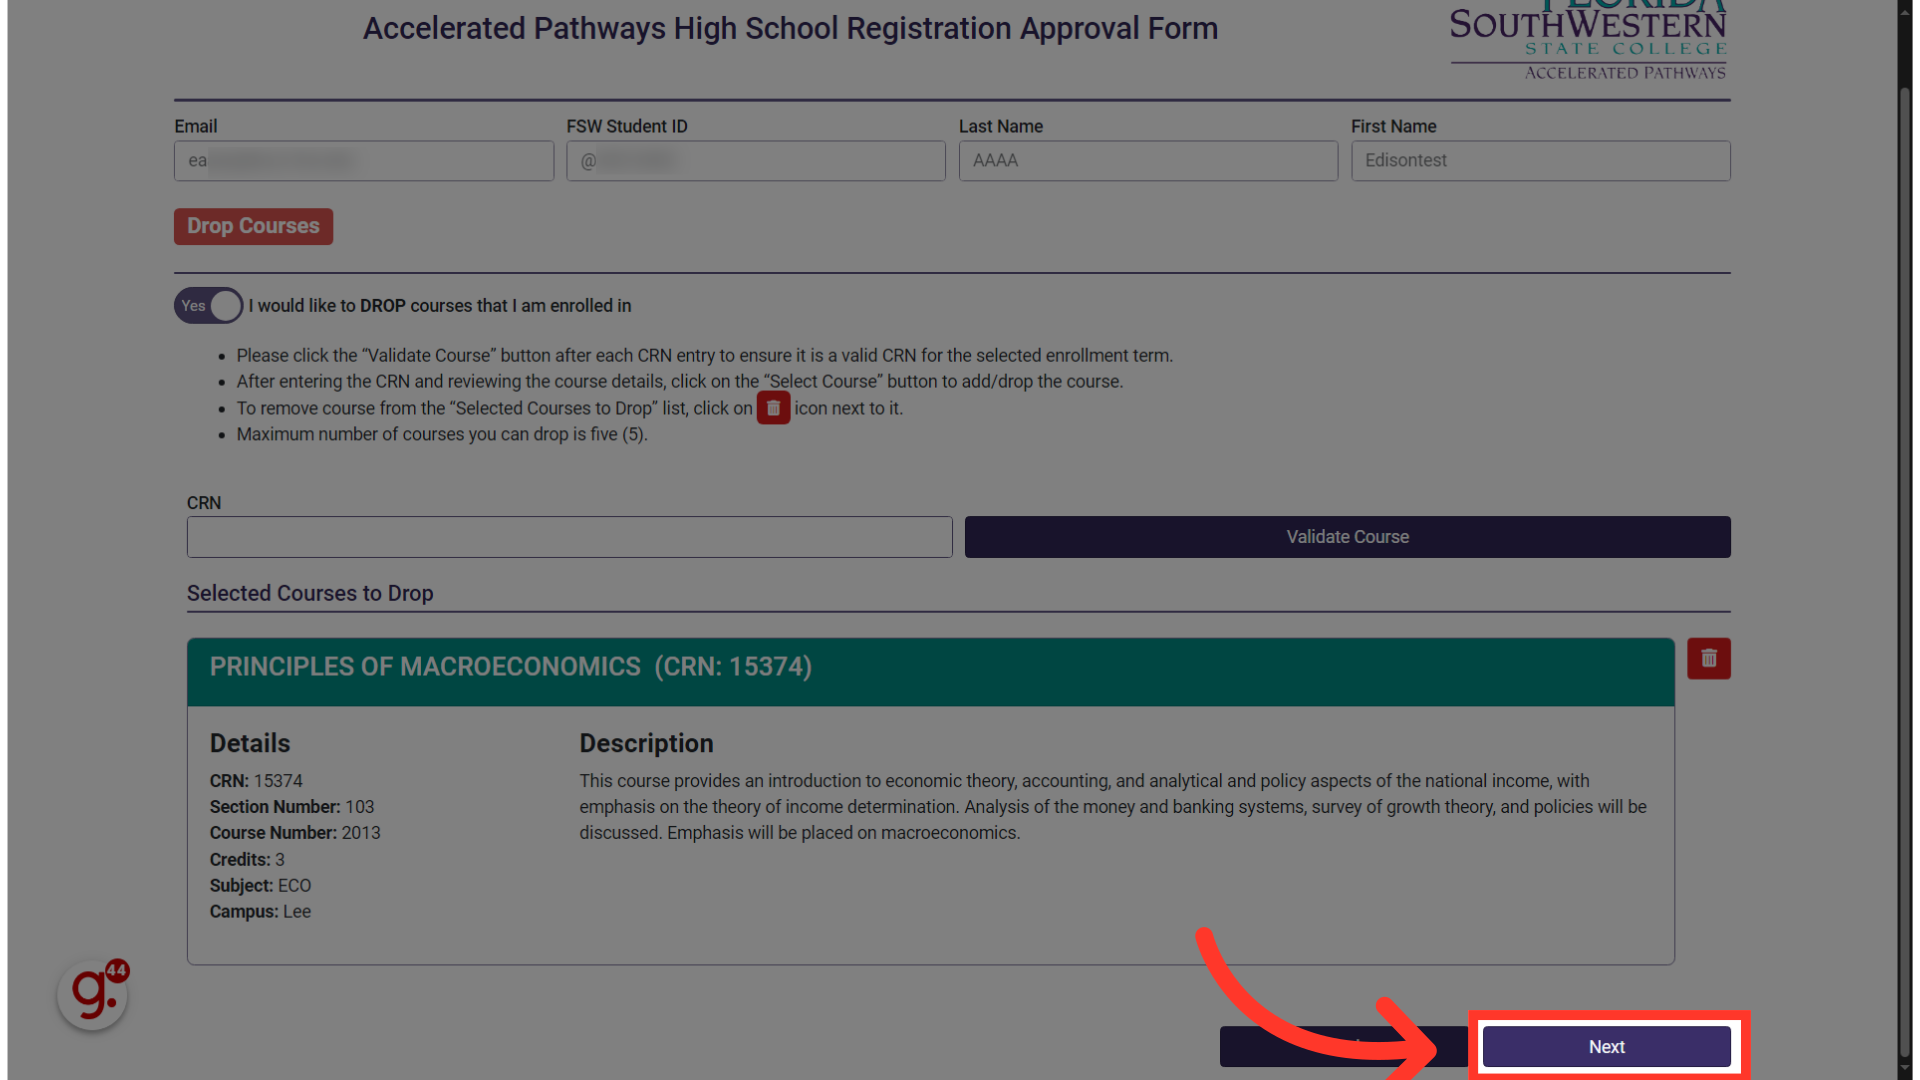
24. Click "Next"
Once you have all the courses listed that you would like to drop, scroll down to the bottom and click the Next button.
25. Click here to start Adding CRNs to register
In this section, we'll cover how to add courses for registration. If you want to register for a course, follow this step. If you're not adding any courses, simply click 'Next.' To register for a course, enable the option by clicking on the slider.
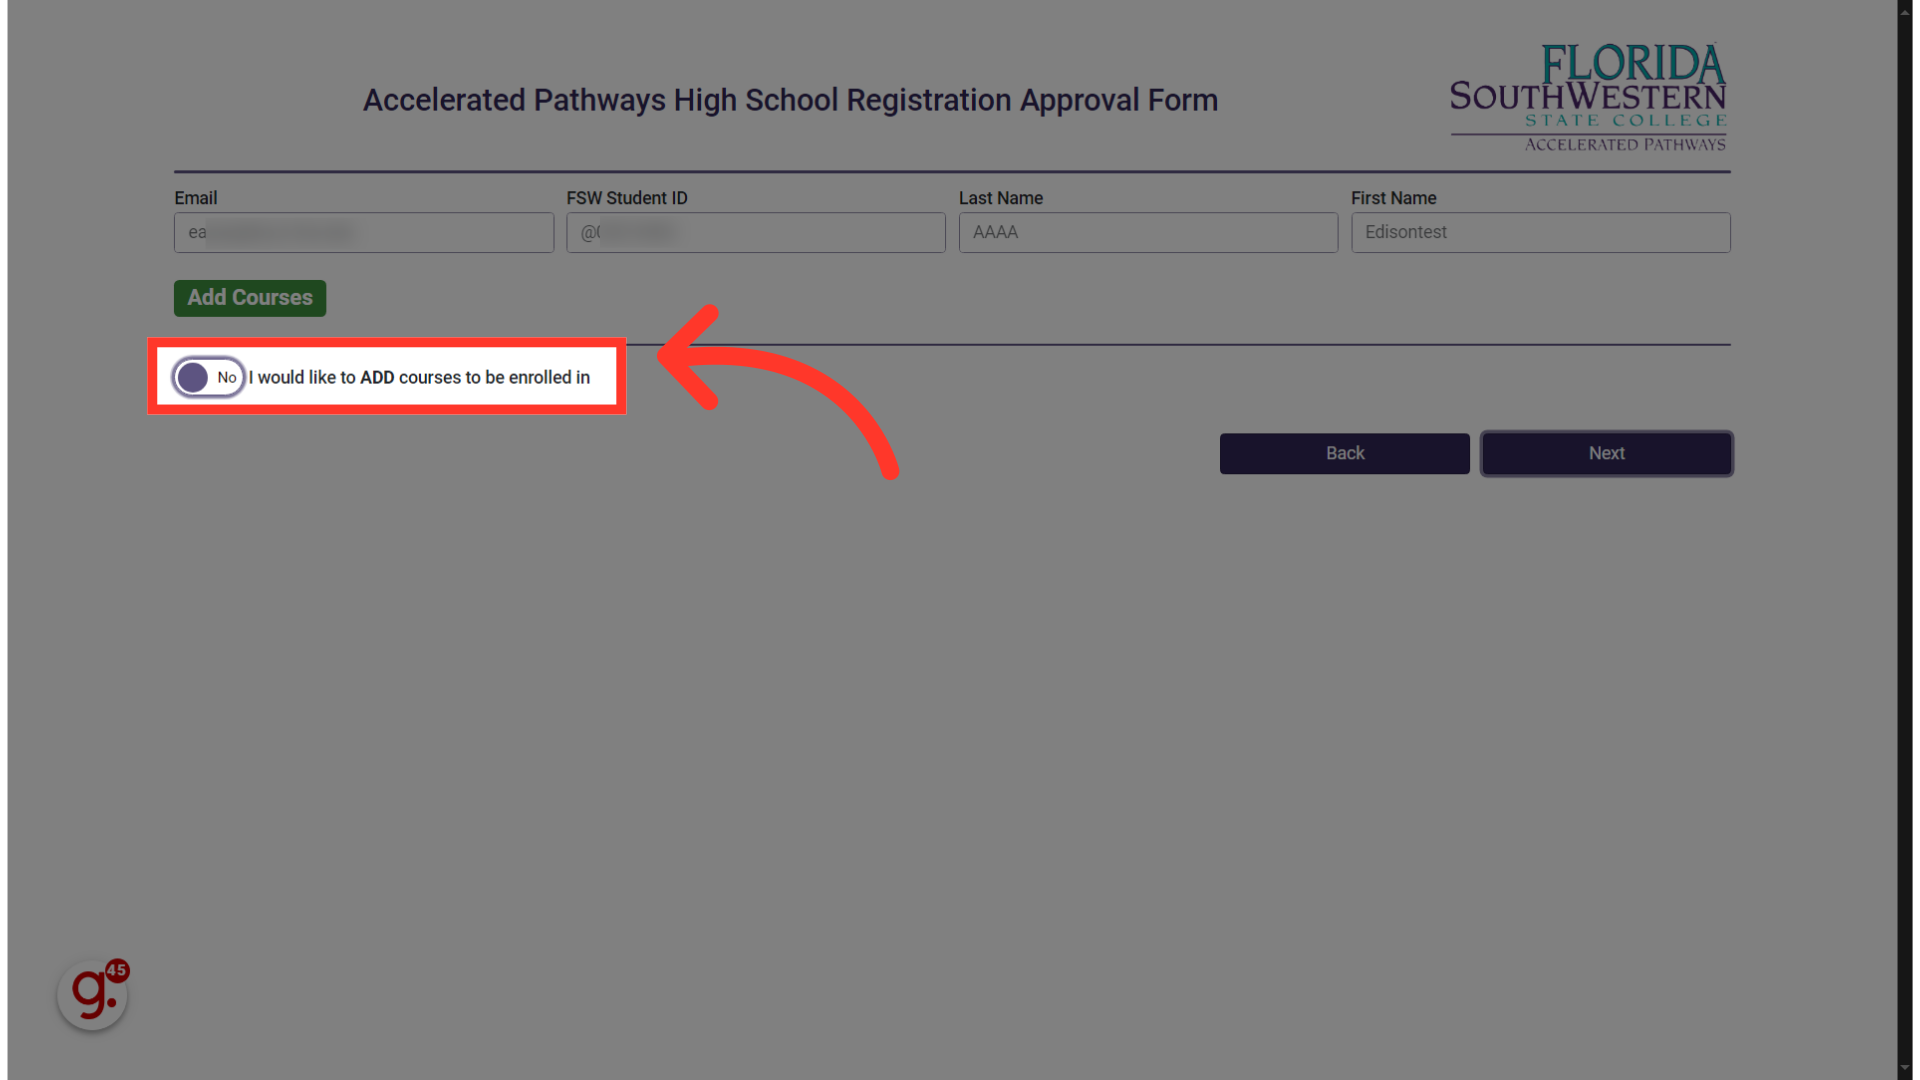
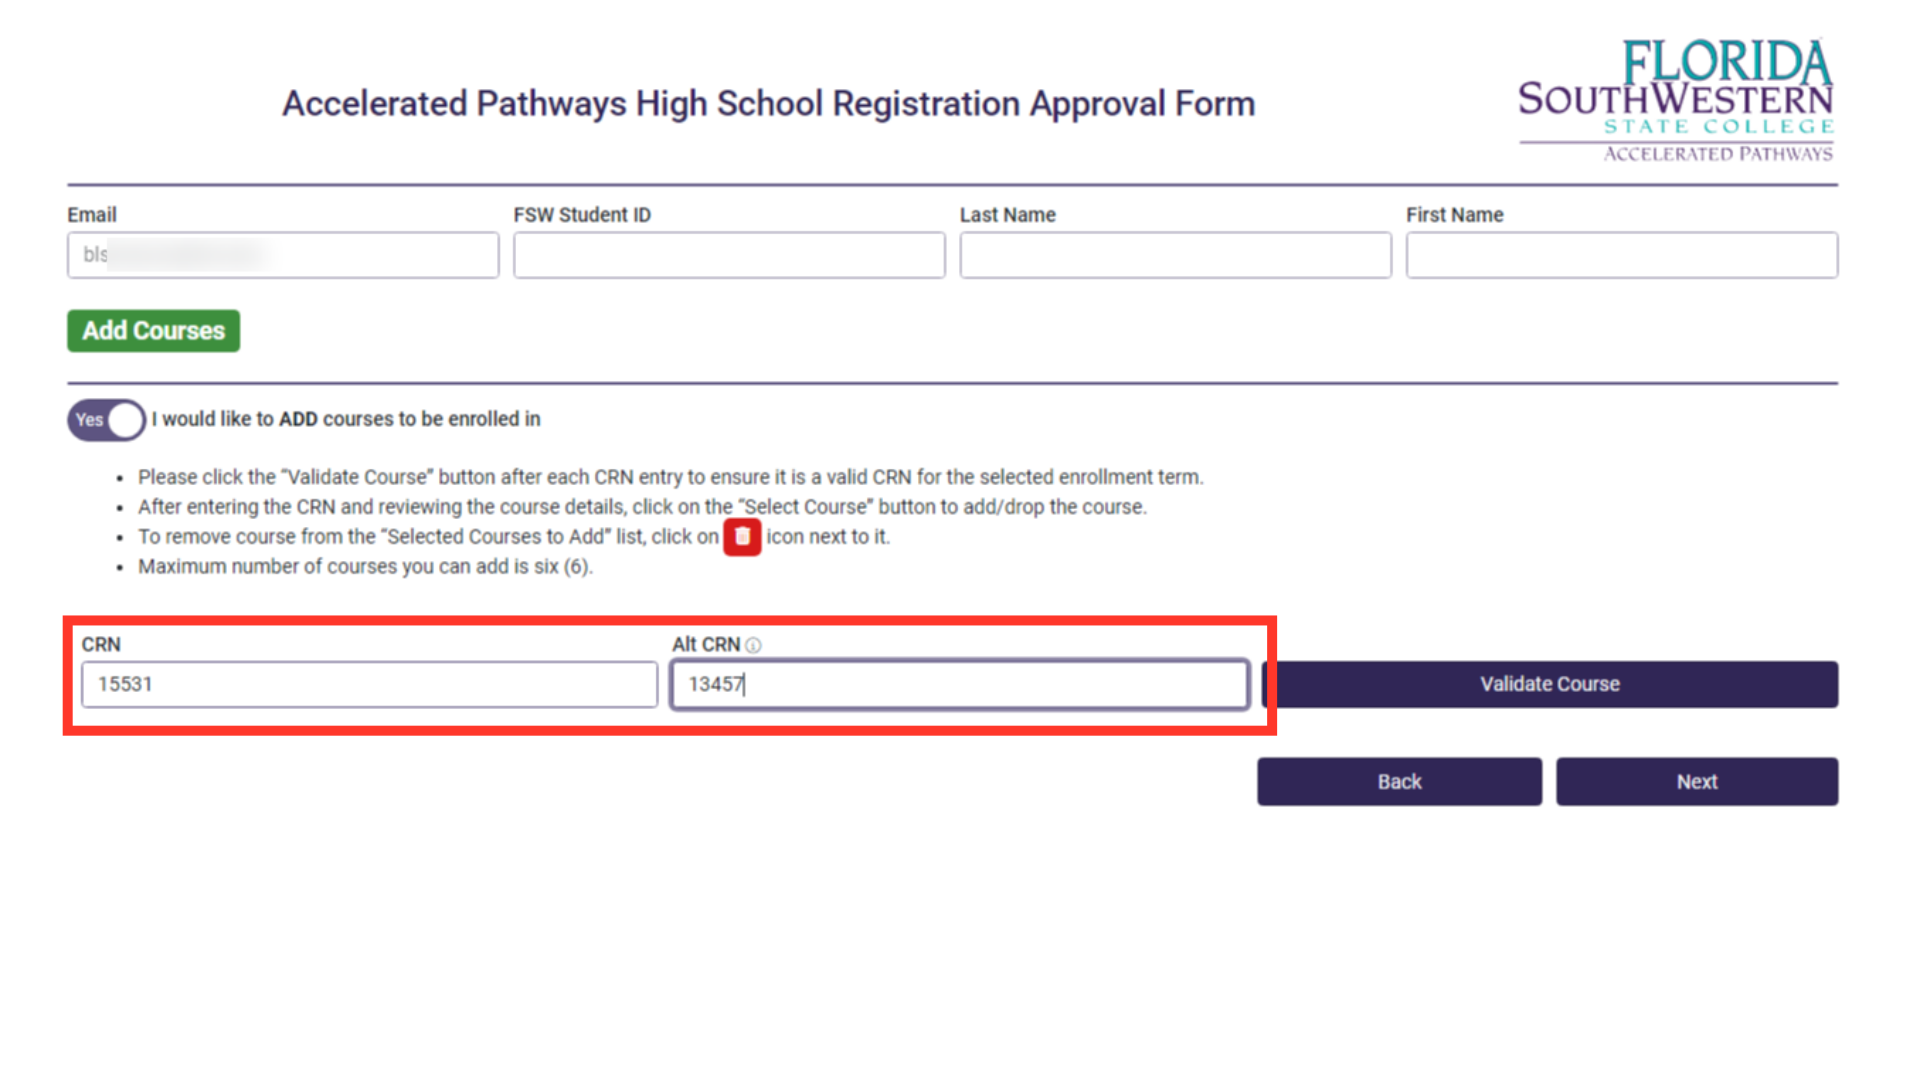
26. Enter the "CRN" to ADD
Enter the CRN for the first class you wish to add.
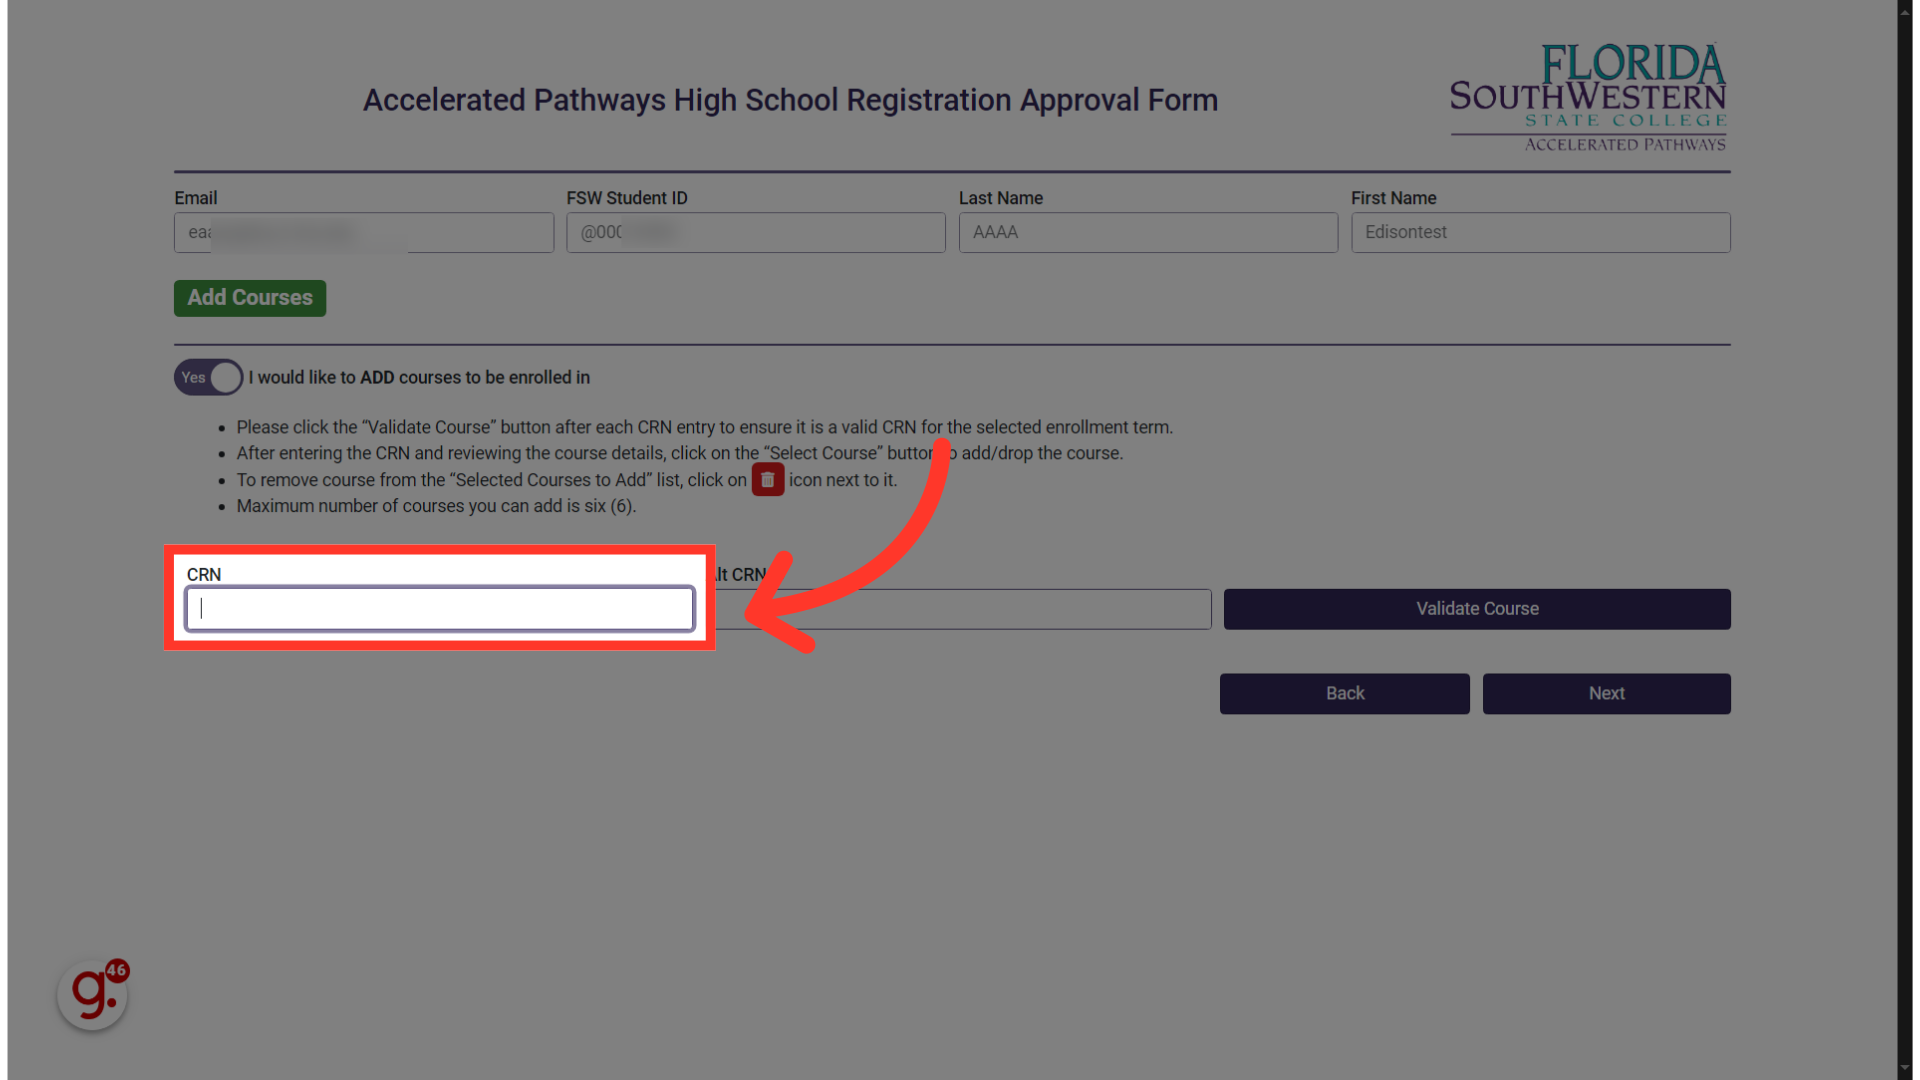
27. Enter CRN to ADD
We're using a sample CRN here, but you’ll need to use the one provided by your counselor or found using our schedule search tool.
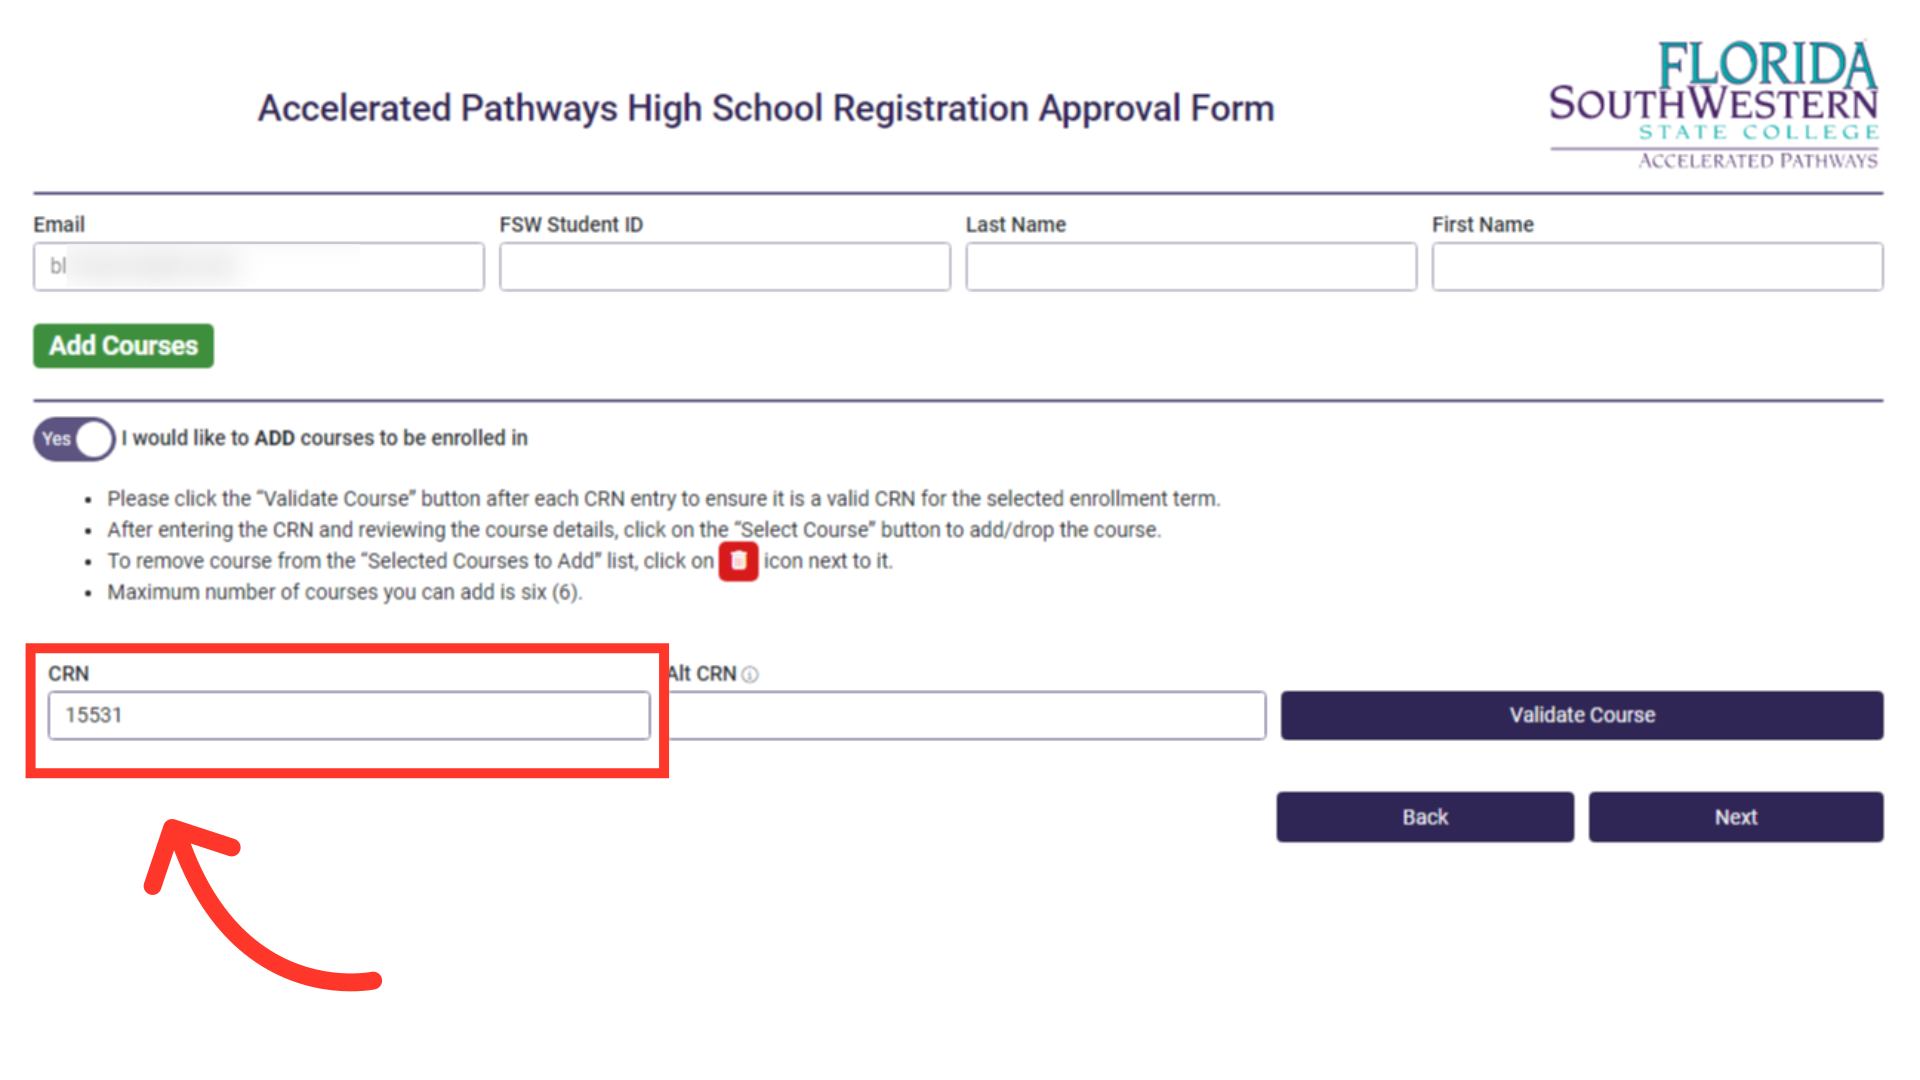
28. Using "Alt CRN"
Sometimes courses fill up before you can get added. For popular courses, it’s a good idea to provide an alternative CRN for the same course as a backup in case your first choice is already full. You won’t be able to enter the same CRN twice, and there’s no need to validate alternate CRNs.
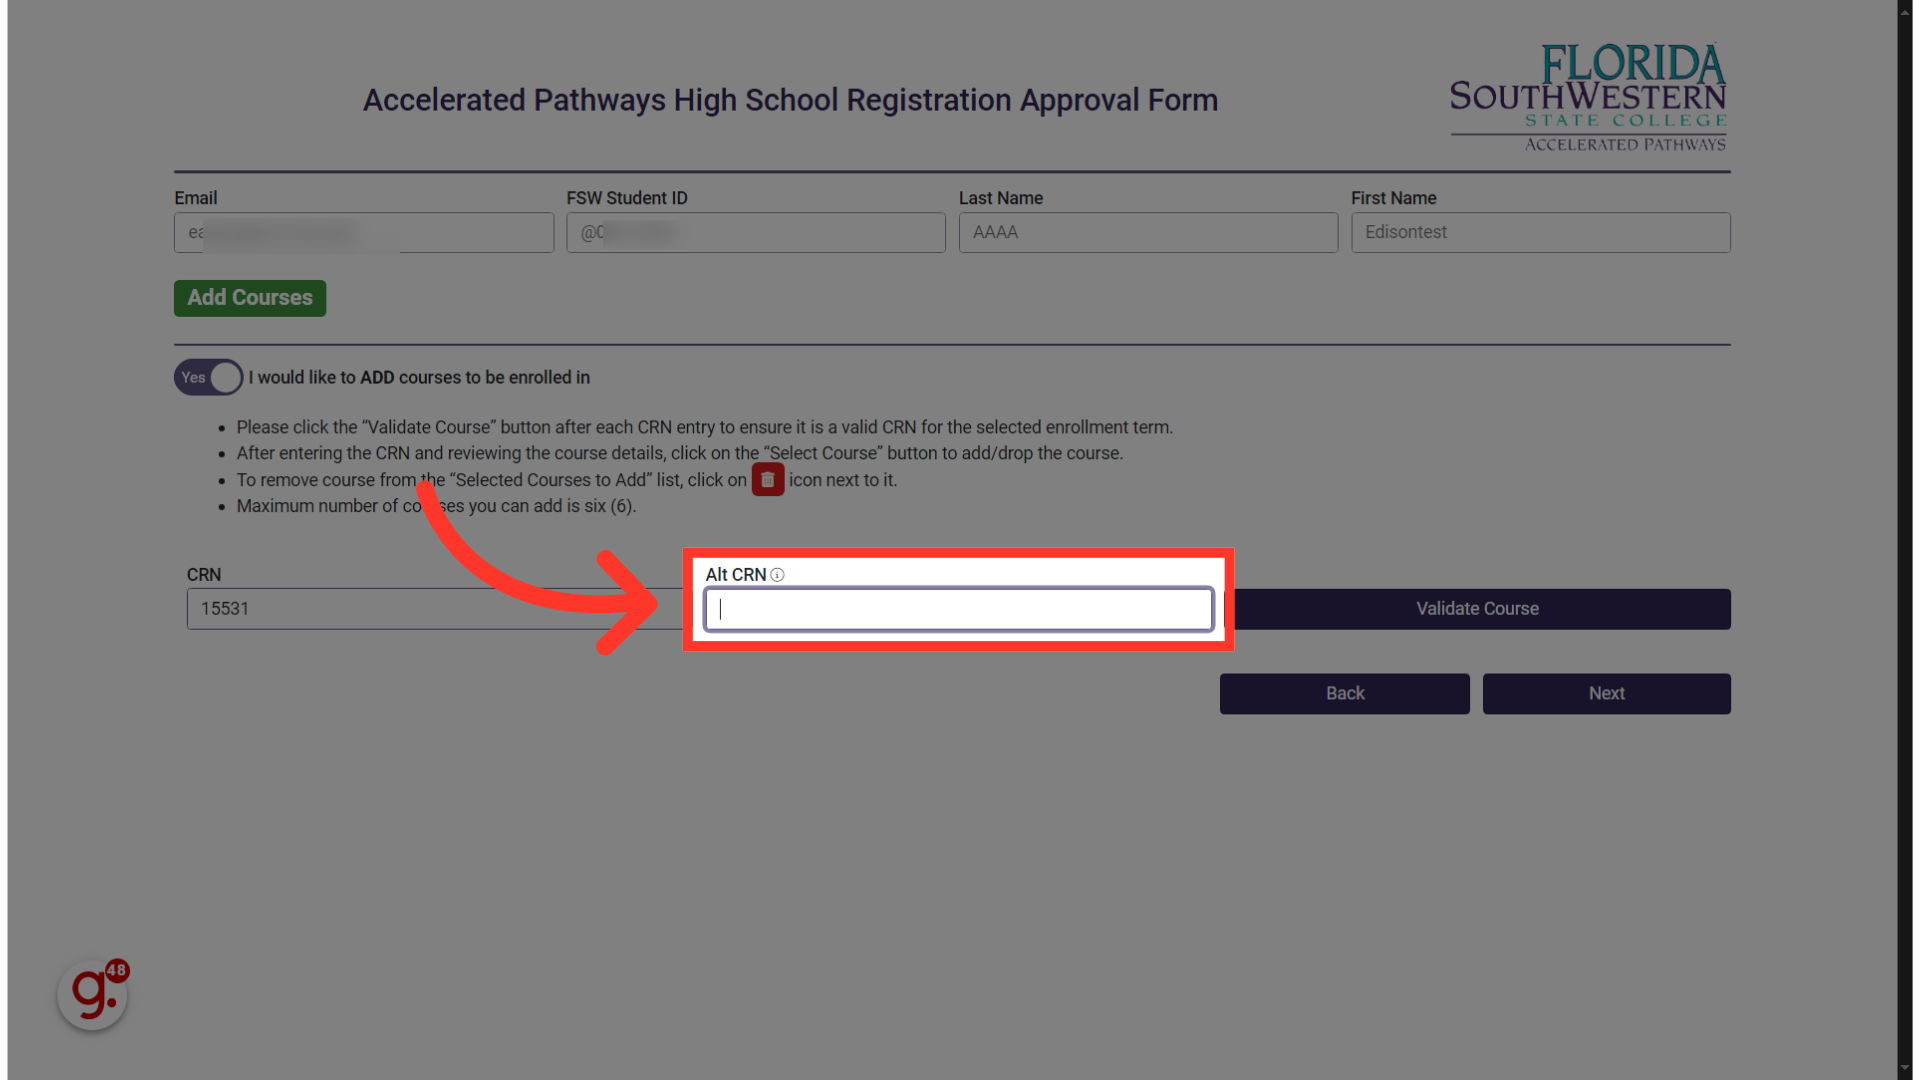
29. Alt CRN
We’re using demo CRNs in this example, but be sure to use the CRNs relevant to you and your courses.
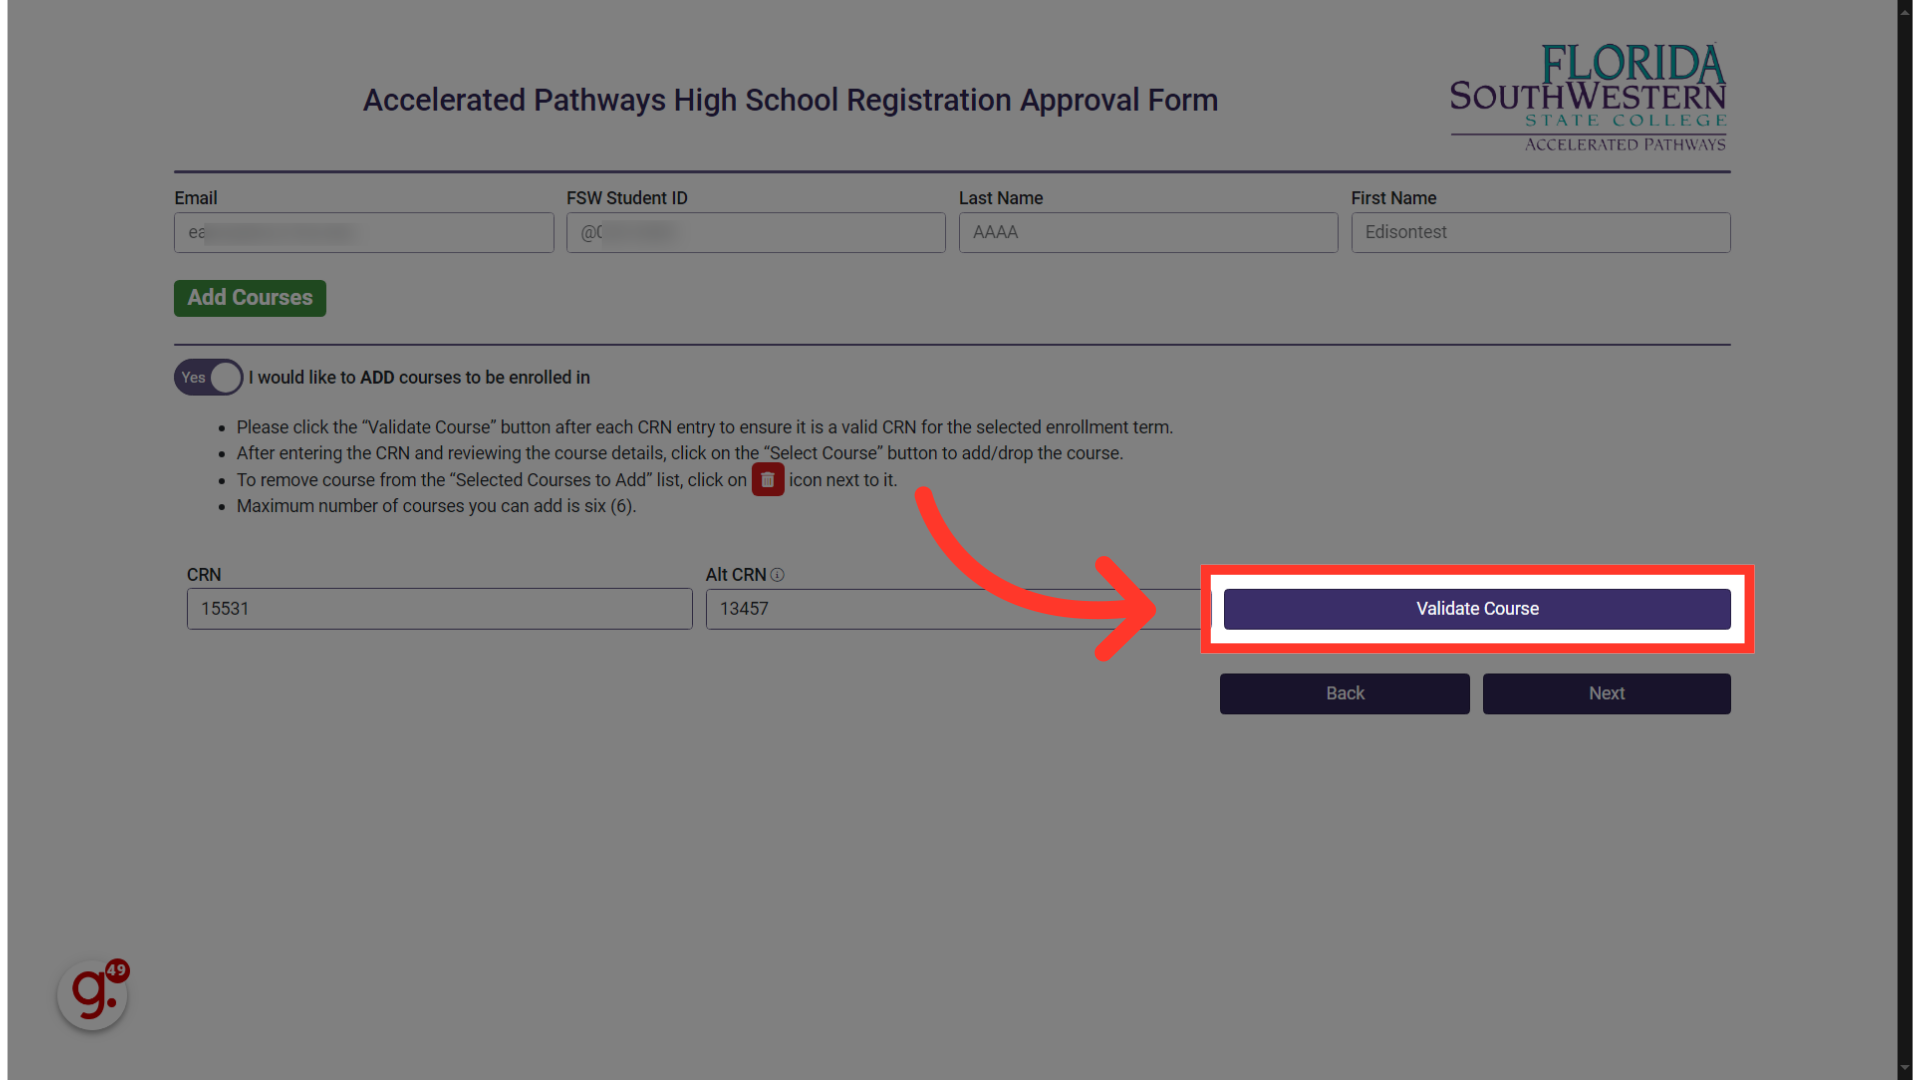
30. Click "Validate Course"
Now, click the validate Course button, just like we did in an earlier step.
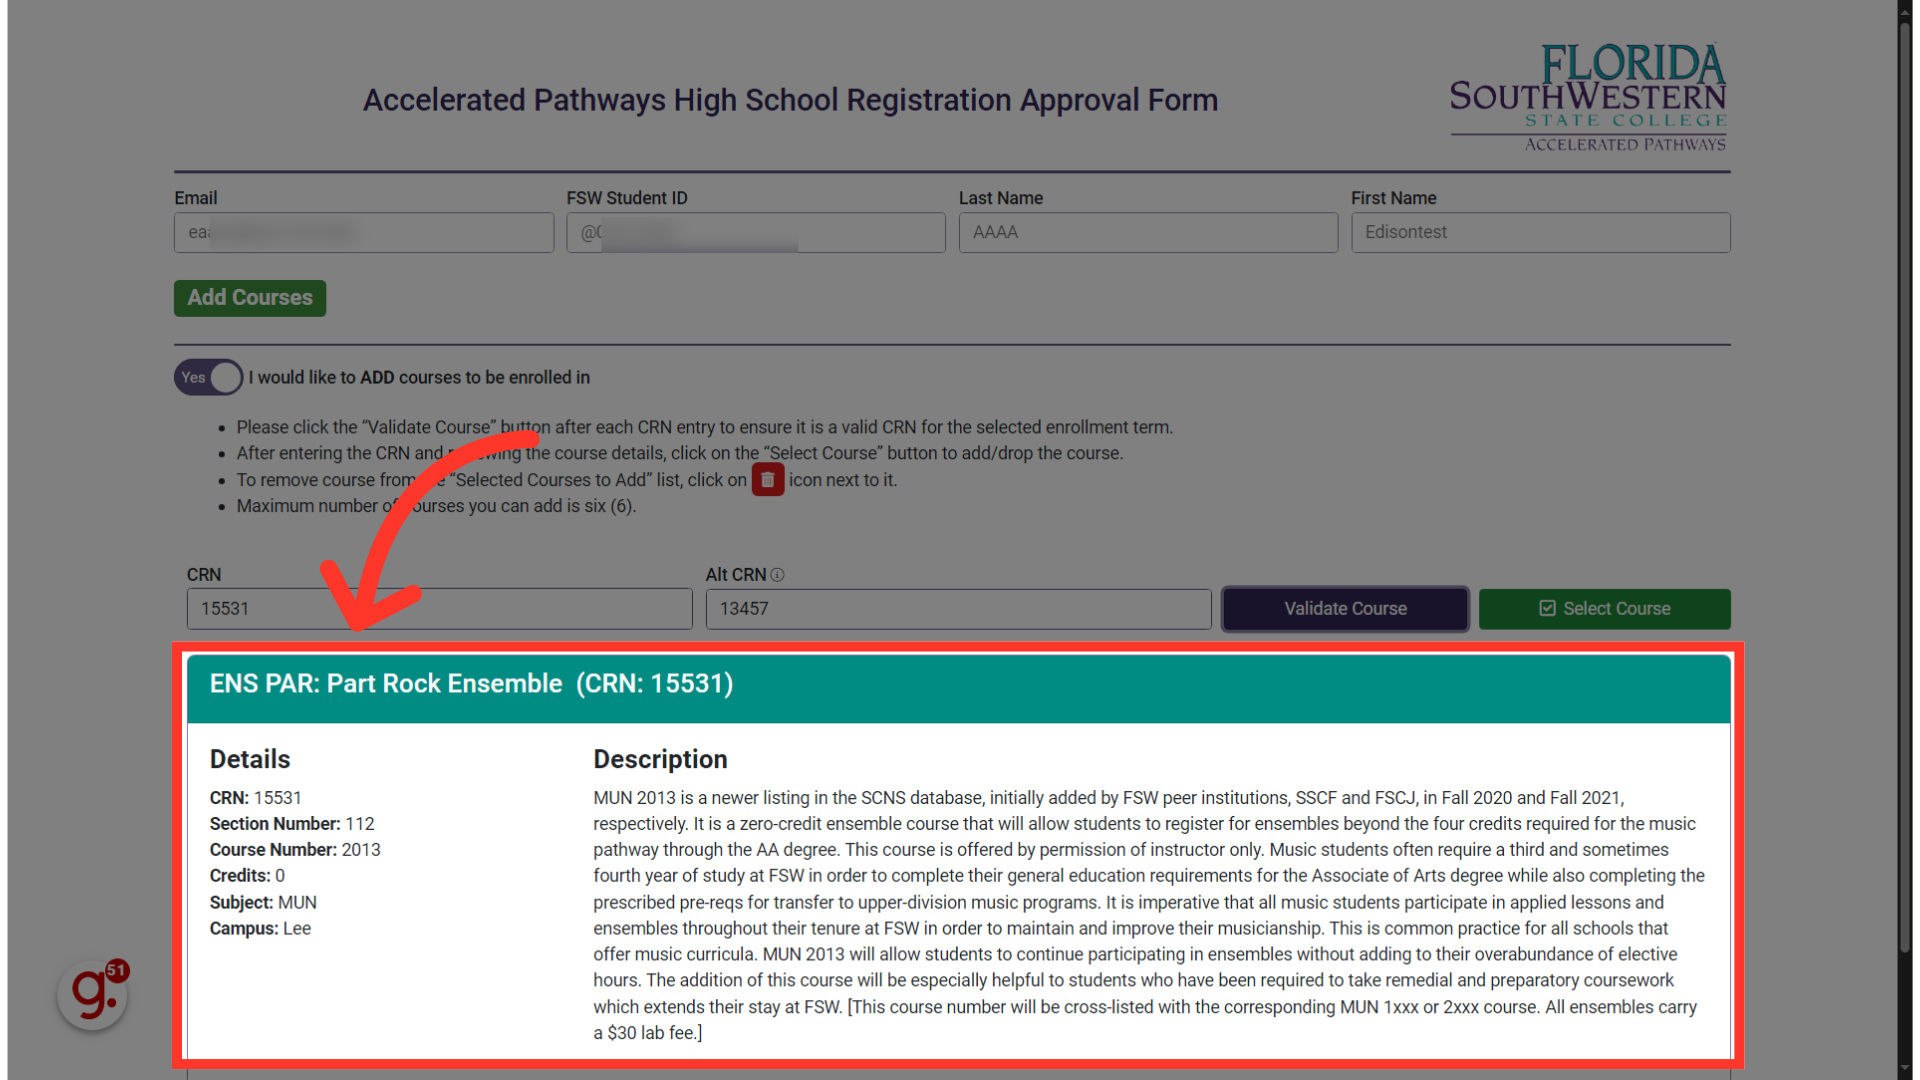
31. Verify course details
This is a very important part: verify and double-check the course details, especially the campus, to make sure everything is as expected.
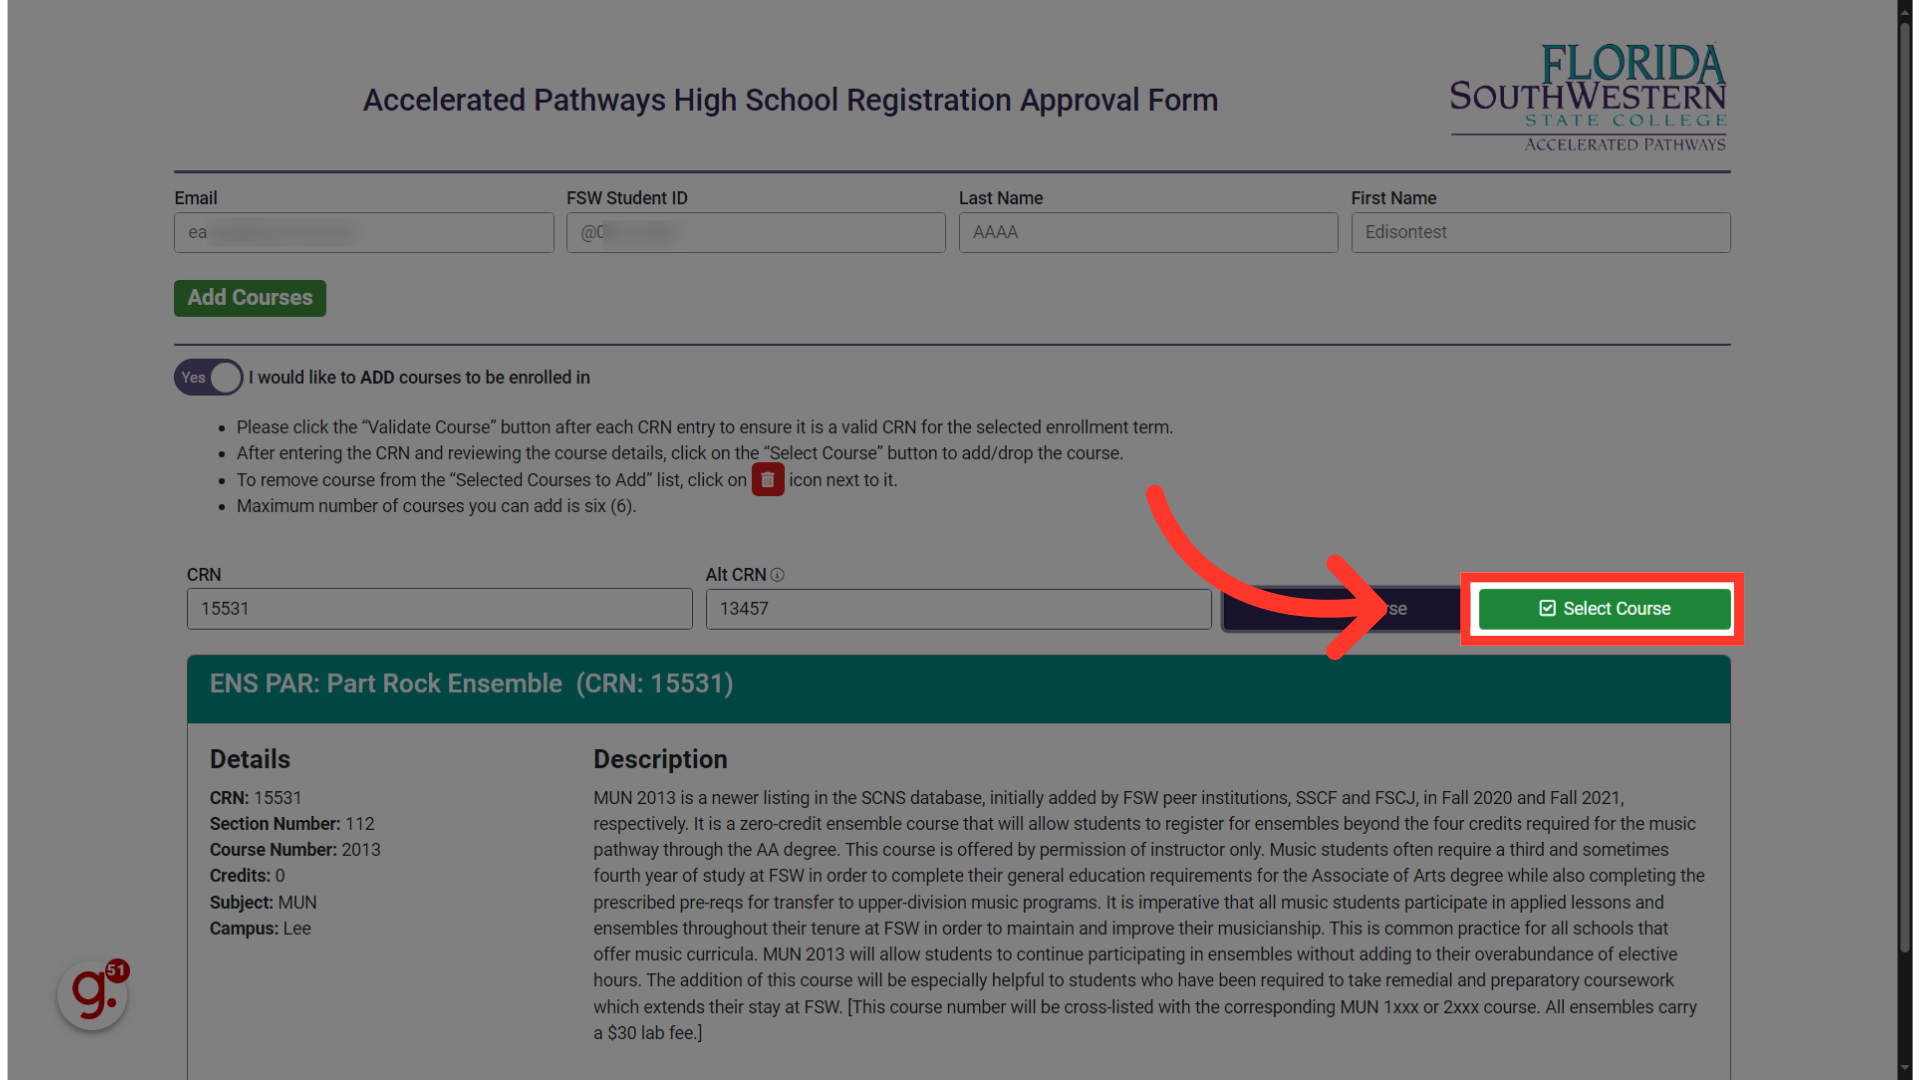
32. Click "Select Course"
If everything matches your expectations, add the course to your list by clicking Select Course.
33. Repeat process to add more courses
To add more courses, simply repeat the process. Start by entering the next CRN, just as you did before. Continue this process for each course you wish to add.
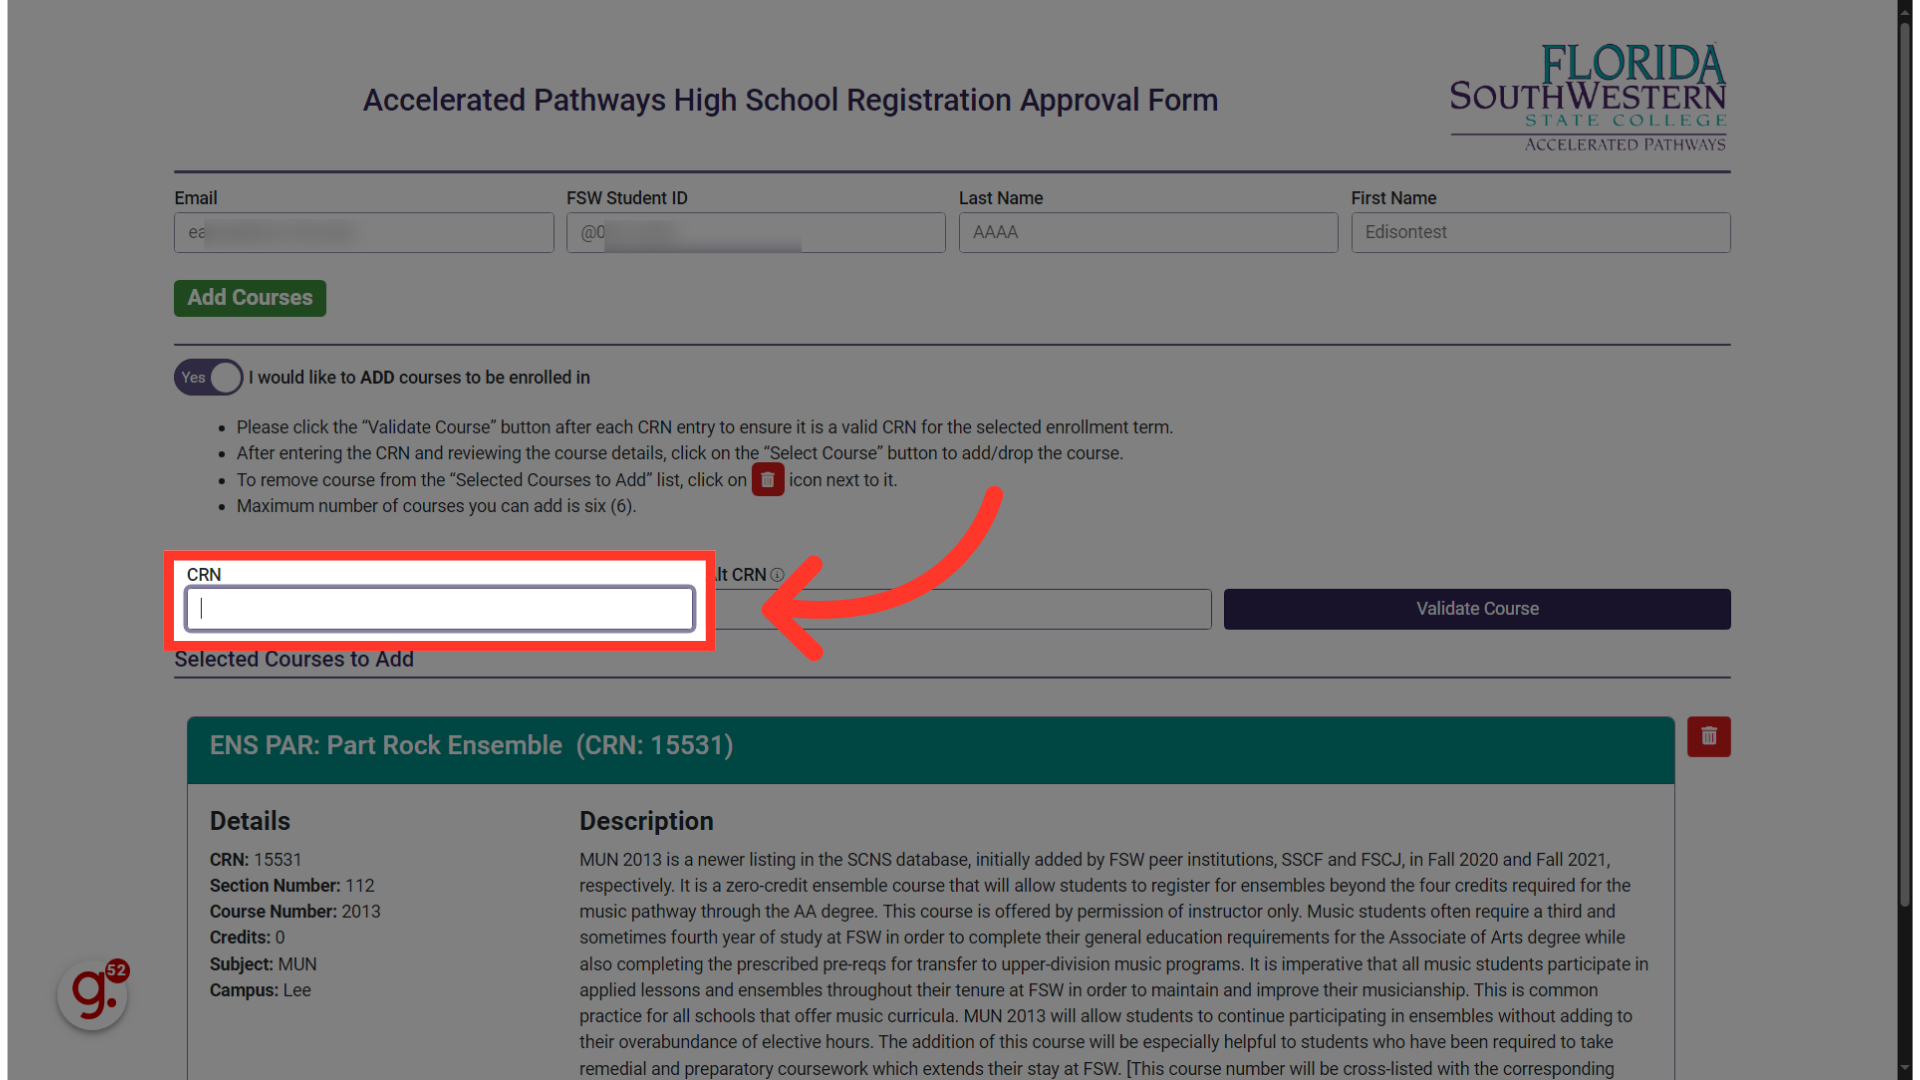
34. Adding multiple CRNs
Adding your ALT CRN for popular courses as well.
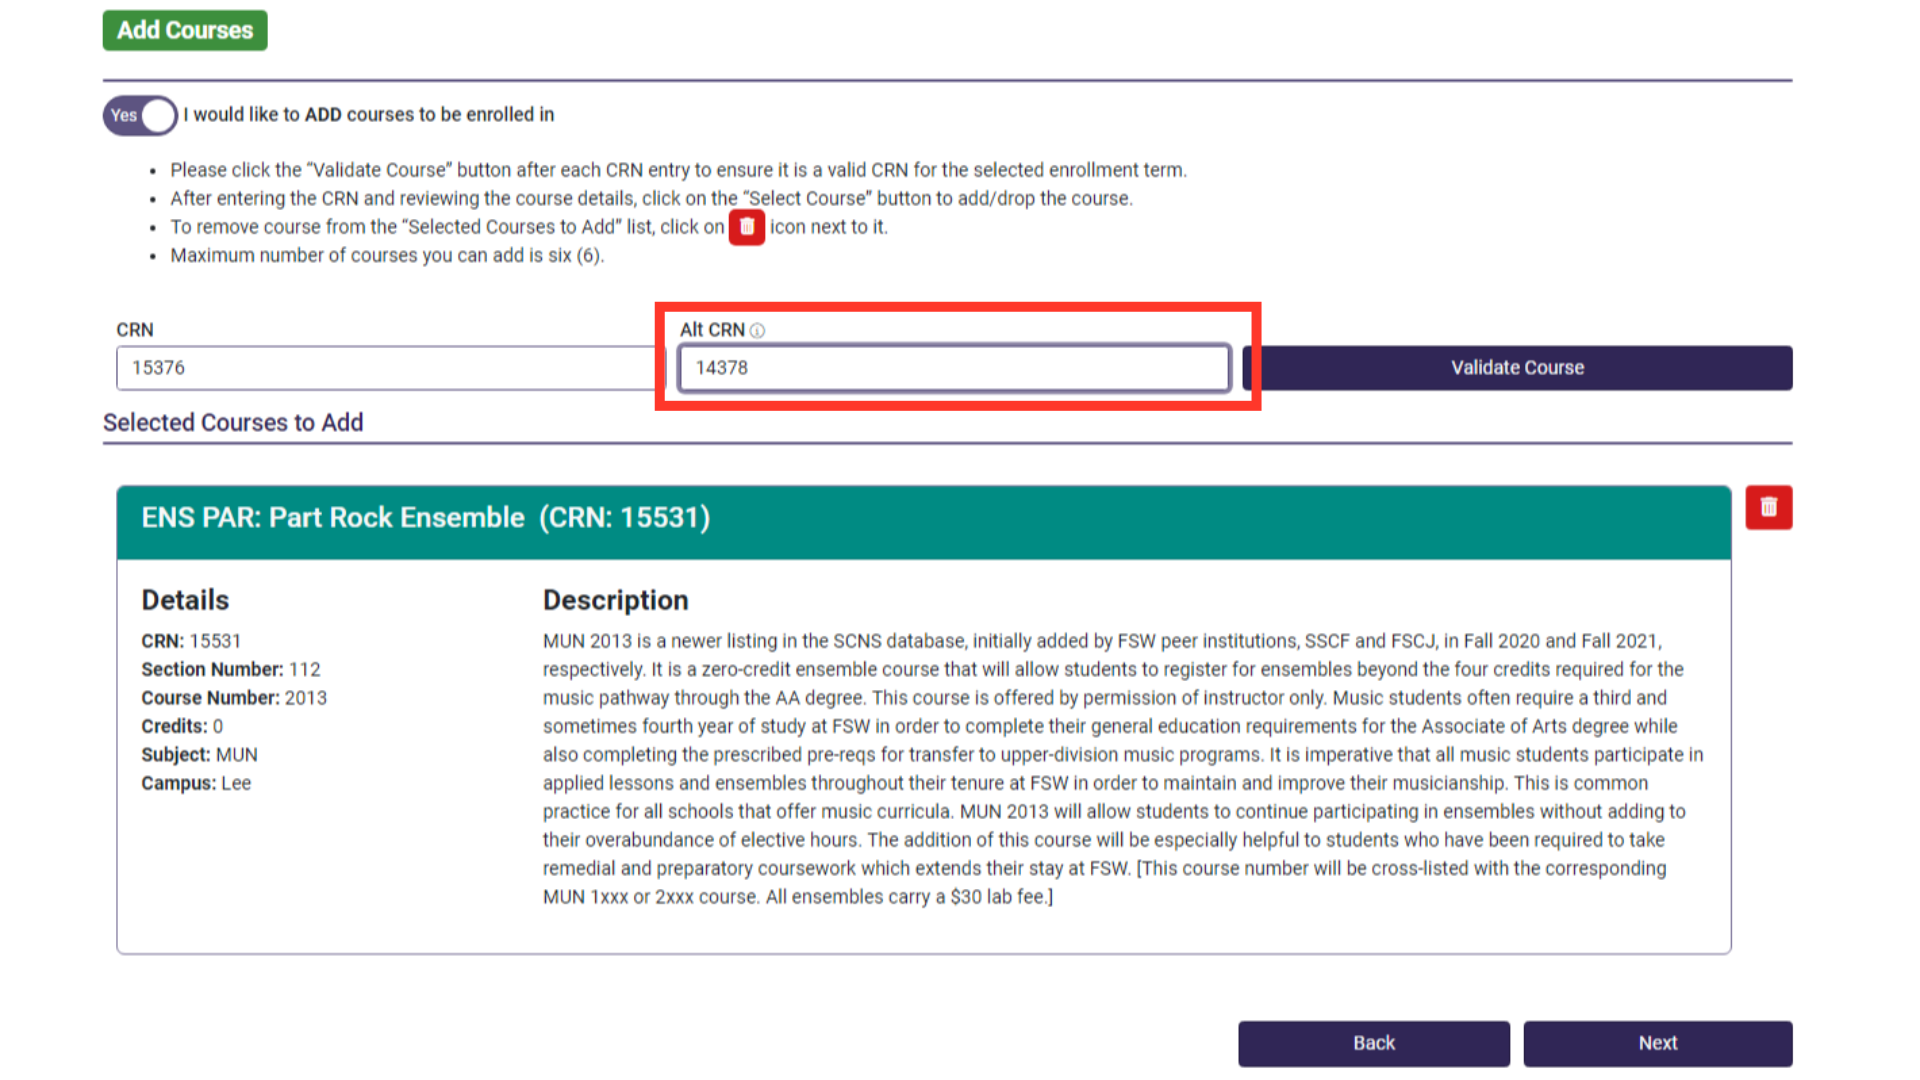
35. Click "Validate Course"
Confirm the course exists, by clicking on the Validate Course button.
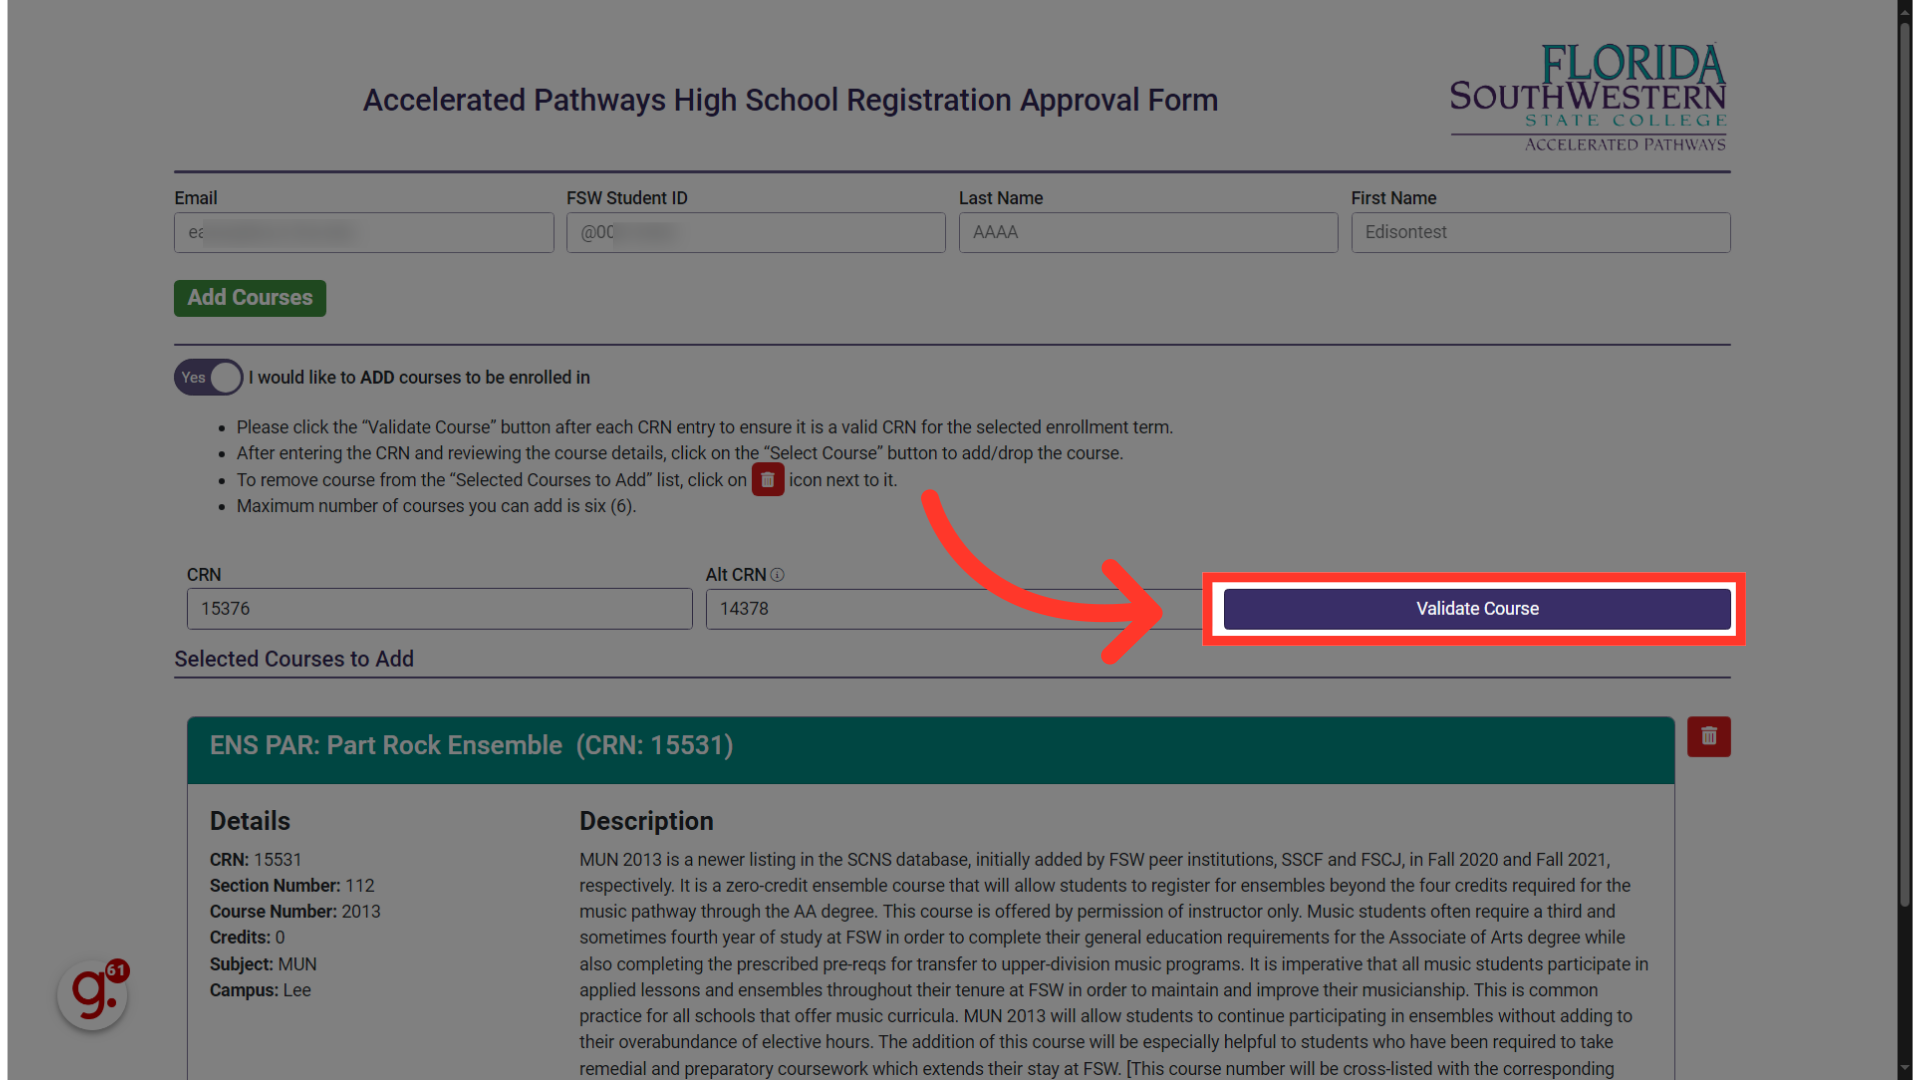
36. Click "Select Course"
And again, add the course to your list, by clicking on "Select Course.
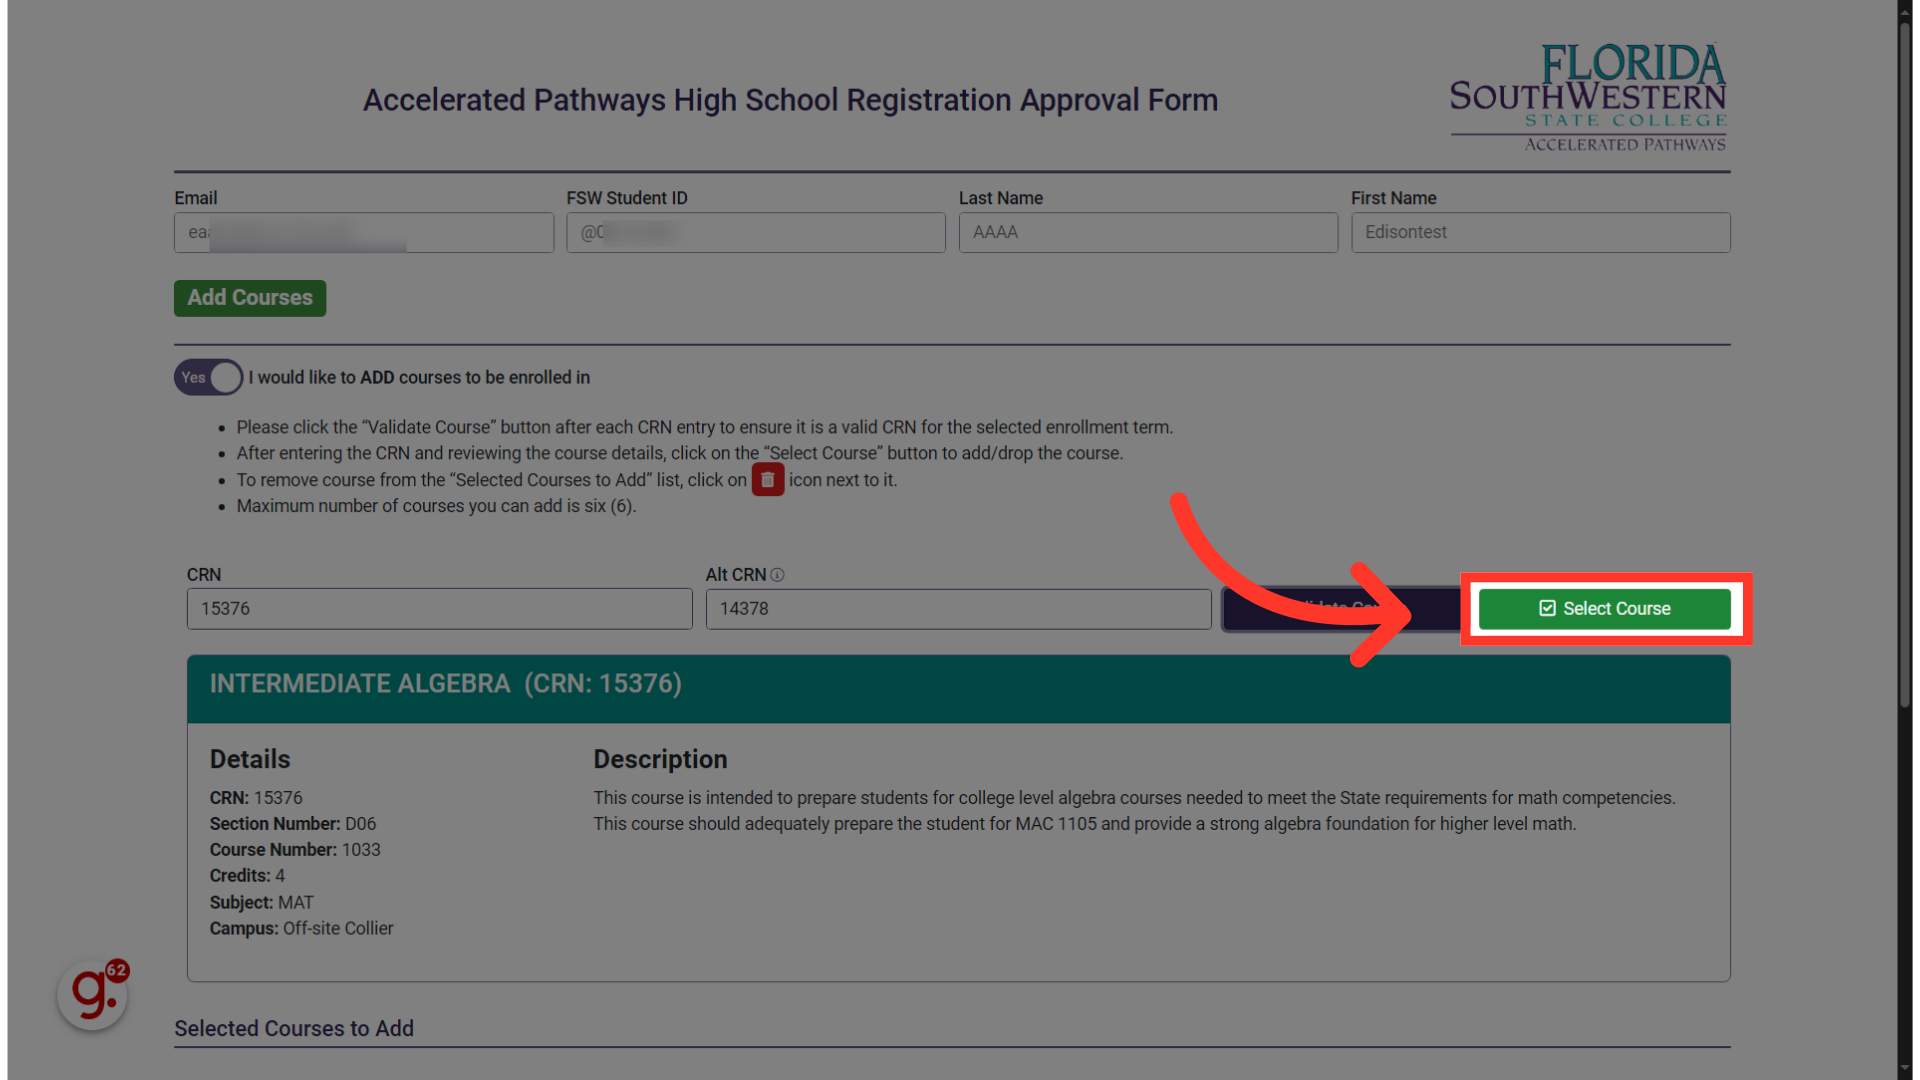
37. Verify your list of courses to ADD
You can add a Maximum, of six courses. If you're finished adding courses, scroll through the list below and verify everything is as you expected.
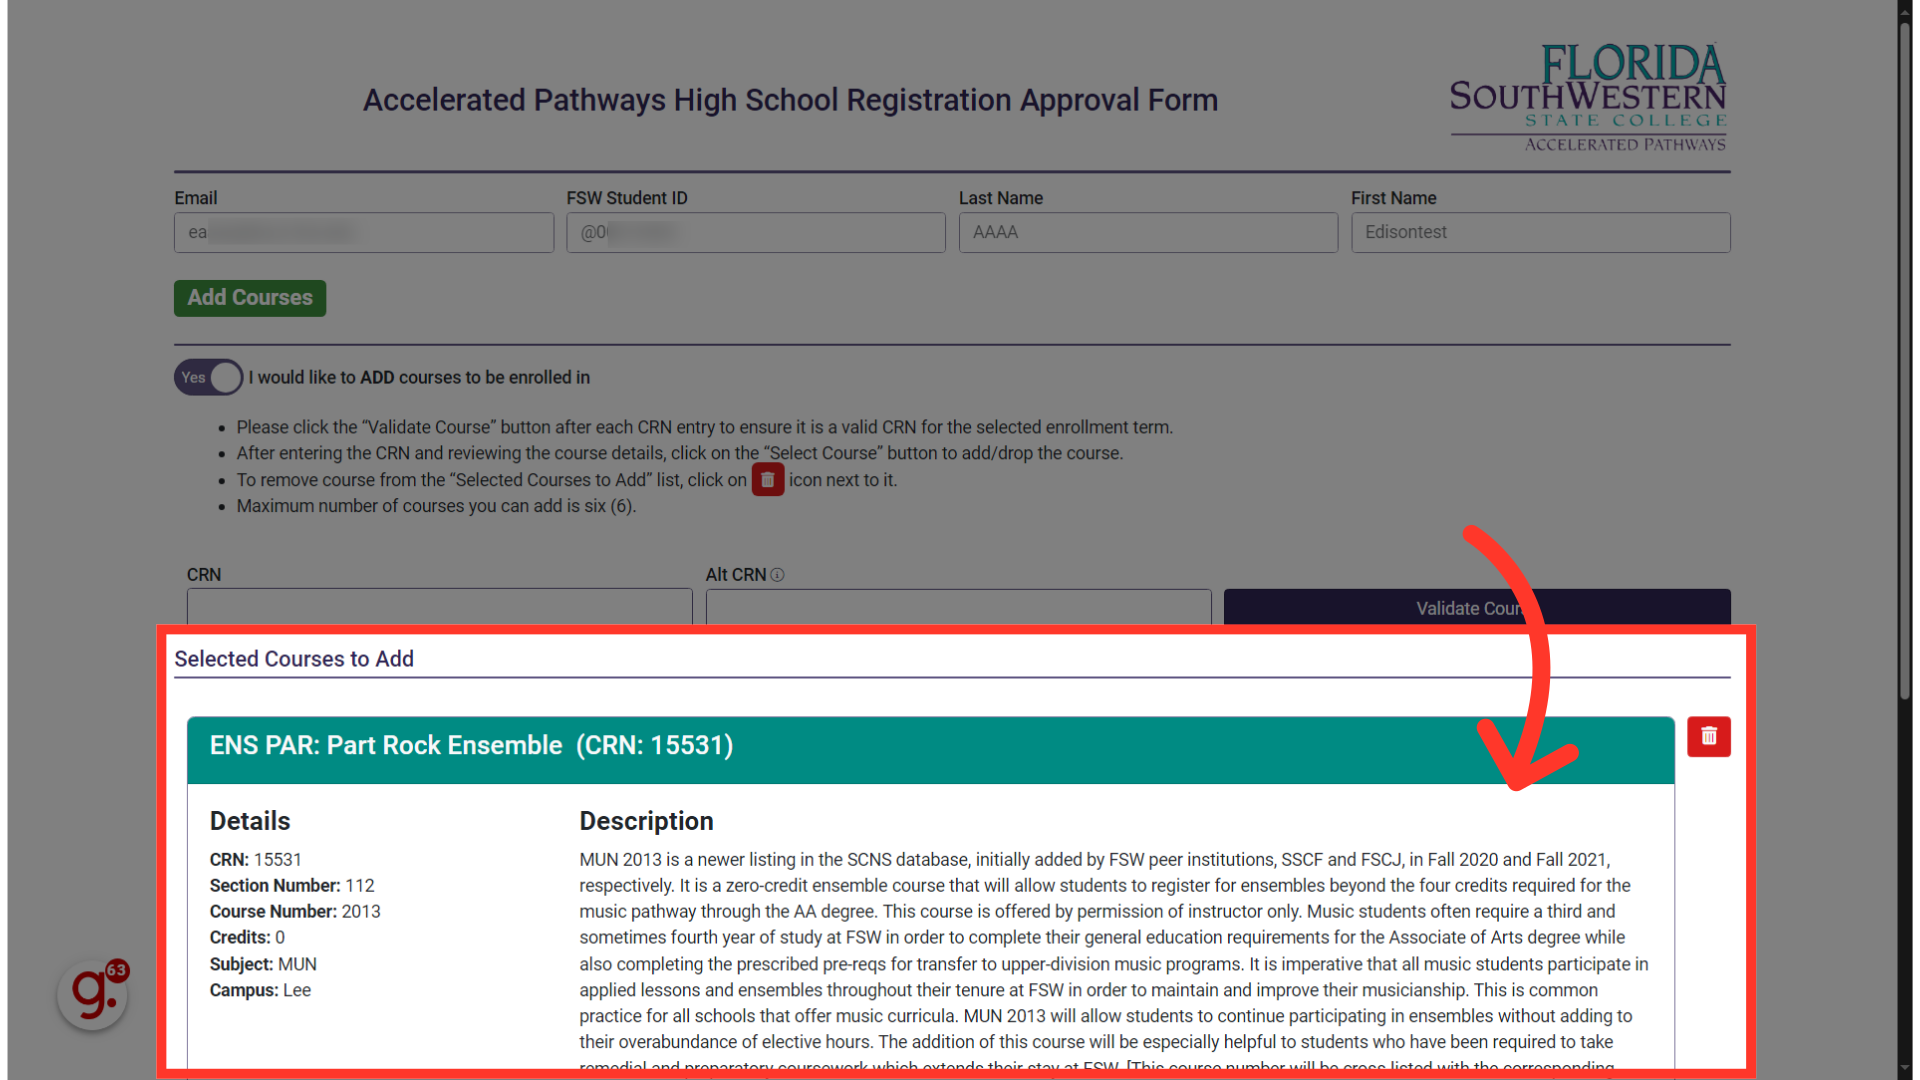
38. To remove
To remove any added courses, similar to earlier steps, you can click the red trash button next to each class to remove it.
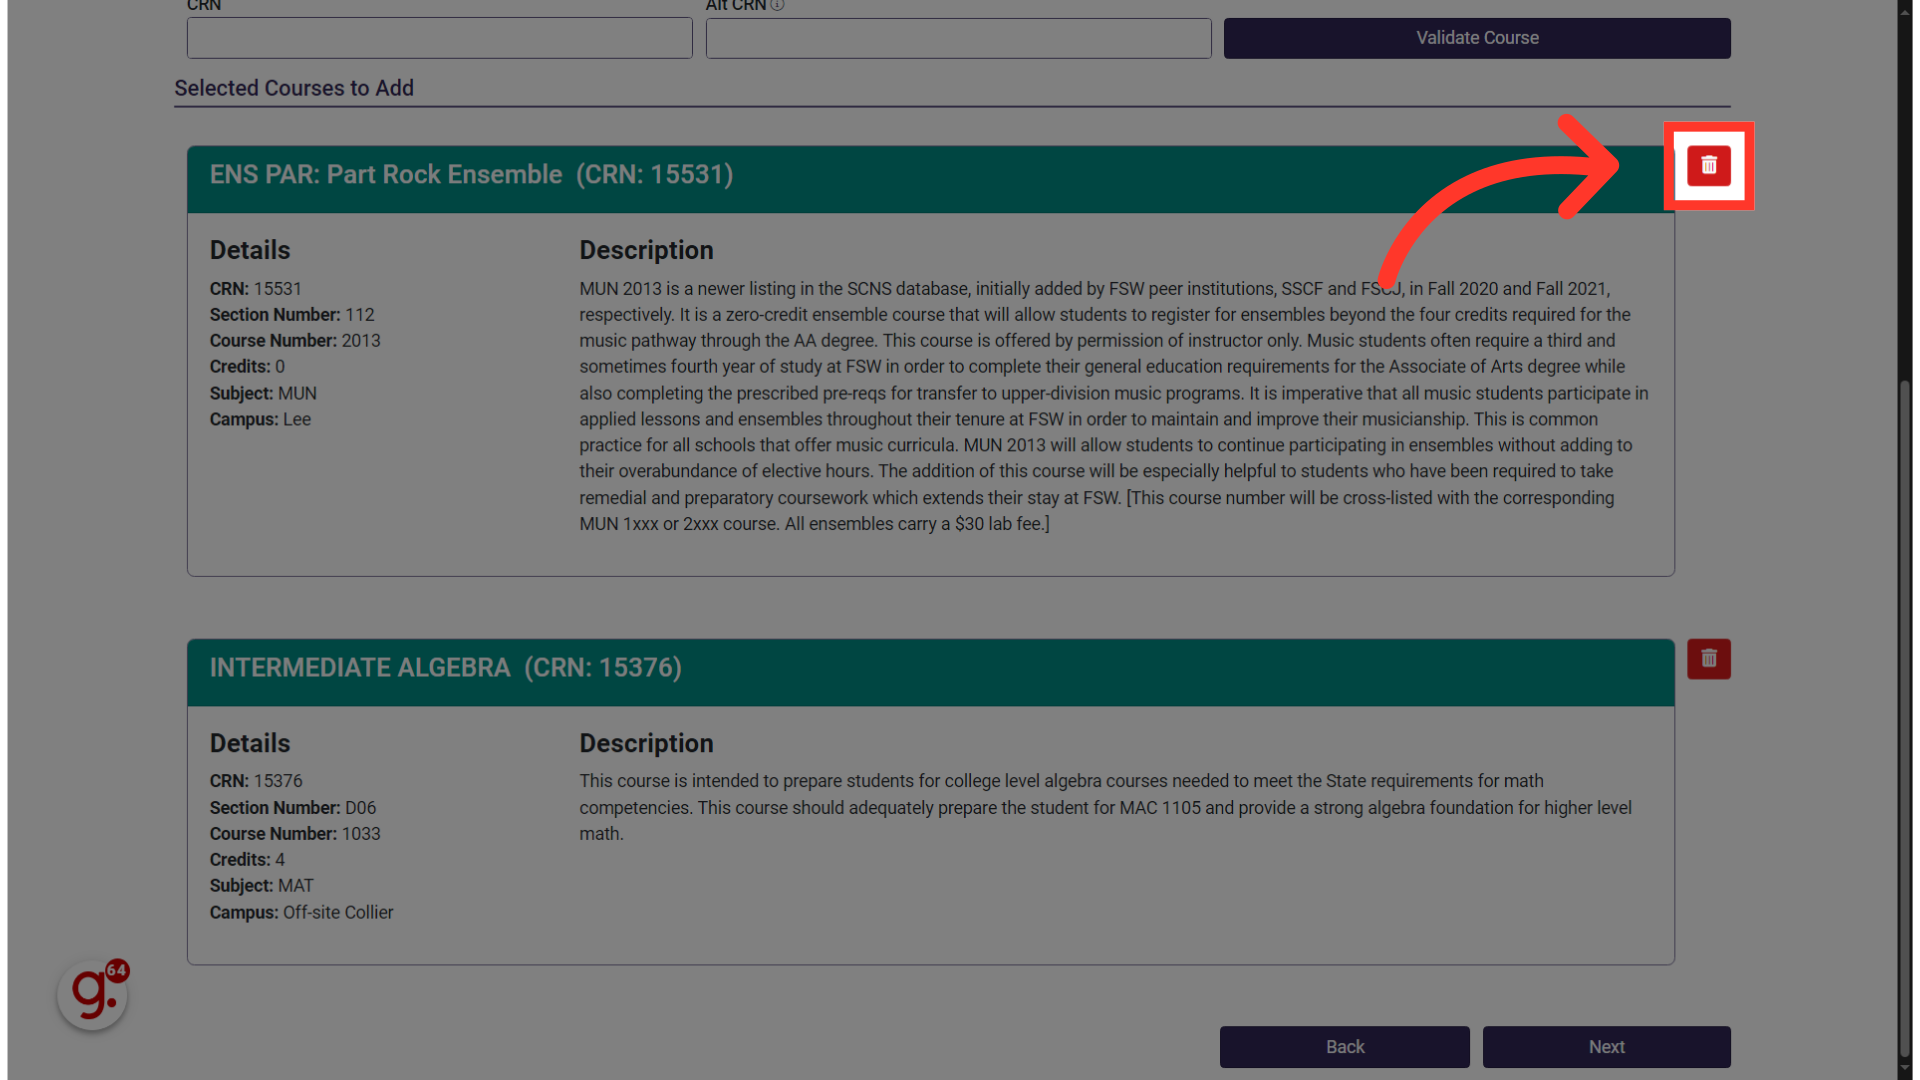
39. Click "Next"
Advance to the next step by selecting "Next
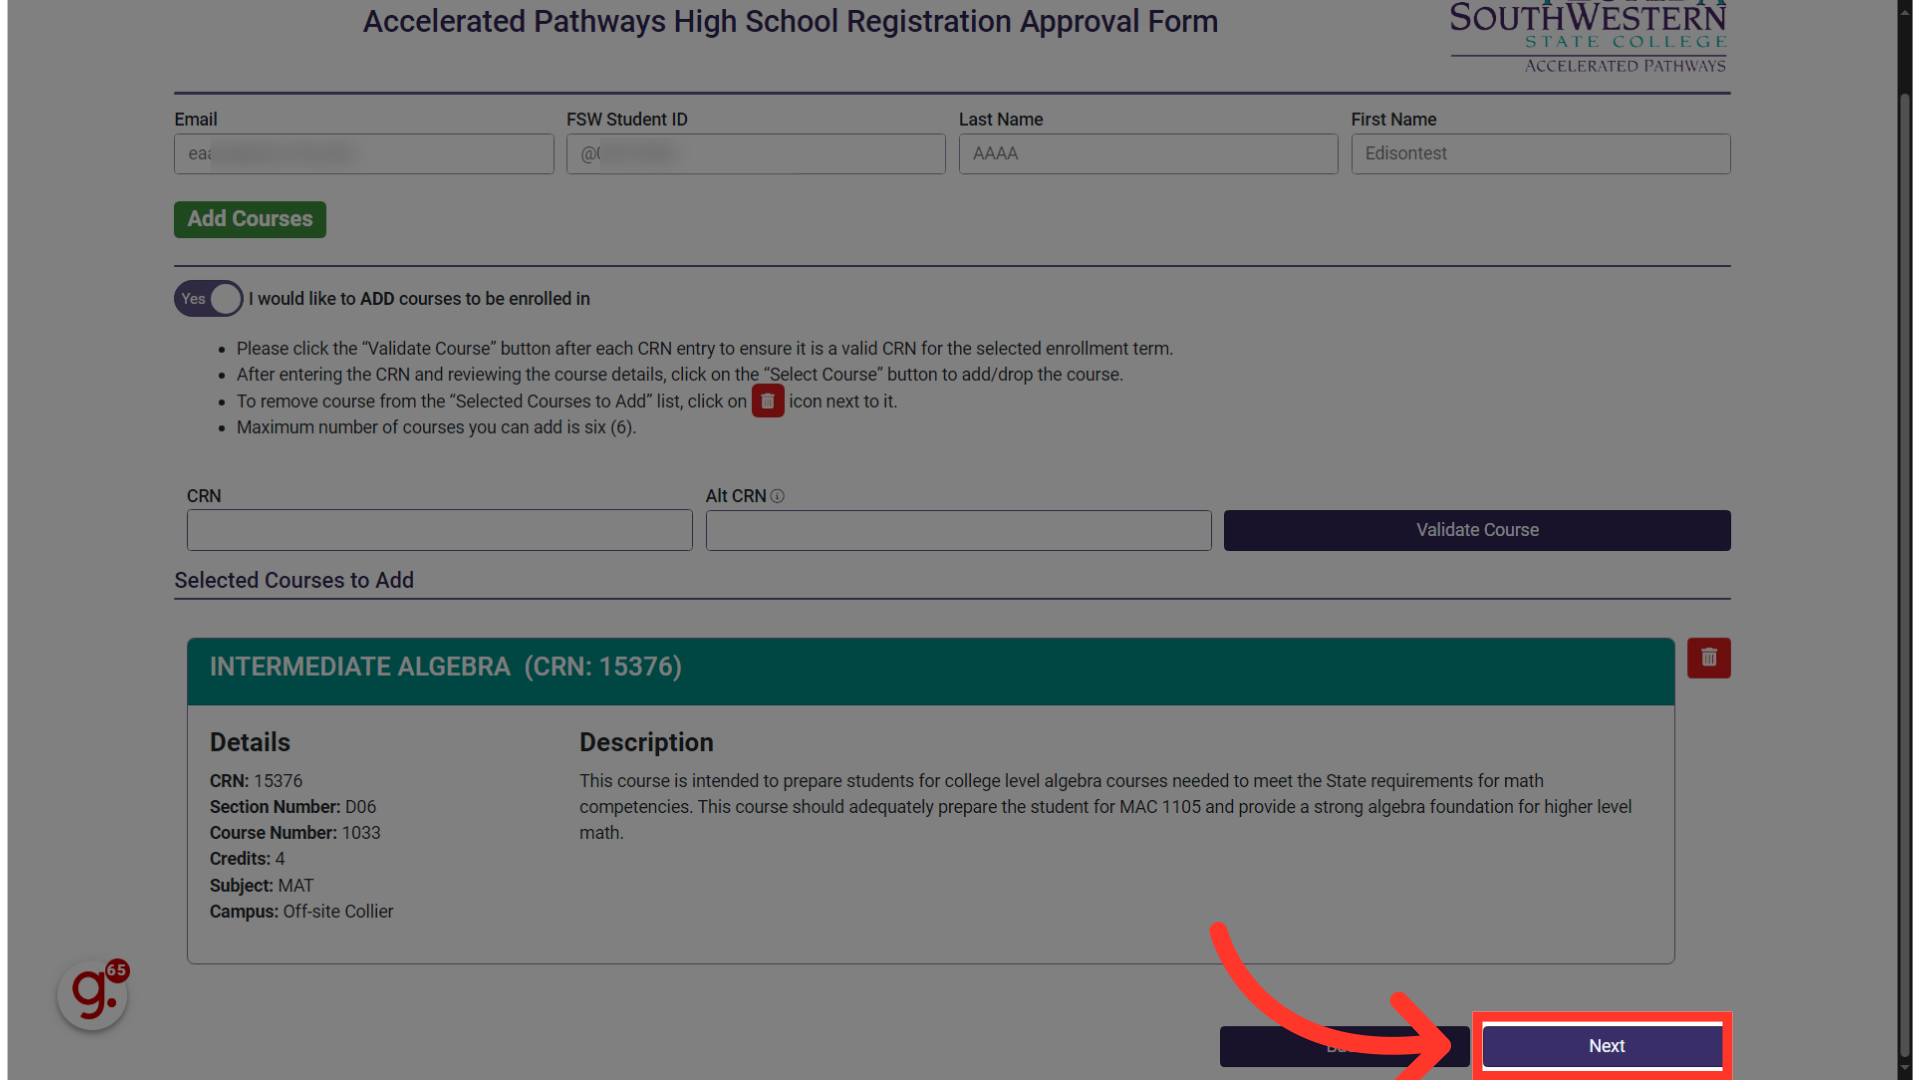
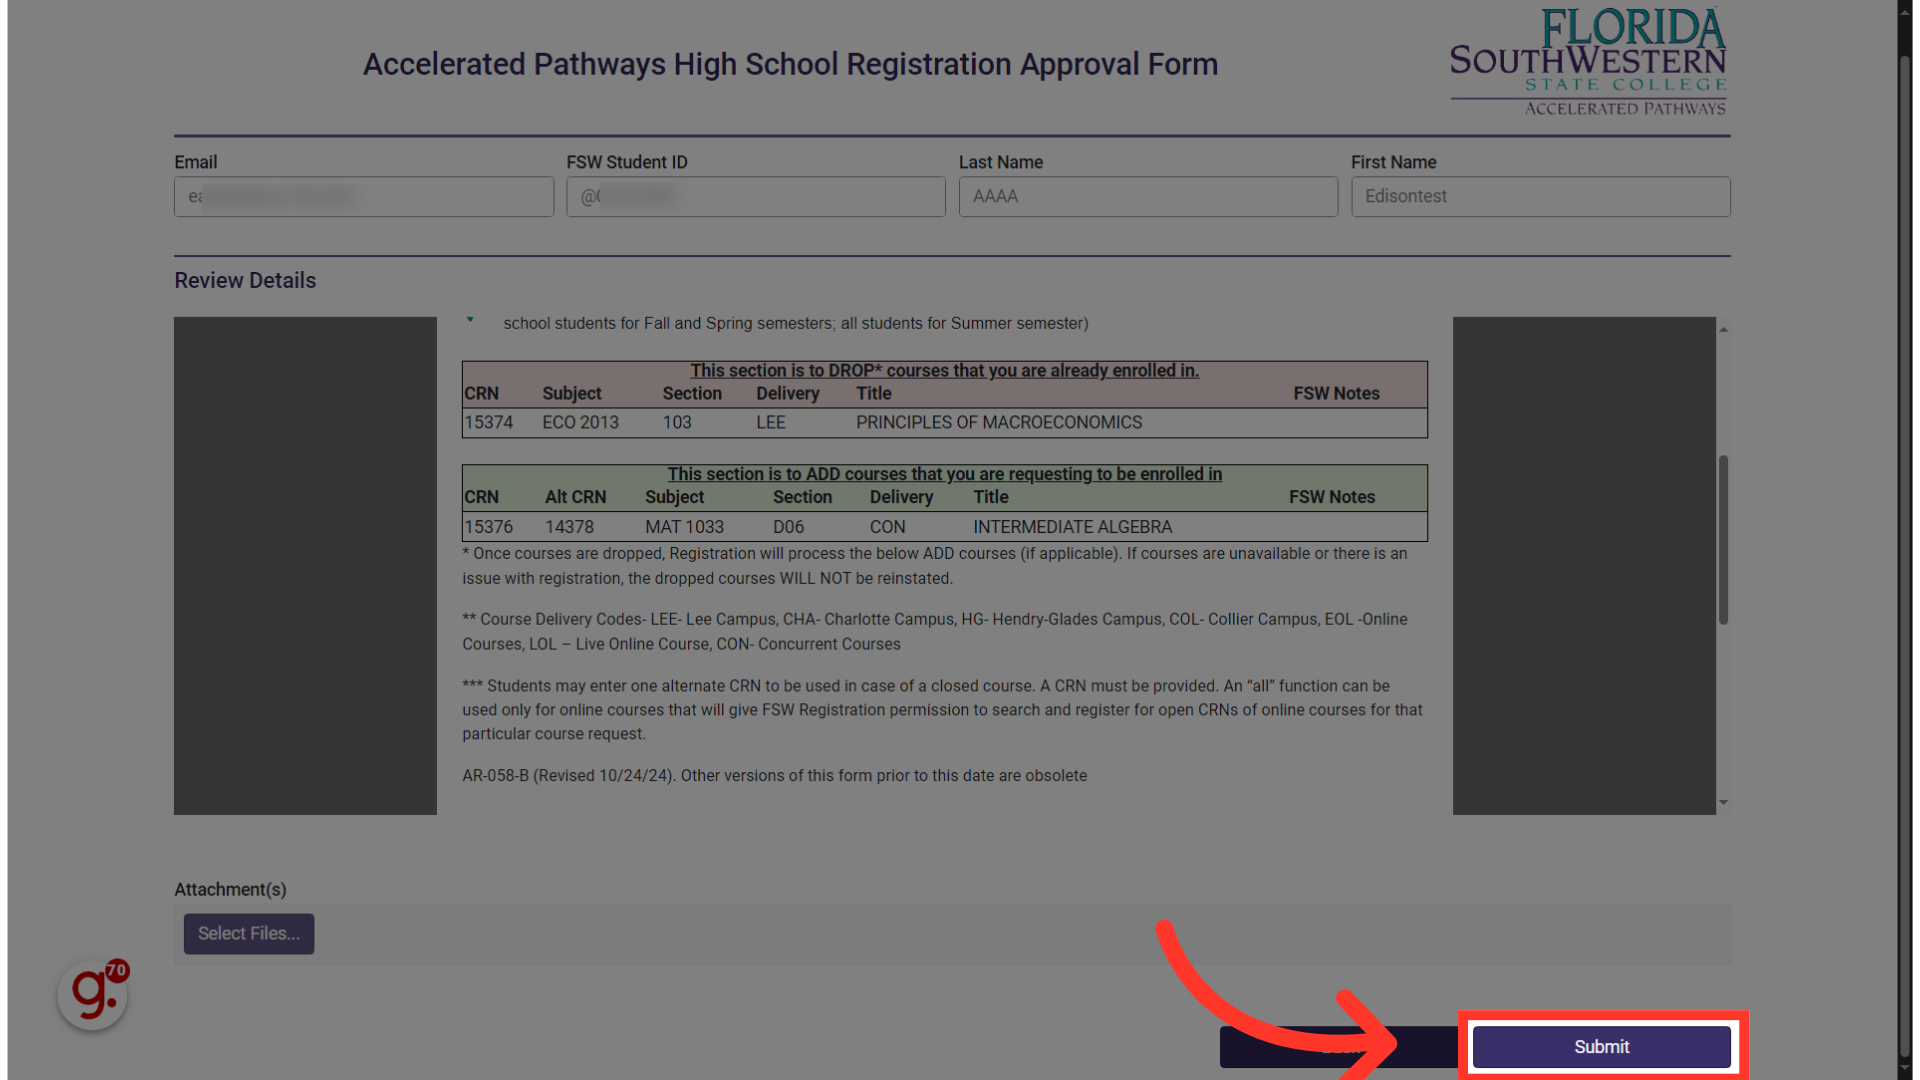
40. Review the generated PDF for accuracy.
Use the scroll bar to scroll down and view the entire PDF. Make sure to review all sections thoroughly to confirm the course subjects, sections, and delivery methods are as expected.
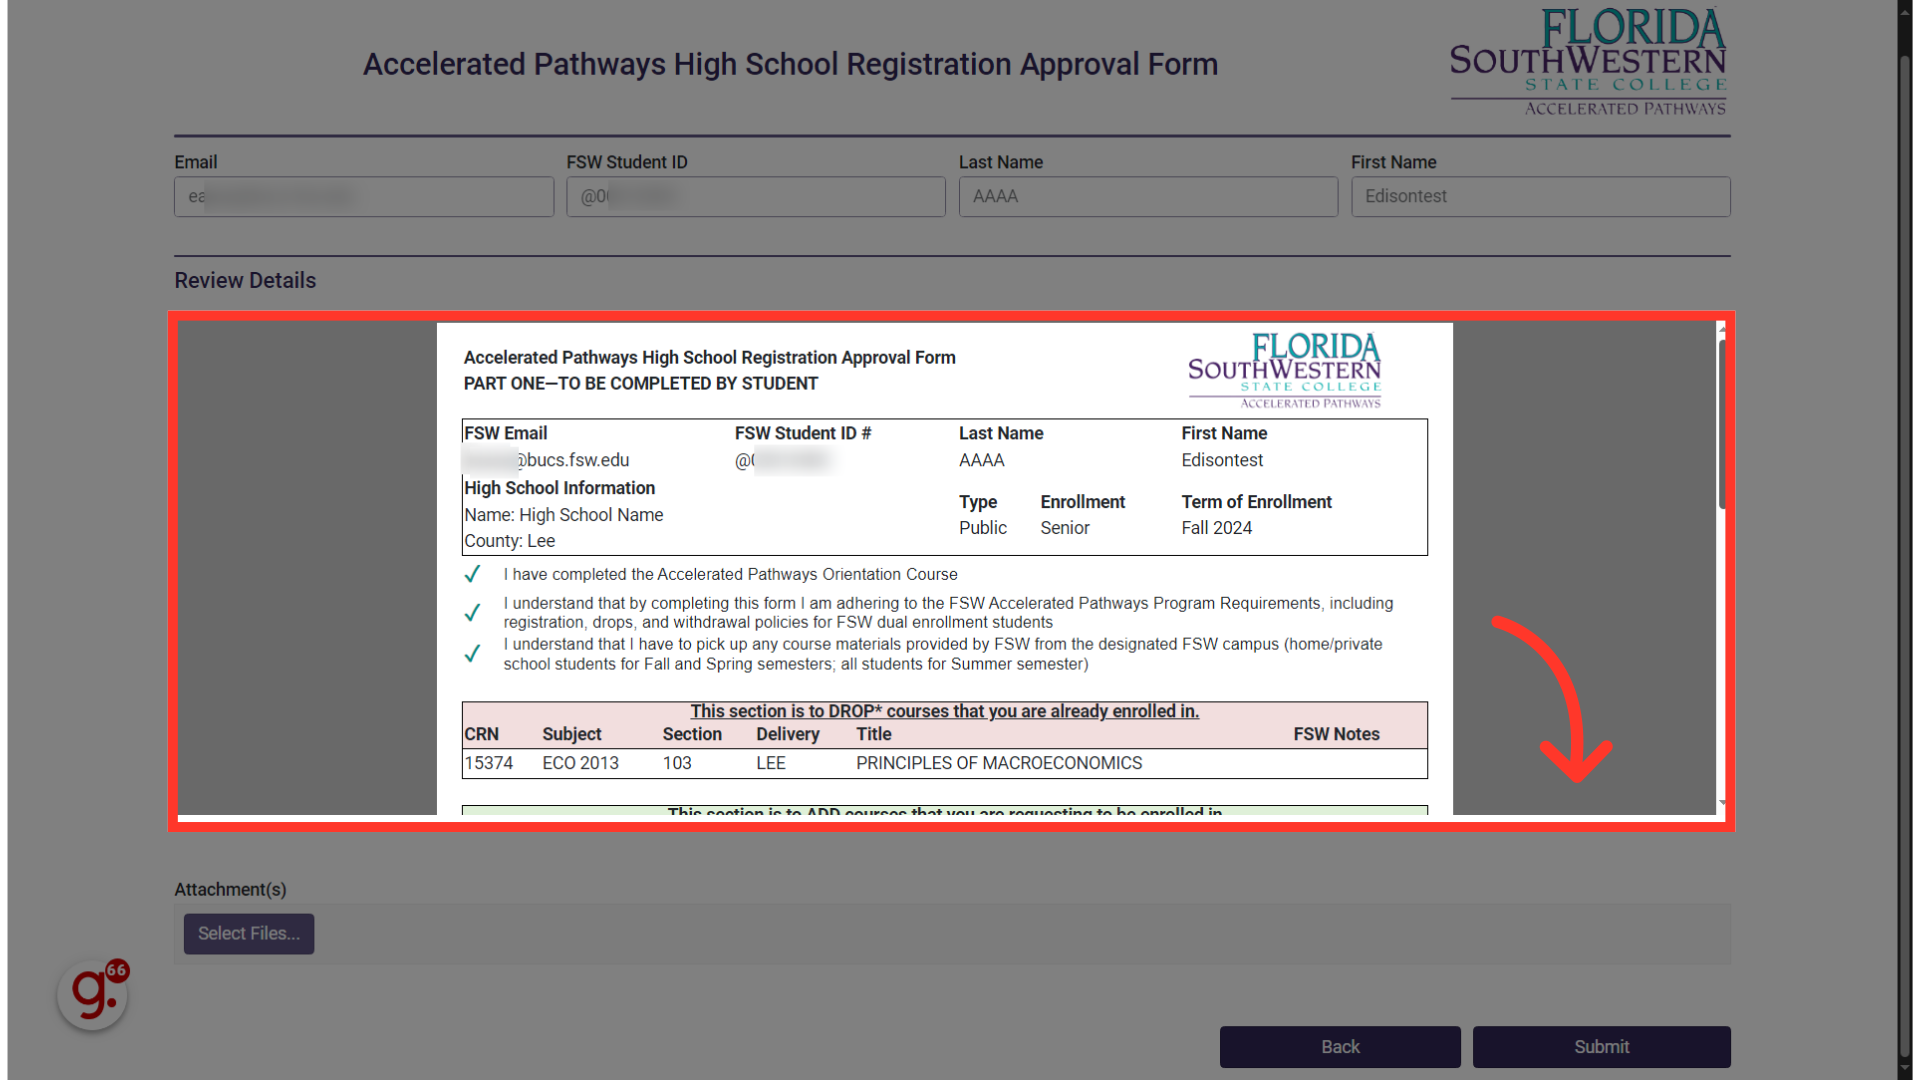
41. Click "Submit"
Submit the form by clicking on "Submit
Now that you've submitted the form, an email will be sent to the counselor's email address you provided in the first step. They will review your request and either approve or decline it. It's important to communicate with your counselor to ensure they are expecting an email from FSW. FSW cannot proceed without their review and approval. Thank you for your time.